|
Because my life has been revolving around the garden and spring planting I decided to do a plant series with all the information I have been researching about each plant that is going into my garden, complete with a printable page to add to your garden journal. I would love for you to leave comments on any growing or gardening tips you may have that go the with plant spotlight so we can all help each other, after all this blog is all about living and learning together. I want to start the series out with one of my favorites: Onions.
Onions are from the lily family and the genus Allium which include garlic, chives, leeks, scallions, and dozens of varieties of onion. You can visit Baker Creek Heirloom Seeds here, for a wide selection of heirloom varieties to plant in your garden.
Onions are very versatile when it comes to planting. You can start onions from seed, plant sets (year old onions that are planted like garlic bulbs) or just pick up some pre-started transplants from the garden nursery. If starting your own seeds you want to start indoors 12 weeks before the last frost (2nd week February for zone 5). Onion sets and transplants can be planted directly in the garden 4 weeks before the last frost (2nd week in April for zone 5). Plant in full sun, 6" apart and 1/2" deep and for sets place the root end down and just barely cover the tips with soil. *Tip: if seedlings start to droop you can trim them with some scissors, this will not only make them grow thicker but as they grow back the plant will be strengthened, you can do this up until transplanting time.
If planting green onions or scallions you can try sowing the seed directly in the garden once the soil has warmed. These are planted 2" apart and can be harvested anytime, as you cut them they will continue to grow giving a continuous onion supply throughout the season. *Tip: don't let those wilting green onions in the fridge go to waste, go out an plant them in your backyard.
Onions like rich, well drained soil so mix some compost into your soil before planting. Water every couple of days until the plants are well established and then mulch to retain moisture and keep weeds at bay. Here is a great post on mulching from Old World Garden Farms. Once established, water once or twice a week, if it is hot and dry water more to keep the shallow roots moist.
Don't plant where root crops were planted the year before and avoid planting with peas or beans. You can plant with any member of the cabbage family, beets, strawberries, tomatoes, lettuce, summer savory and chamomile. Rotate your onions each year to avoid pest and disease problems. For bunching green onions that are like perennials replant every two to three years in a different spot.
Once the onion tops have wilted stop watering and when they turn yellow to brown and fall over they are ready to harvest. Pull up the plants carefully and leave in the sun for a few days to dry out. Bring them indoors and continue to cure for another two weeks in a well ventilated area. Once cured you can braid the tops and hang in a cool dark place, you can also store in nylon by tying off under each onion to make an onion "necklace". When you are ready to use just cut the knot off below the onion to release it. Some varieties store better than others so you may want to take that into consideration when choosing a variety.
Onions have many of the same healing properties as garlic due to the allium contained in them. They can boost the immune system, reduce cholesterol, protect heart health, strengthen bones, break up chest congestion and protect the body against harmful bacteria and viruses. People used to place an onion cut in half in the room of a sick person, it would turn black as it absorbed the germs and bacteria in the room and the person would heal much quicker. For this same reason it is not a good idea to eat an onion that has been sitting out for a while.
10 Comments
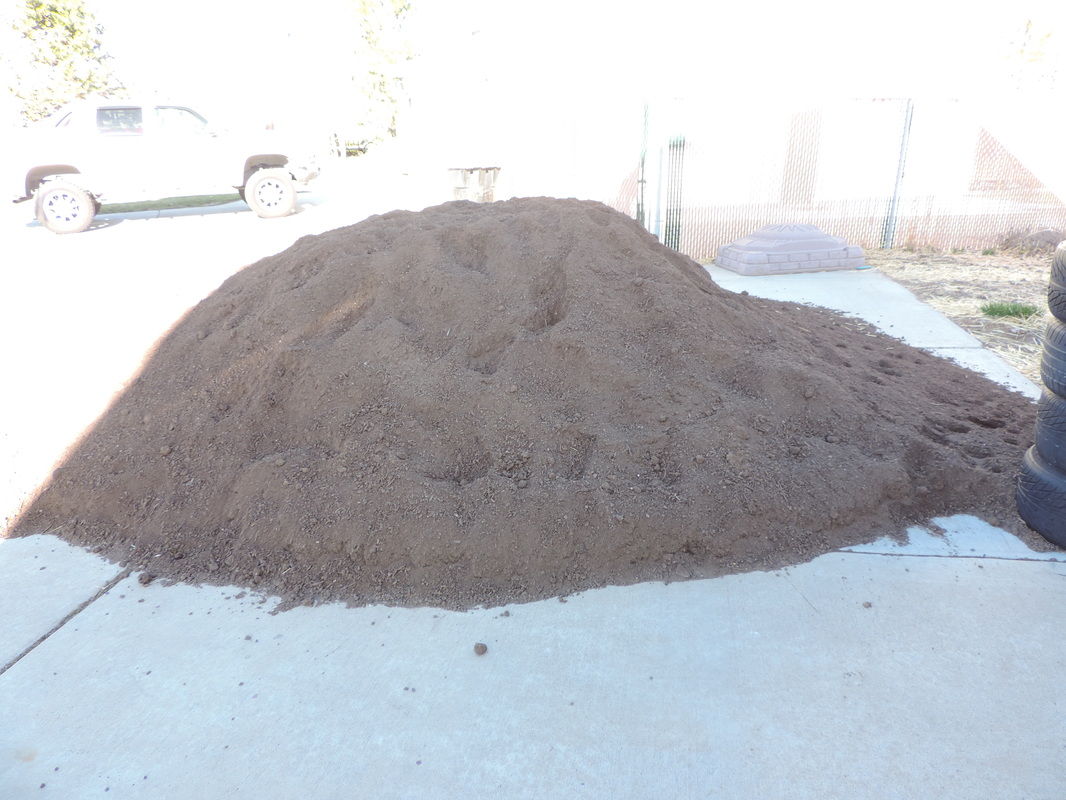
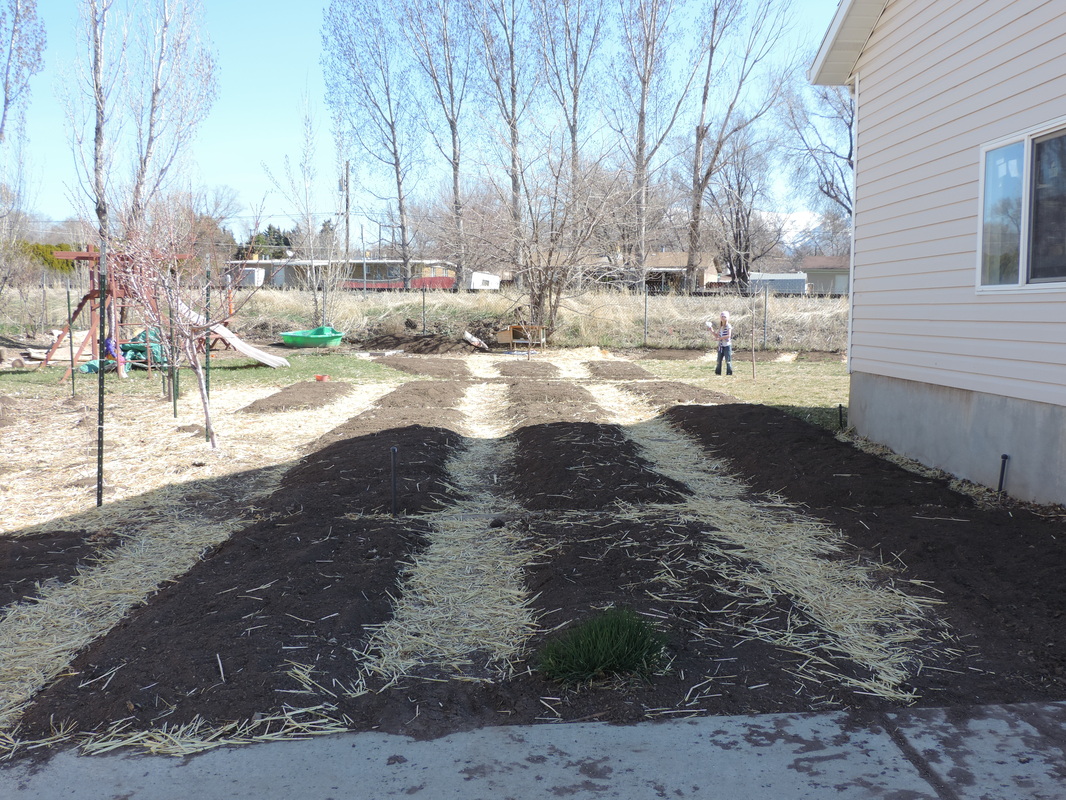
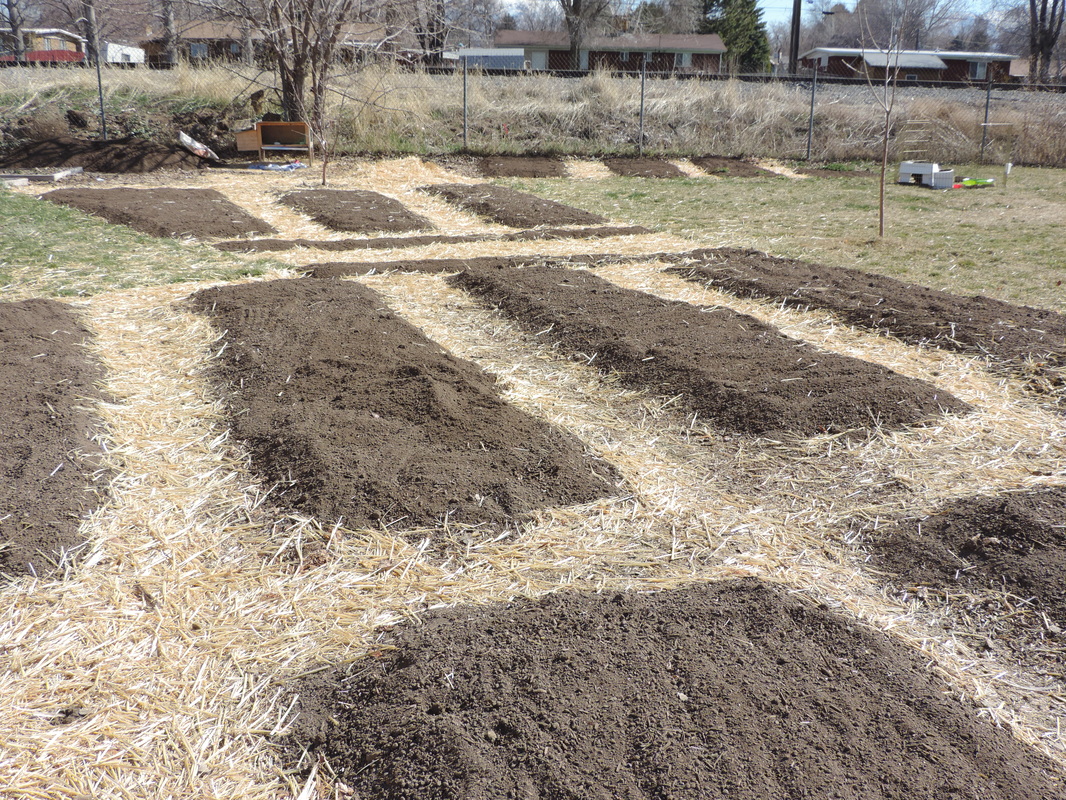
I have been a busy bee in my garden this month with hardly time to even make regular posts. However I did want to share with you what I have in my March section of my garden journal. Because this was my first year prepping my newly expanded garden I had to prepare my raised rows (which I am doing square foot garden style by making the rows 4 feet wide) and that meant a lot of dirt (and fun for Little Man). I used a pulverized top soil with 30% compost mix and then straw for my pathways to keep the weeds down and give a defined path for myself and the kiddos walk through.
Seeds to start indoors:
After having a fun seed swap with a friend we have acquired a large variety of heirloom peppers, tomatoes, and other veggies and herbs. The kids are most excited about the cosmic purple carrots.
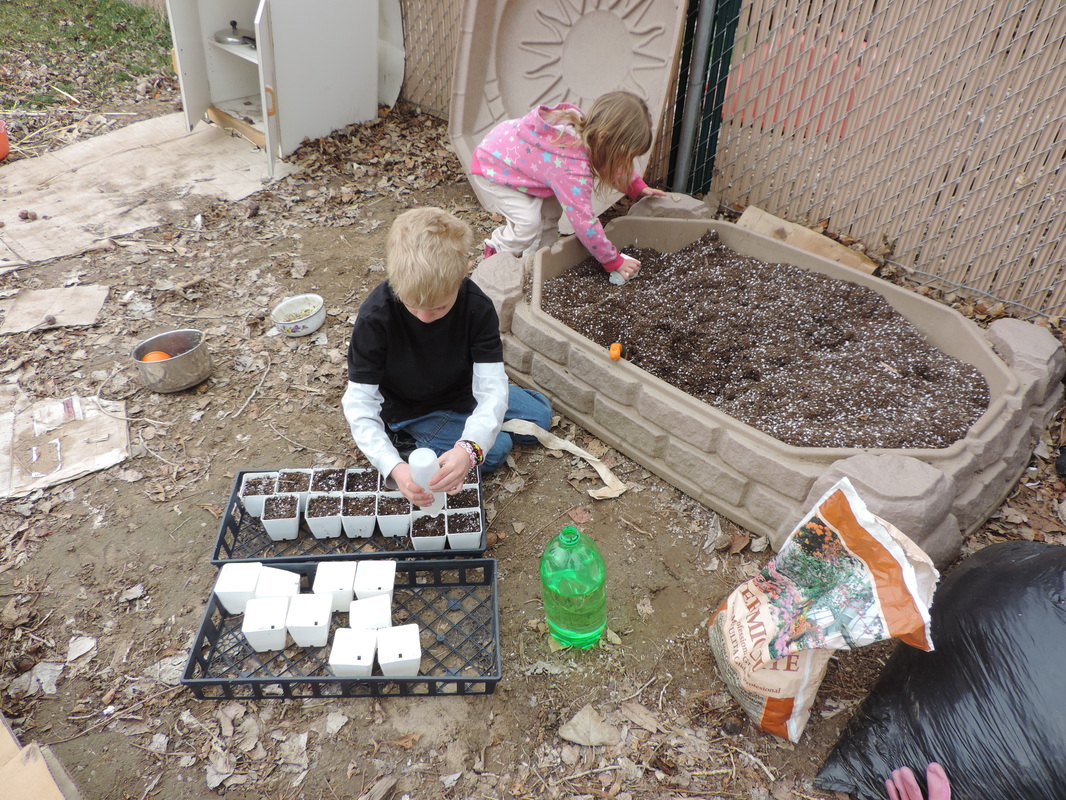
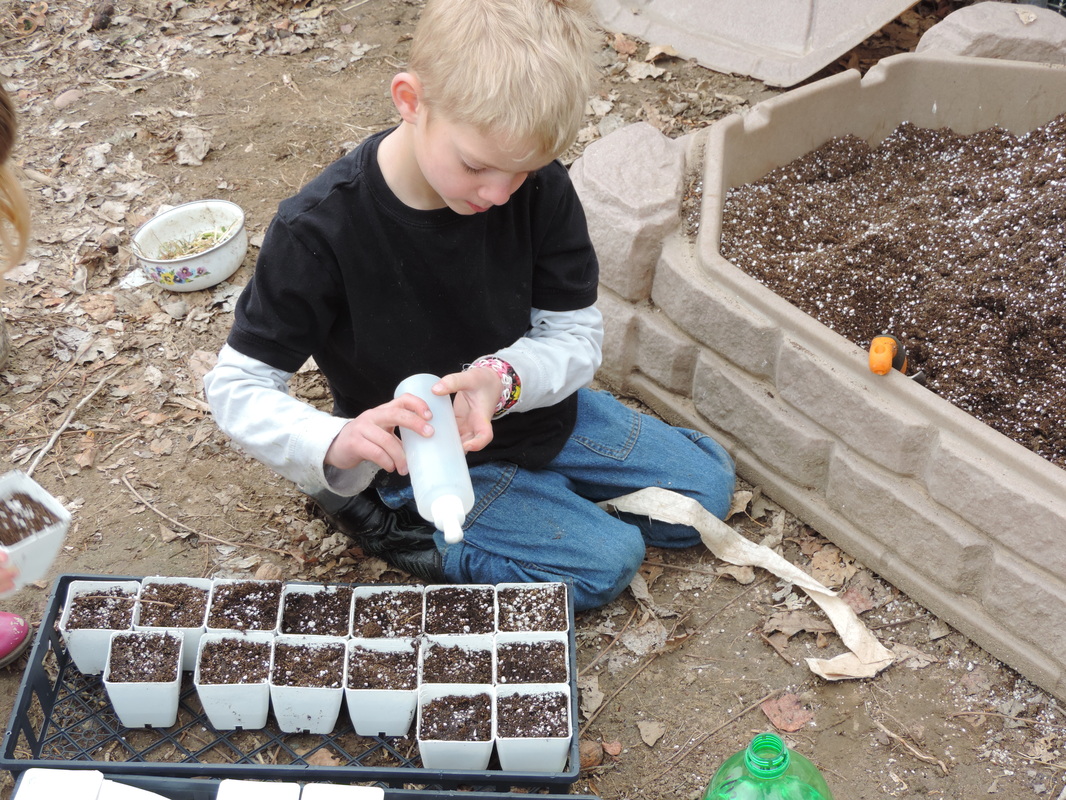
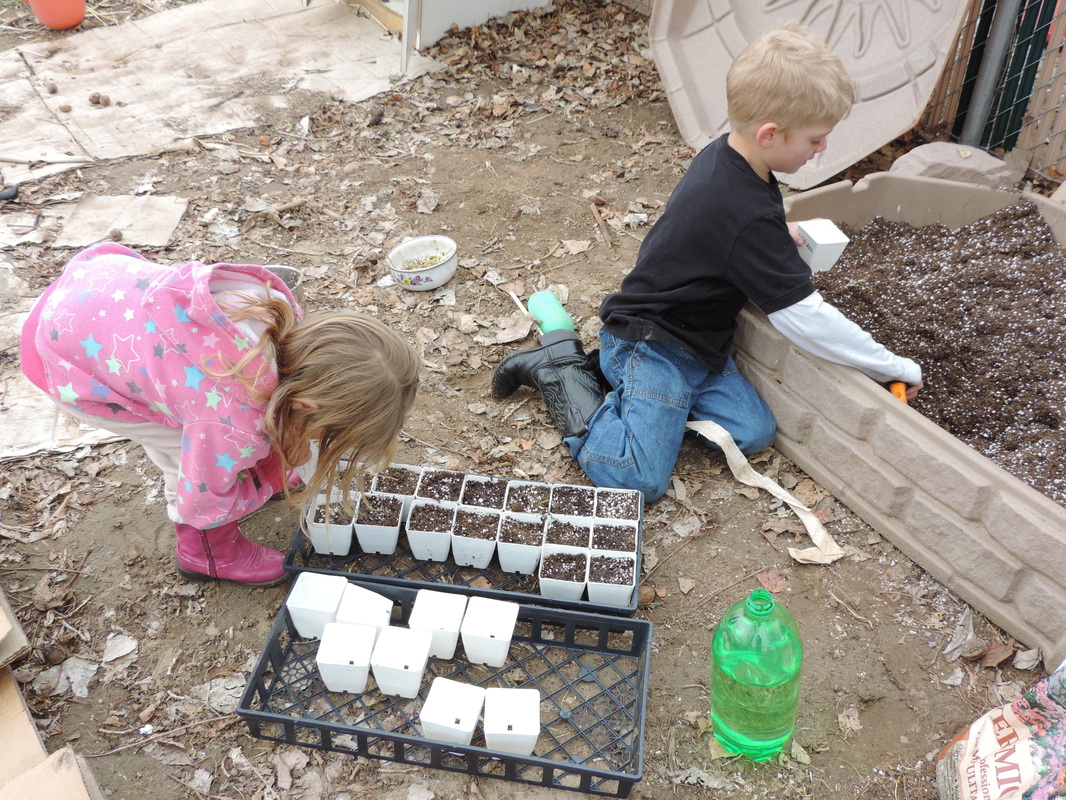
Little Man has become the official seed starter. He filled all the cups with ourpotting soil mix, watered it down and then later on he placed all the seeds in the cups with a little sprinkling of potting soil and another little squirt of water. After covering and placing in a warm spot in the house he checks on those seedlings every morning, sings them a growing song and then helps to keep them moist. I love to see the excitement in his eyes when he finds another plant has sprouted and he carefully carries it downstairs to place under the grow lights.
Seeds to plant outside in the spring garden (last week of March):
Plants that are starting to poke up throughout the garden:
Other Garden Fun
The Littles and I have been enjoying the Beatrix Potter stories and following along with Strangers and Pilgrims Beatrix Potter project series. It was great fun to take the Peter Rabbit seed packets with us to the seed swap and Little Man had to make his grandma some Peter Rabbit bedtime room spray for her birthday. I also added a new book to my collection, called The Heirloom Life Gardener, I am so excited to read it over spring break this week! Another favorite discovery was Carrots Love Tomatoes, I got this from my library and must add it to my collection. It has a list of every plant, including herbs and fruit, and tells how that plant can help other plants and what plant will help them in growing or keeping pests away. I love it!
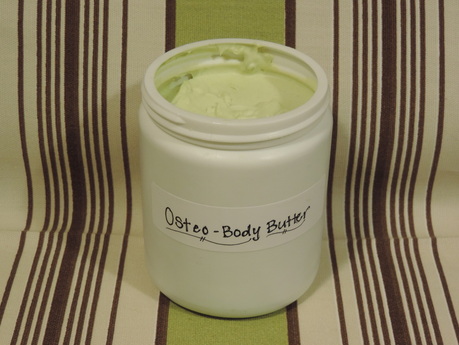
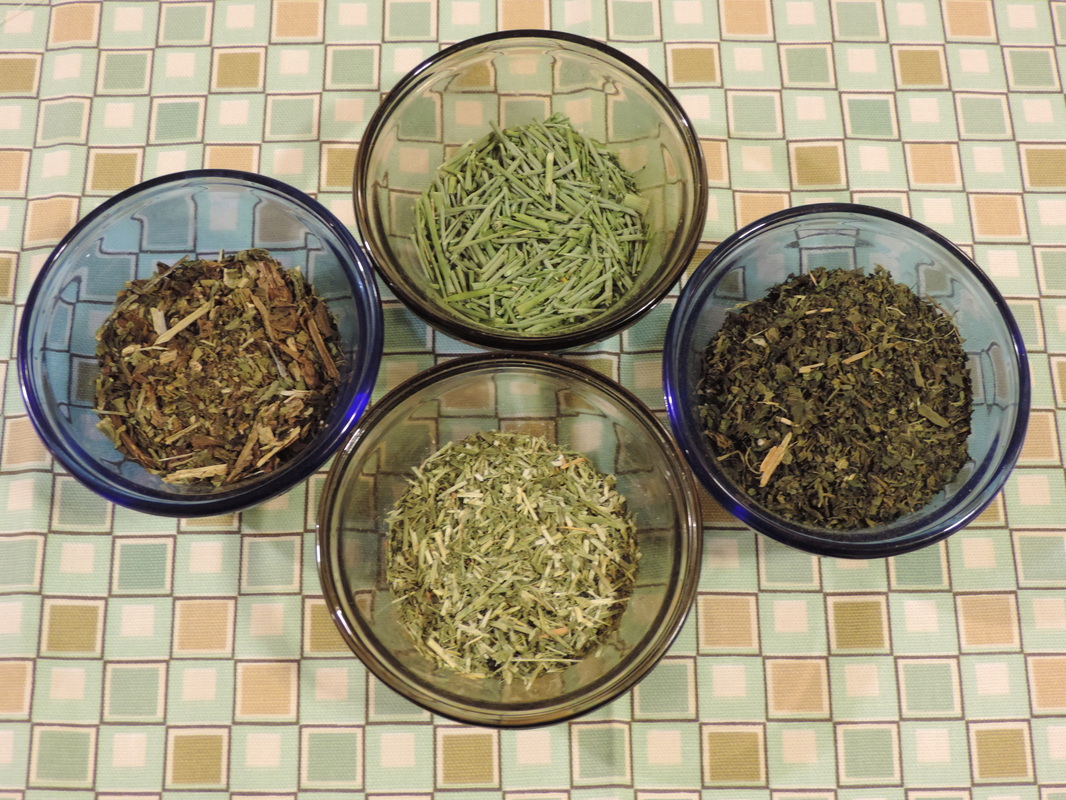
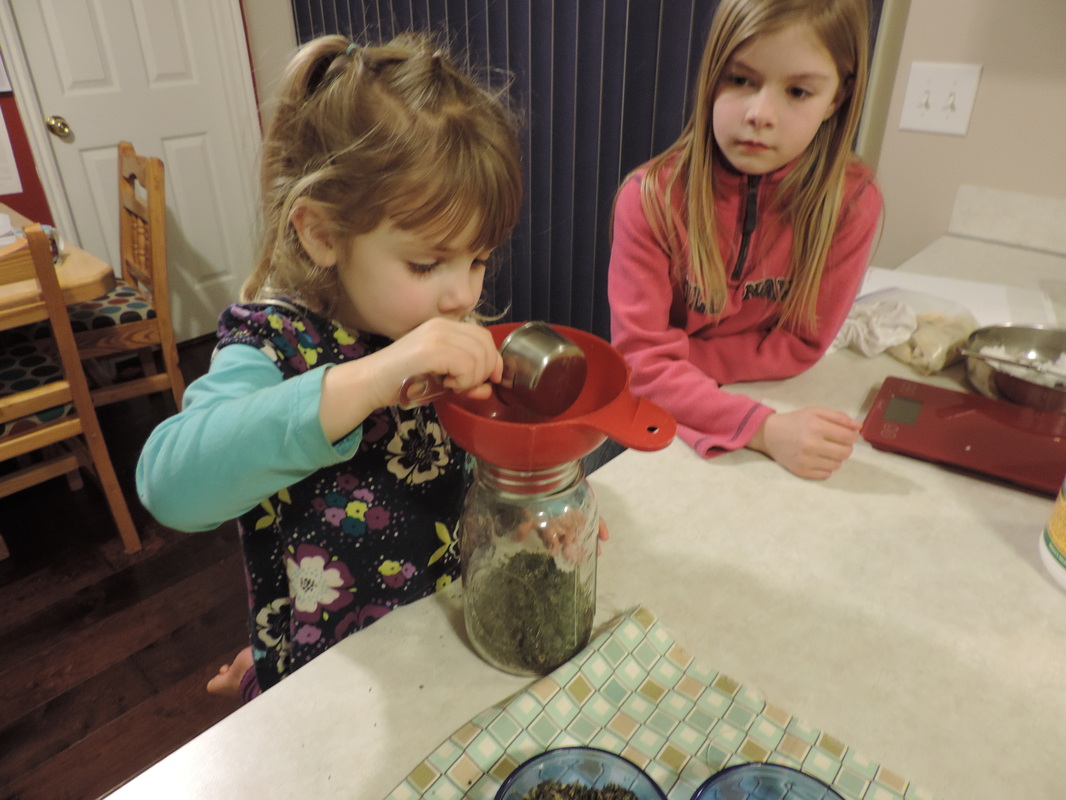
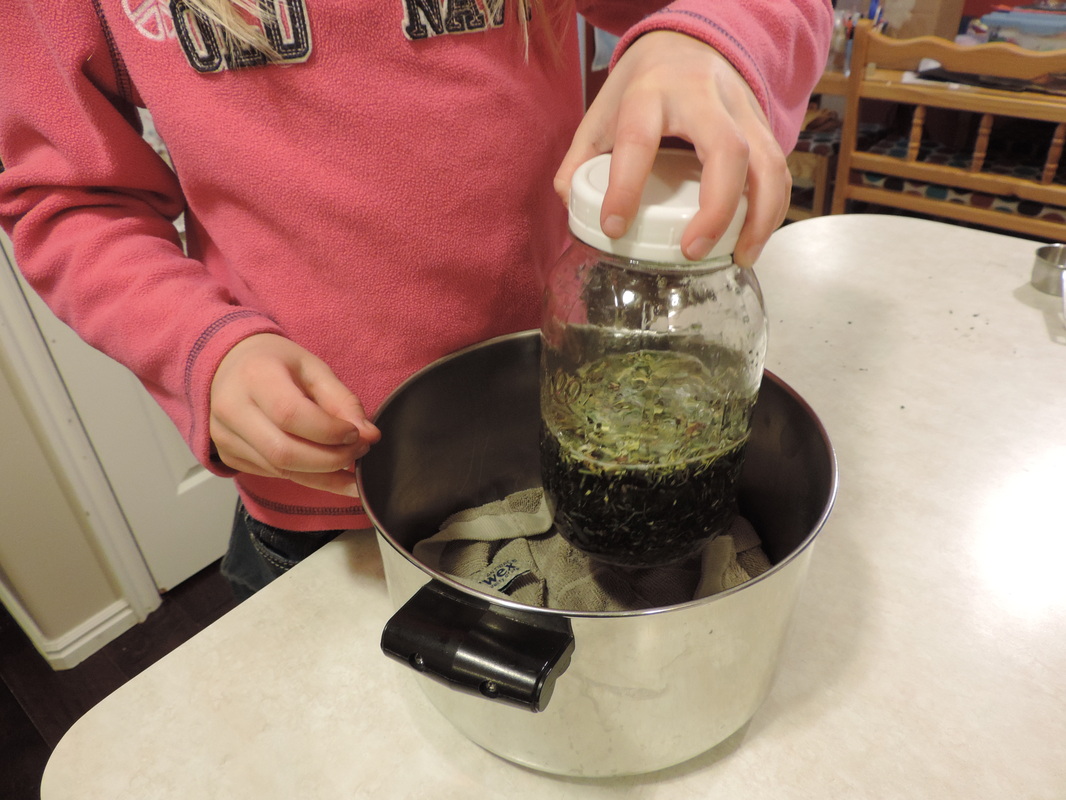
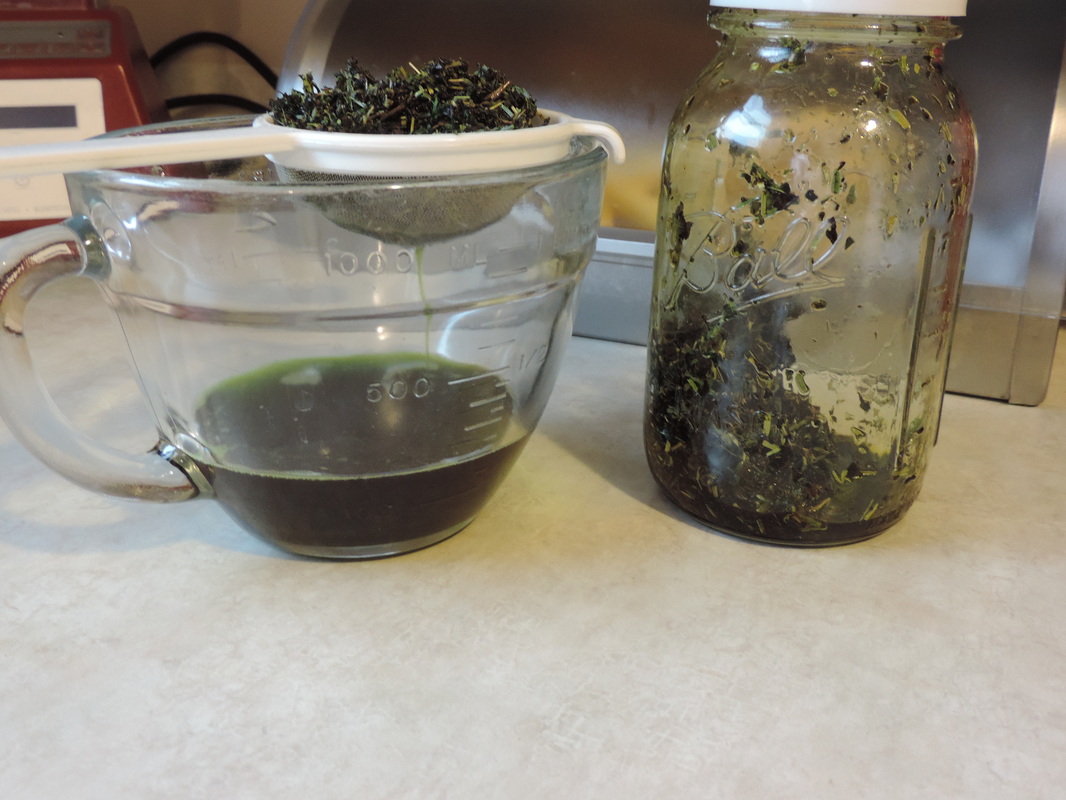
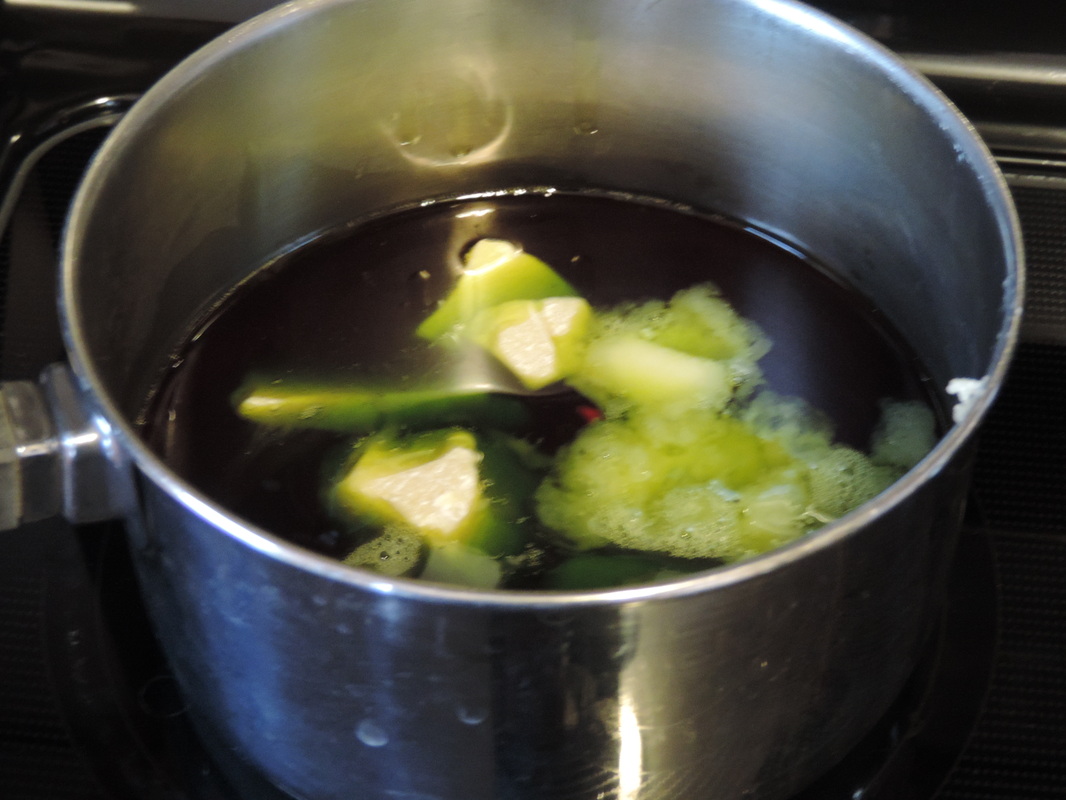
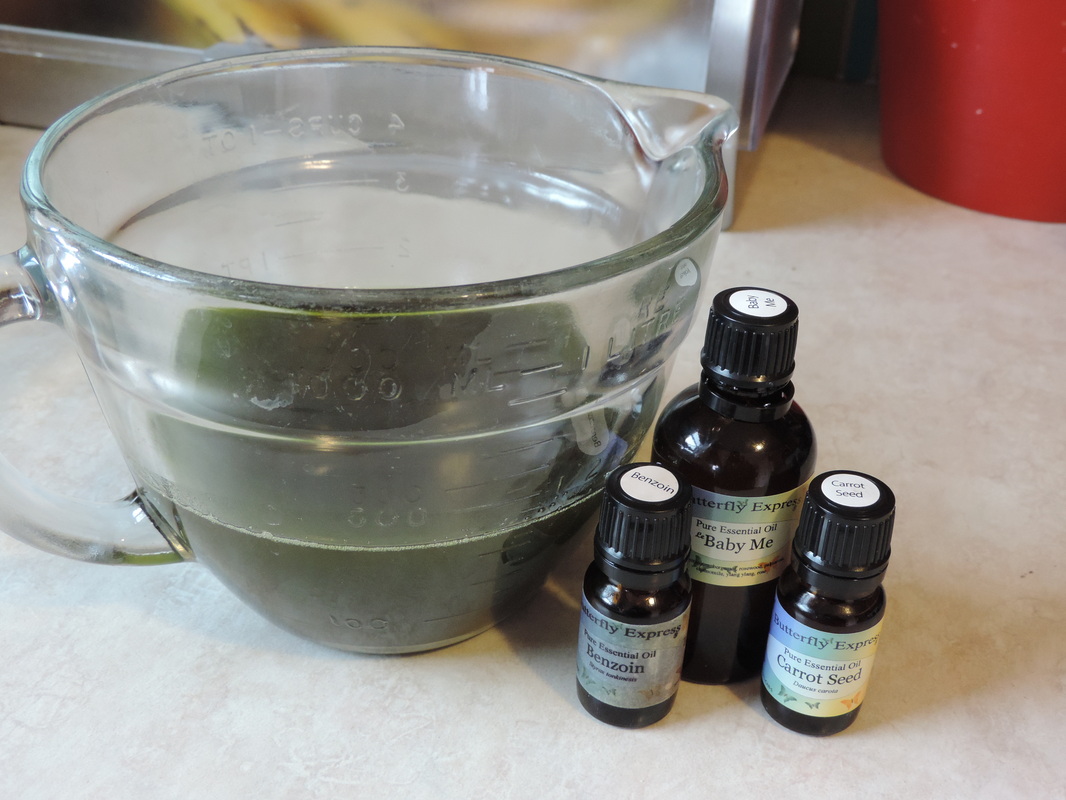
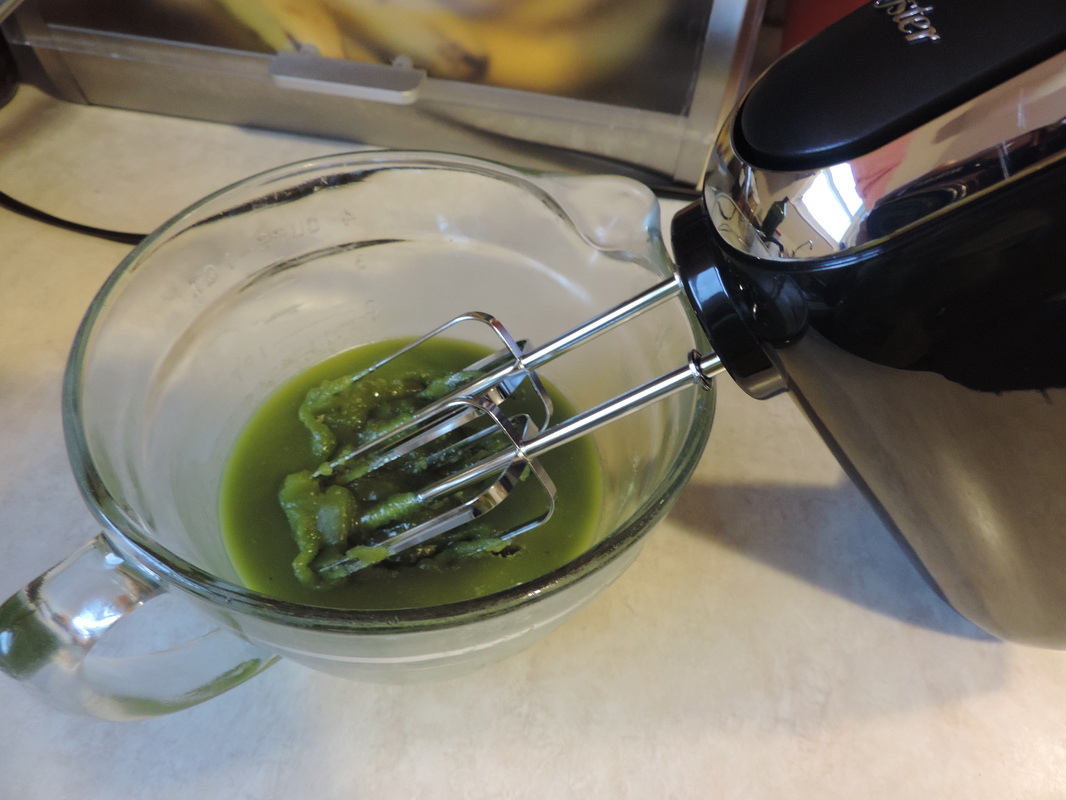
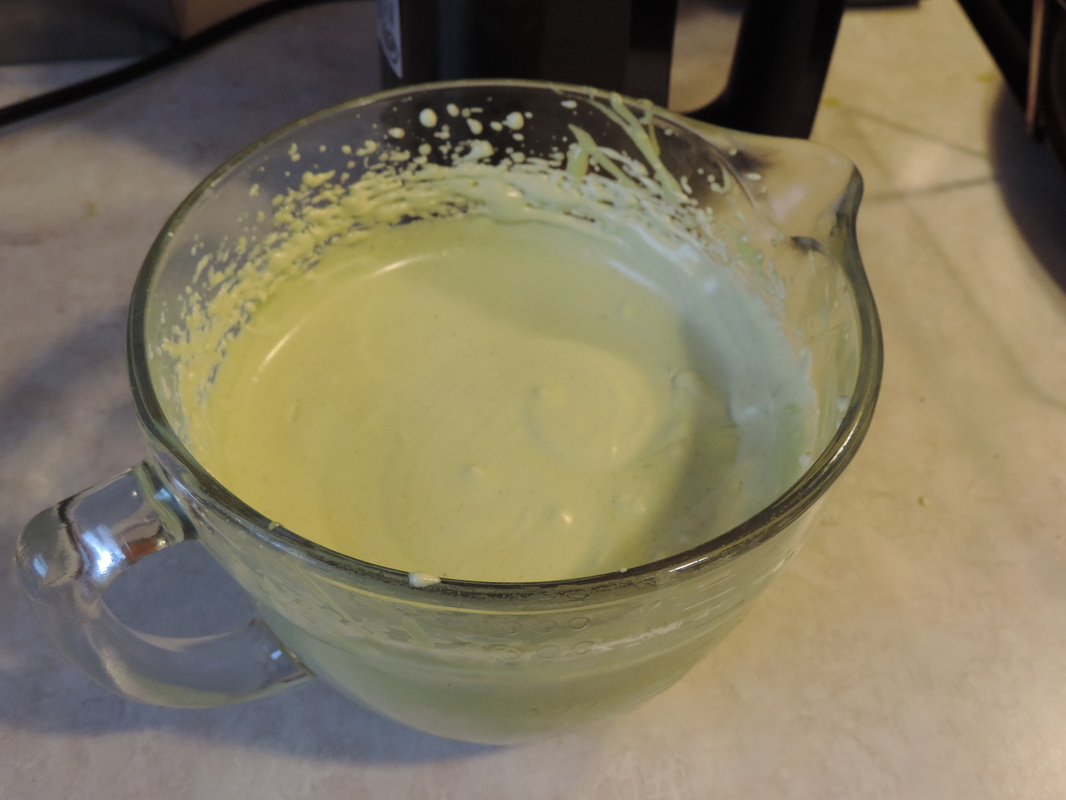
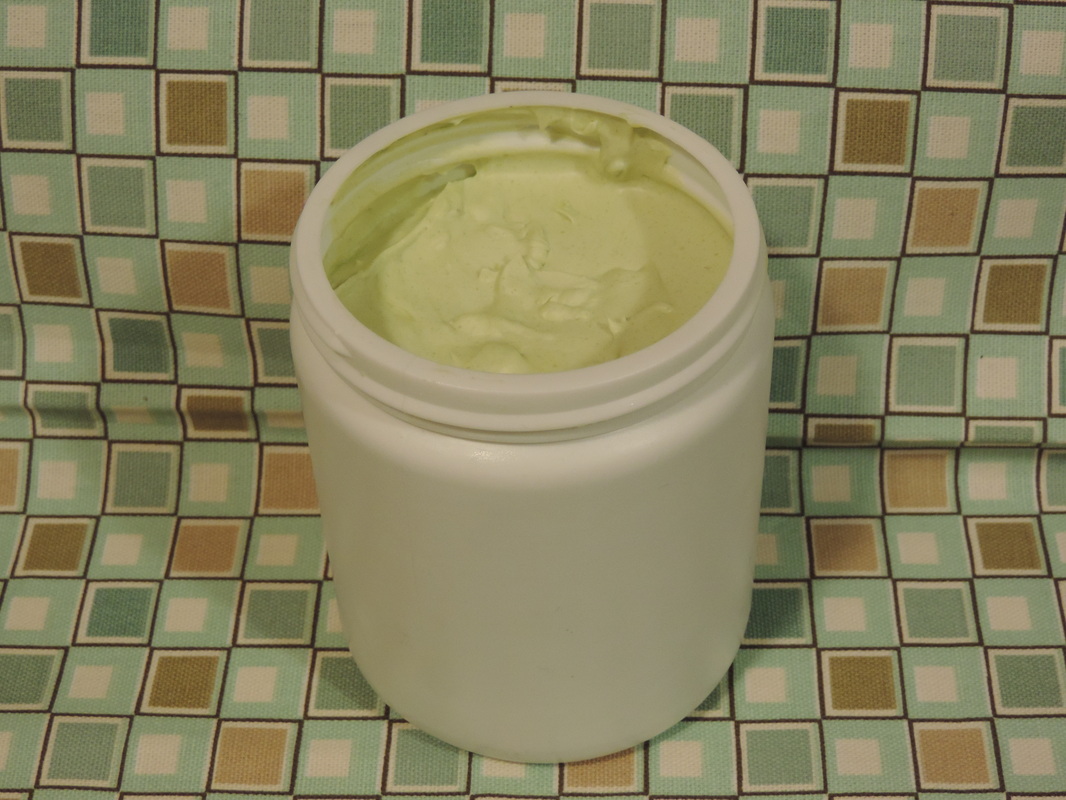
Favorite Books and Stories this Month This is one of those "better late than never" posts, as I had one of those weeks last week. I have been excited to share this Osteo-Body Butter recipe since I have been using it this month and made a special batch for my Mom with essential oils to aid her body in absorbing the nutrients and properties of the herbs to prevent bone deterioration from osteopenia. My mom has been concerned with her bone density after her last Dr. visit, she asked if I had something she could just rub into her body. That is when I thought, why not infuse some bone healing, nutrient dense herbs into the coconut oil and get a two for one - soft, moisturized skin and bone strengthening. Add some essential oils to help those bones absorb the nutrients and whala - Osteo-Body Butter. I use this body butter now also because the herbs infused in the coconut oil not only strengthen your bones but also your skin, leaving it smooth and soft. The Recipe Mix together in a quart jar: 2 parts comfrey 1 part nettle leaf 1 part alfalfa 1 part horsetail Pour melted coconut oil over the herbs and follow the instructions for infusing an herbal oil here. ( I used 1/2 cup comfrey, 1/4 cup of the other herbs then filled the quart jar about half way with coconut oil) Melt 2 oz. of cocoa butter into 6 oz. of the infused coconut oil. Let sit until solid, but soft. Add your essential oils of choice (or none at all), I usually add about a teaspoon or so per batch. Blend with a hand mixer until thick and creamy. Pour into a container and apply every evening before bed. I would also take an herb blend internally either through tincture, tea or capsule. Dr. Christopher has a calcium formula available on his website here, or you could make your own blend with 6 parts horsetail, 3 parts oat straw, 4 parts nettle and 1 part lobelia. Essential Oils
Why These Herbs? We just talked about the healing properties of comfrey here. Alfalfa and nettles are both nutrient dense herbs that are rich in vitamins and minerals including calcium, magnesium, potassium and silicon. Horsetail (shavegrass) is high in silica which strengthens the hair, fingernails and skin, it also helps the body utilize and hold calcium. Where do I get supplies to make this project? You can purchase organic, high quality herbs from both Mountain Rose Herbs and Bulk Herb Store. I use and love them both! Mountain Rose Herbs also offers cocoa butter and coconut oil, although I get my Nutiva coconut oil from Costco for an amazing price.
The Recipe
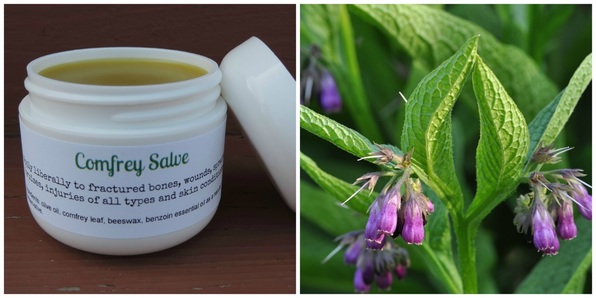
I have made this salve with both a mix of comfrey leaf and comfrey root and also just plain comfrey leaf. I couldn't tell a difference between one salve or the other, they were both equally effective. Some herbalists believe the root to be more potent than the leaf so you can decide if you want to add the root or not. I can tell you that when using the fresh leaf verses dried it seems to have more mucilage to it and I don't have to infuse it as long - I love when my comfrey plant is producing! Don't think the dried comfrey isn't effective though, it is very potent and works wonders. I always double infuse my comfrey and have even triple infused when time allows to have the most effective and potent salve available.
Make an herbal infusion:
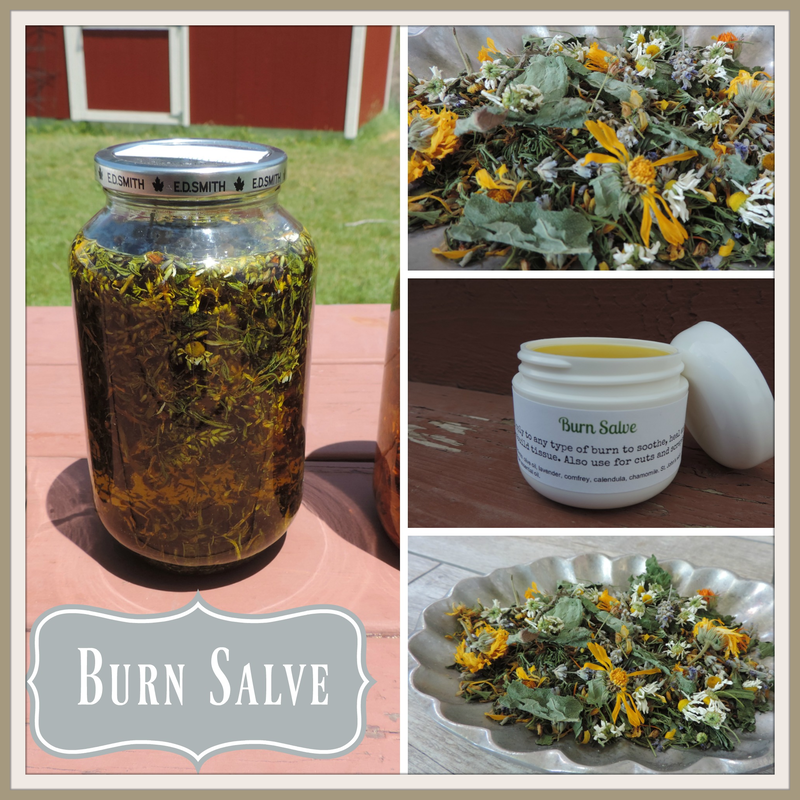
Follow the instructions here, to make an herbal infused oil. To double infuse, just strain the oil from the first batch, put those herbs in your compost - remember that comfrey is a great fertilizer. Now pour that oil over a fresh batch of herb and infuse once again. If you want to triple infuse, repeat the process one more time.
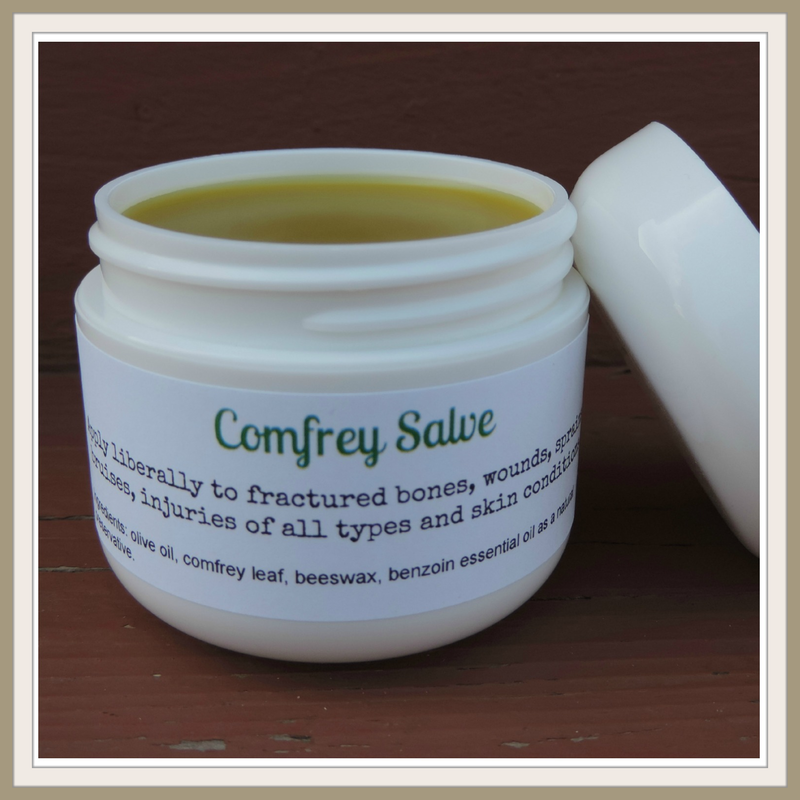
For every cup of comfrey infused oil use 1 oz. of beeswax. Melt the beeswax into the oil over very low heat. Remove from heat and pour into container(s) and wait until the salve has hardened before putting the lids on.
I always like to fill a couple of lip balm containers for our portable first aid kits. I keep one in the car, one in my purse, and then give one to each of the kiddos for their personal first aid kits. This is my favorite salve to take as a "get well after that injury" gift.
How to Use Comfrey Salve
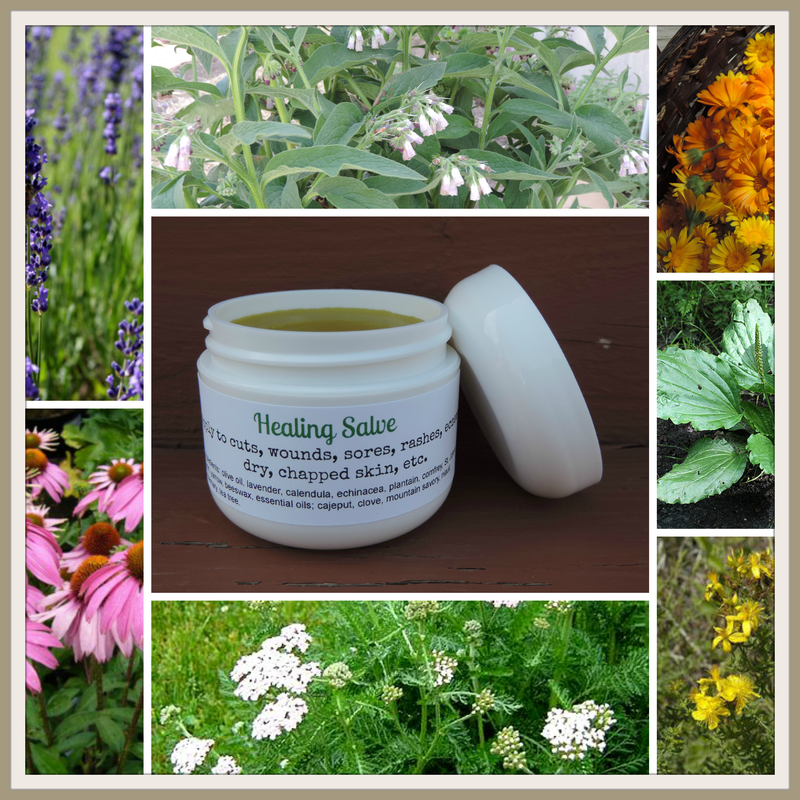
In addition to healing bones this is an amazing first aid balm, comfrey has the ability to rebuild tissue as well as bones. I have used this salve successfully for healing burns, bruises, wounds, sores, cuts (including major ones), and owies of all kinds. I have also used it on my eczema flare ups and noticed right after applying, it seemed to gently numb the itching and pain and sped up the healing time. For bone healing, apply liberally to area of concern in the morning and the evening. For use on cuts and scrapes, clean the area well, I use my wound wash to do this, then apply the salve and a bandaid if needed. Comfrey has mild styptic properties so it will help a cut or abrasion to stop bleeding.
Where do I get ingredients for this salve?
Costco has a really great organic extra virgin olive oil that I have loved using for my salves and herbal crafting. Comfrey can be purchased dried from Mountain Rose Herbs or Bulk Herb Store. You can purchase a plant from Rolling River Nursery if you want to produce your own, this is an organic nursery. I am also starting to see it now in my local nursery.
Symphytum officinale
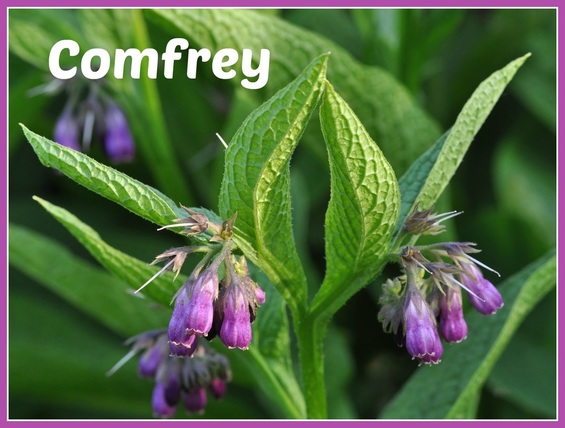
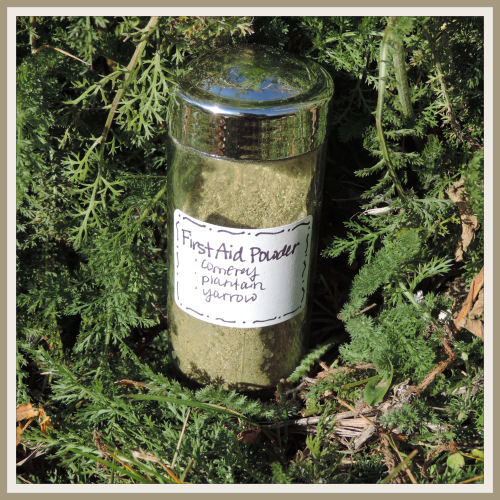
Family: Boraginaceae, includes borage and forget-me-nots Parts Used: Root and leaf Comfrey is a perennial that can grow 3-4 feet with pretty purple flowers. It is known for healing bones and being a great composting plant to feed other plants in your garden. Other names for comfrey include bruisewort, knitbone, boneset, and healing herb, all which refer to it’s amazing bone healing properties. I became real familiar with this amazing herb last summer when my boys both had broken bones. It has quickly become one of my favorite go to herbal salves and a must have for the first aid kit. Herbal Actions and Properties
Medicinal Uses
Methods of Use
In the Garden
In the wild comfrey likes moist soil near streams and ponds with dappled sunlight. The soil is rich and moist so try and duplicate these conditions in your own garden.
Using Comfrey in the Garden: Comfrey is not only easy to plant in the garden, it is a well known compost plant. In fact, some people plant it just to be used for composting and mulching other garden plants. Just grab a handful of leaves (with gloves on because it can be pokey) rip the leaves up and sprinkle around other plants for a multi-purpose mulch and fertilizer. If you have a compost pile you can throw a bunch of leaves into it. You can also make a compost tea by stuffing a jar with leaves packed down and cover with a lid. The leaves will decompose into a “black tea” after a couple weeks. Dilute the tea with 10-20 parts water and use to fertilize garden plants. *Just a warning that this tea is pretty stinky so don’t be alarmed. Cautions
There is a lot of controversy around the use of this herb for internal purposes. Some say it contains liver damaging chemicals, while others claim it to be perfectly safe when used prudently. Many herbalists love this herb and continue to use it internally for small periods of time to cure an ailment. Do your research on this herb to decide for yourself. This can be an allergy herb so patch test before using and watch for an allergic reaction.
Contentions with Comfrey Studies by Dr. Christopher's Herbal Legacy RecipesResources
Comfrey Comfort by Dr. Axe
Dr. Christopher's Herbal Legacy: Benefits of Comfrey The Healing power of Trauma Comfrey Where Can I Get Some?
I purchased my comfrey plant from Rolling River Nursery, an online organic nursery that provides already started plants. I also tried to grow comfrey from seed using Horizon Herbs seeds from Mountain Rose Herbs, I failed miserably though which is why I ended up purchasing the actual plant.
You can get organic dried comfrey leaf and/or root from Mountain Rose Herbs and Bulk Herb Store. |

Hi, I’m Annie, a child of God, Mother of Influence and Herbalist. Welcome to my place where I share what I have learned of natural and frugal living, healthy eating and living, gardening, homeschooling, herbal crafting, preparing temporally and spiritually, and love for God and Country.
LearningLivingArchives
January 2023
|
