|
As we celebrate Thanksgiving this week I am always so grateful for all the blessings the Lord has given me. I always feel Thanksgiving welcomes in the coming Christmas season by preparing our hearts with gratitude and the desire to help and serve others. I love the peace, joy and happiness that is very prevalent during this time of year. In order for us to keep the peace the season brings we focus our traditions and celebrations on Christ, after all He is the reason for the season! The following are just a few ways we incorporate Christ into our Christmas traditions and celebrations.
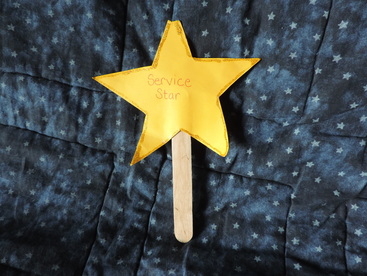
Every year we start the season with the Christmas service star, this star represents the light of Christ and His service to His fellow men. Everyone is encouraged to serve someone in the family and leave the star where they served. The person that was served now needs to serve someone and the star is passed around throughout the Christmas season. We also have different service projects we work on each year to serve our fellow man. This year Big Woman is heading the project of making stuffed owls to take to a local shelter. Ideas for serving can be as simple as bringing in a neighbors garbage can, taking a plate of goodies to someone, visiting the elderly, sick, lonely, putting a dollar in the Salvation Army buckets, etc. One year we made a service chain by adding a link every time we served someone with a goal to have our chain reach around the Christmas tree by Christmas Eve, the kids really loved that one and we offered that as our gift to Christ.
Rather than asking our children what they want for Christmas, we ask them what they will be giving for Christmas. By doing this we put the focus on others rather than themselves. We have a tradition in our family that all gifts given to each other must be homemade. Right after Halloween they start to plot and plan what they will be making for each other. These gifts are always the favorites and much love and thought goes into them, the kids especially look forward to Daddy gifts, since he always has "interesting" ones.
I "discovered" this wonderful resource several years ago and it has become a favorite for my children. This resource is full of memory verses, activities, recipes, crafts, stories and service ideas. You will learn the stories behind the symbols of Christmas and how they relate to Christ, as well as customs from other parts of the world. I love that this is a pdf file so I can print and reprint each year. We also use this resource for our memory verses, copy work and writing during the month of December in our homeschool. For my little ones there are coloring pages and stick figures for acting out the nativity. For more information and free downloadable sample pages you can visit the Discover the Scriptures website here.
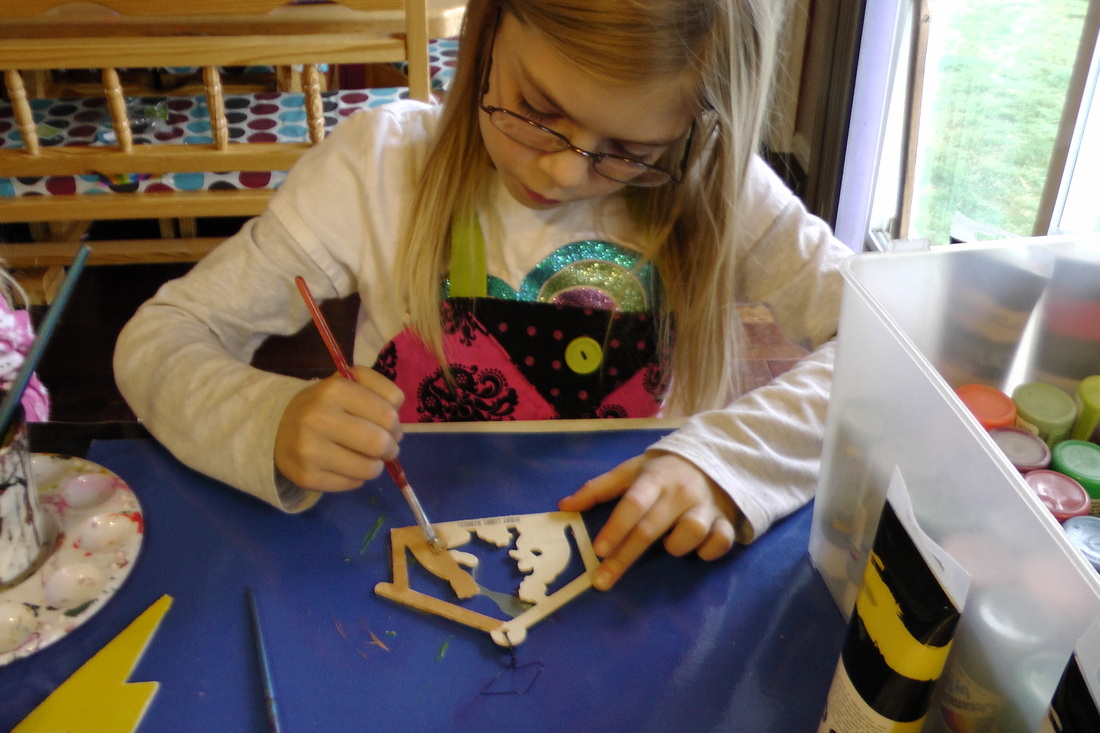
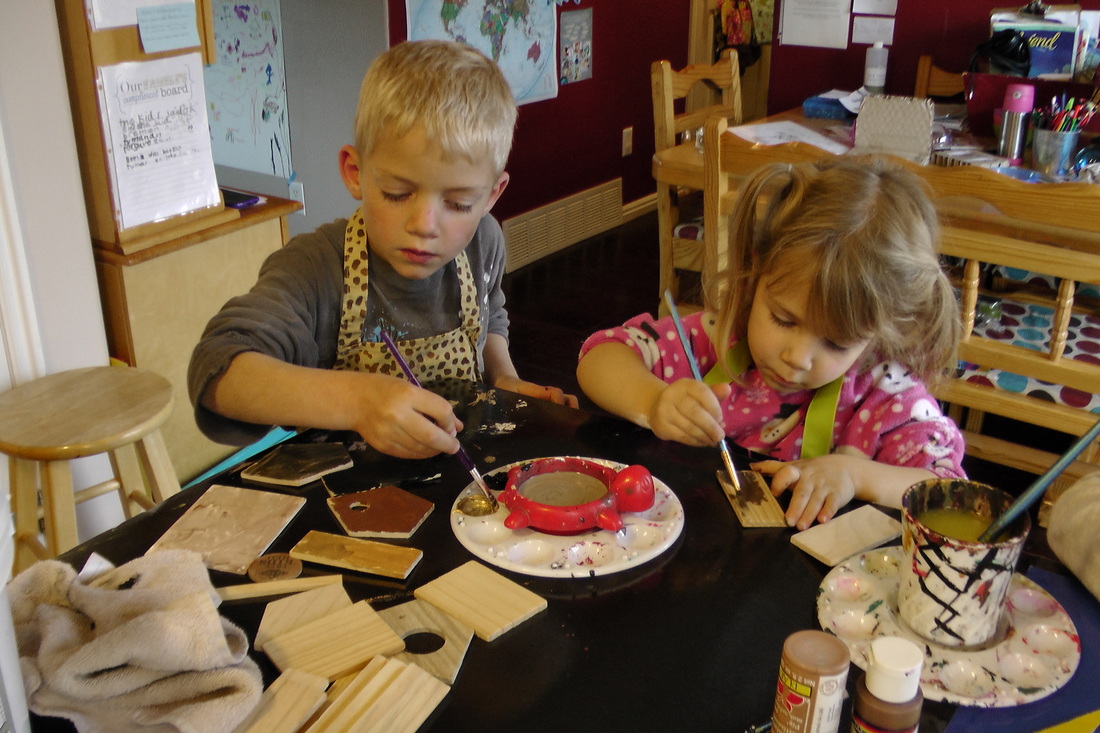
This is a new tradition we will be starting this year and I am so thankful to the Oliver family for their ideas and inspiration for this project and then for sharing it with all of us. The idea is to read a story from Christ's life for the 25 days leading up to Christmas. Each day has a story, a picture to go with the story, a quote and for some, an online video clip. After reading, listening and watching the story, an ornament representing that story is placed on the Christmas tree. My hope is that as we see these ornaments on the tree, the stories they represent will come to mind and remind us of not only Christ's birth but his life, atonement, death and resurrection. I am so excited to make this a tradition each year. Here is the website to learn more about the 25 Days of Christ.
Big Woman took on the ornament project herself, with very little help from me. We had a great time going to Hobby Lobby where we came up with different ideas for the ornaments and as a bonus all Christmas items were 50% off! You can check out the 25 Days of Christ website for photos of the ornaments (she is out of stock for the 2013 season) or browse below on the ones we came up with.
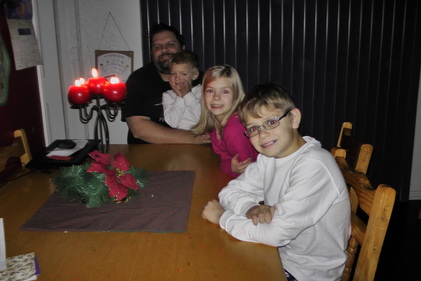
I love this description of advent, from Familyman Ministries, so I'll send you there to be enlightened if you are not familiar with advent. He also gives a good idea of what they do as a family for advent, which is more involved than mine. For our family we have a candelabra as a centerpiece on our table for the holiday season, it has four candles on the outside and one in the middle. We start the first Sunday in December (or four Sundays before Christmas) and light one candle, all other lights are turned off. We sing a Christmas song about Christ and have a story, devotional, scripture, or thought. We do this every Sunday, lighting one more candle until Christmas Eve when we light the middle candle, representing Christ. We notice how much lighter it is with all five candles lit and we always sing Silent Night on this evening (Christmas Eve).
We always have our big family get together on Christmas Eve, we have some sort of activity, listen to Christmas music, eat (or course), re-enact the Nativity and open presents from the Grandparents. When we get home we put our focus to Christ before going to bed. We turn off all the lights and do our last night of advent (above), afterwards we sit in the dark with only the tree lights on and listen to Manheim Steamroller's Silent Night, we then watch a short video of The Nativity, that you can view here and then give our gift to Christ, which we all write (or draw) on cards and place in a pretty gift box under the tree. We then read the Christmas story from the Bible and have family prayer.
2 Comments
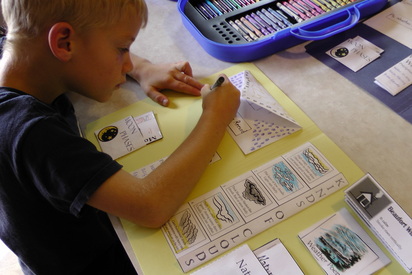
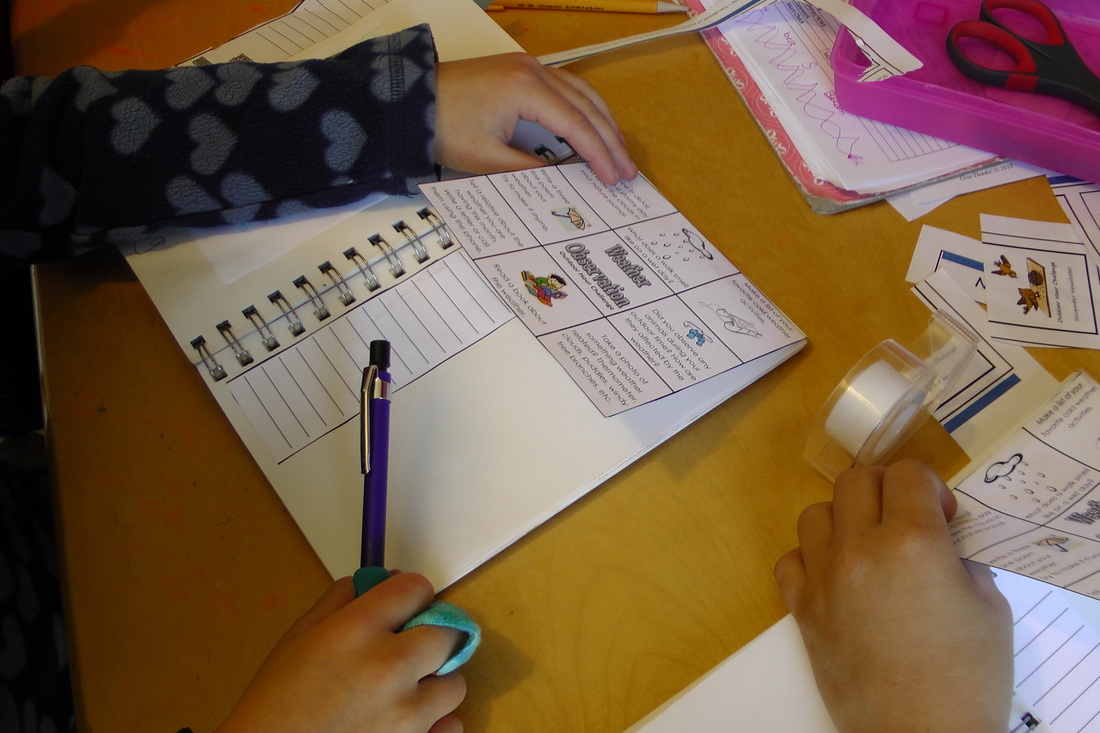
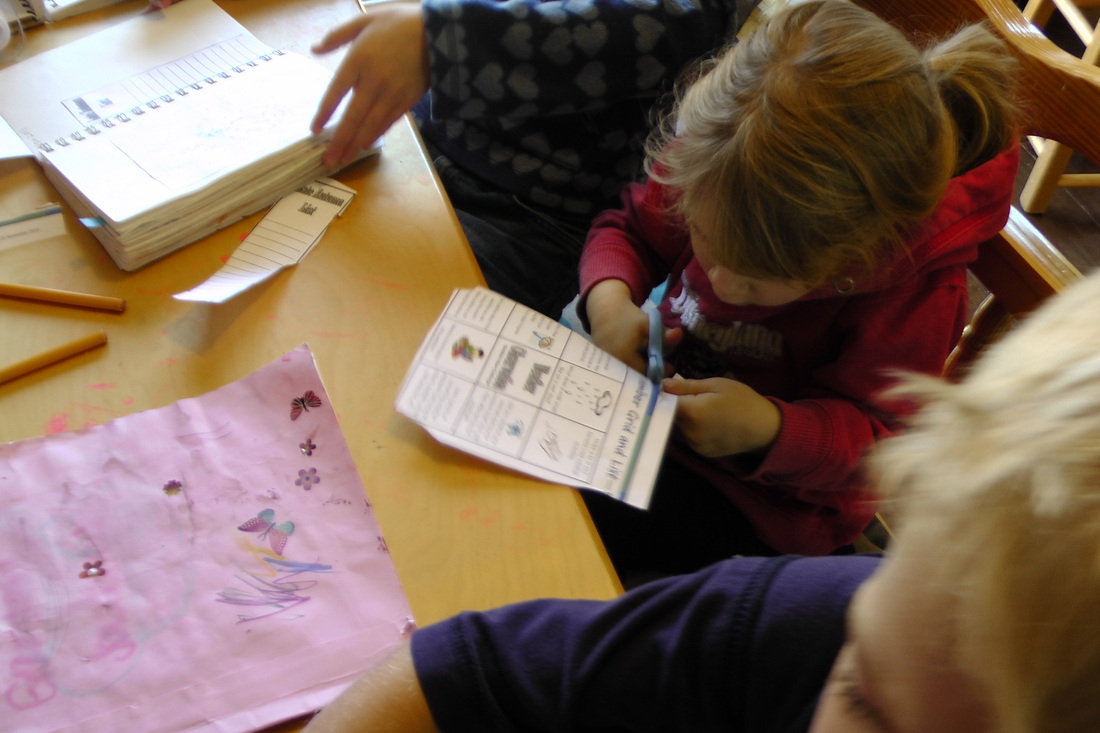
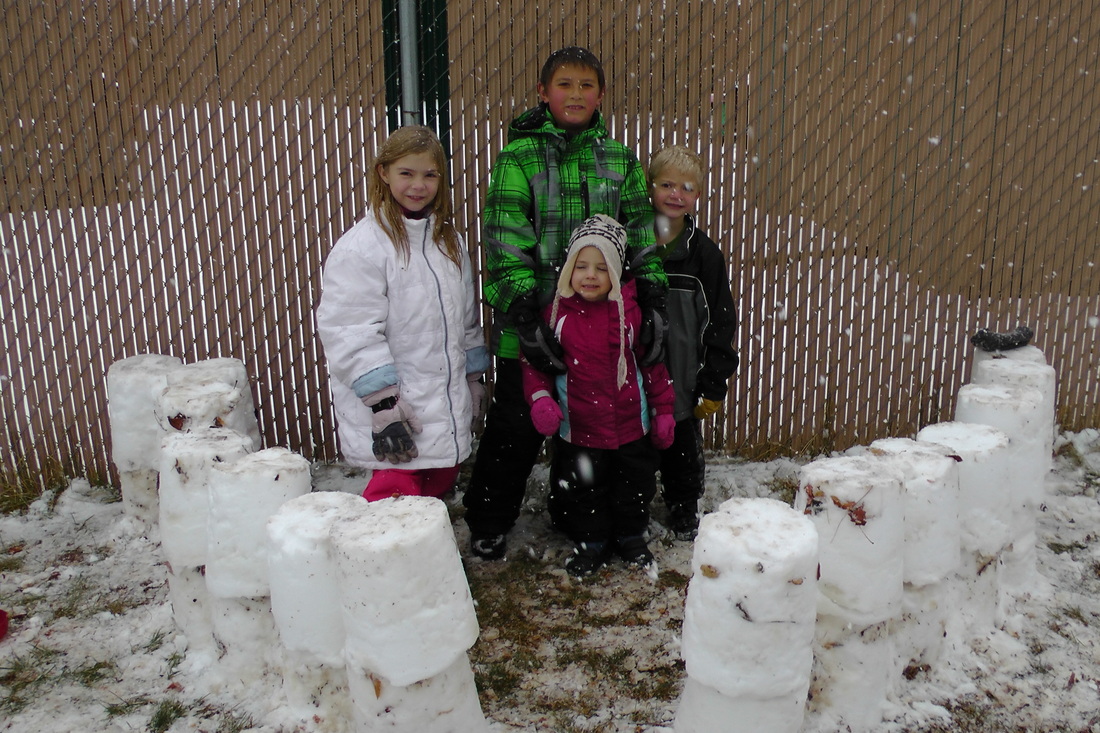
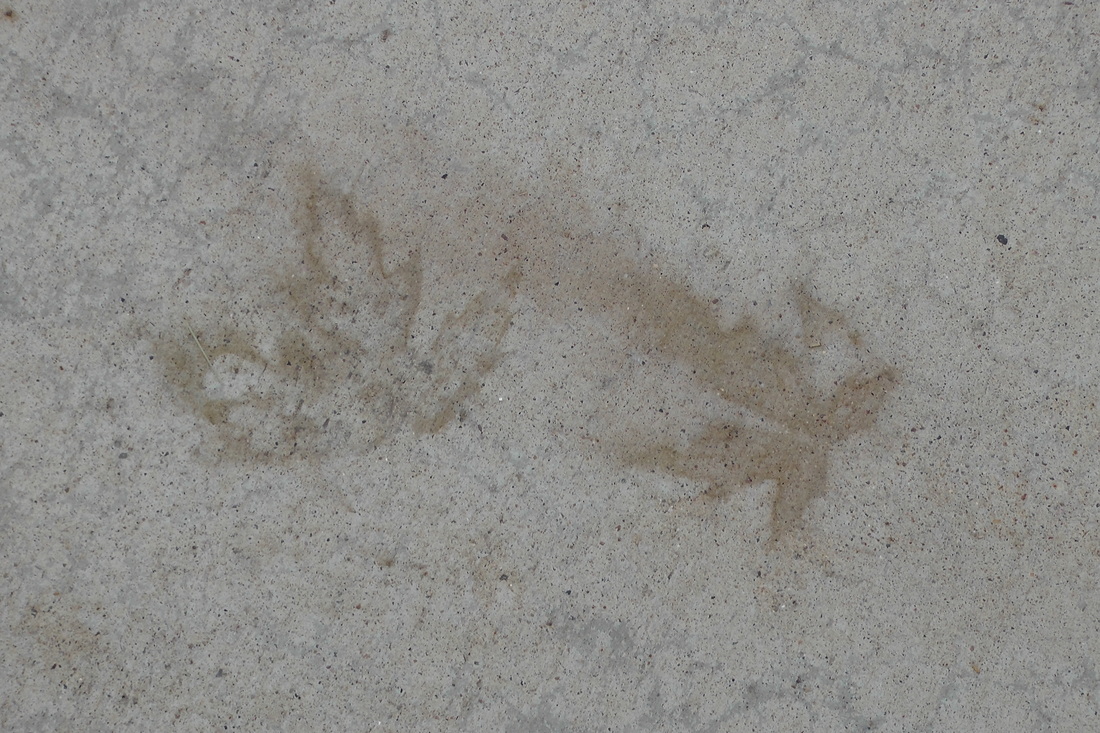
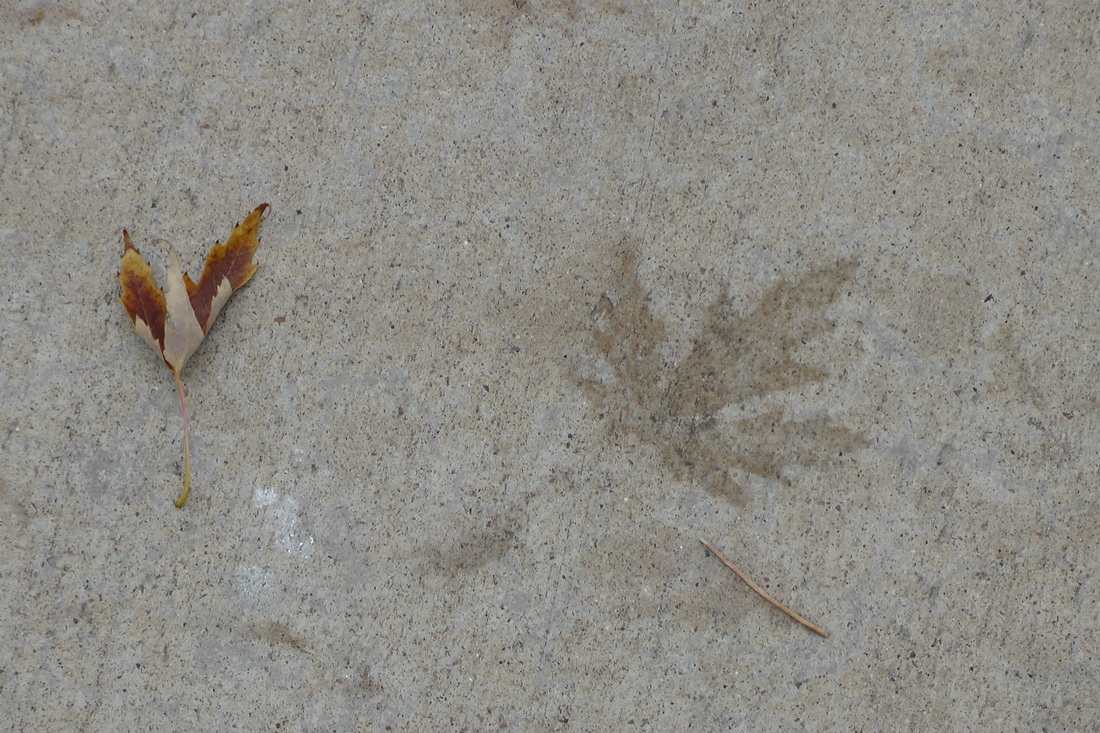
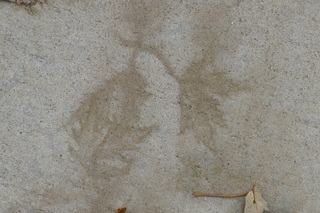
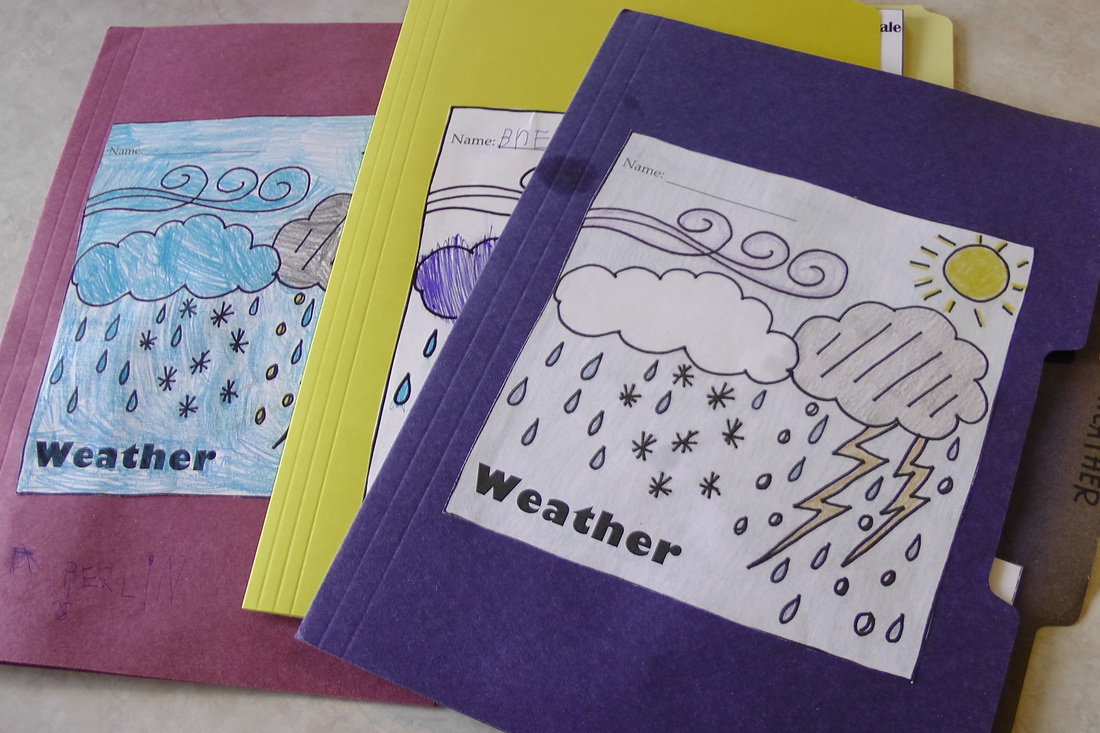
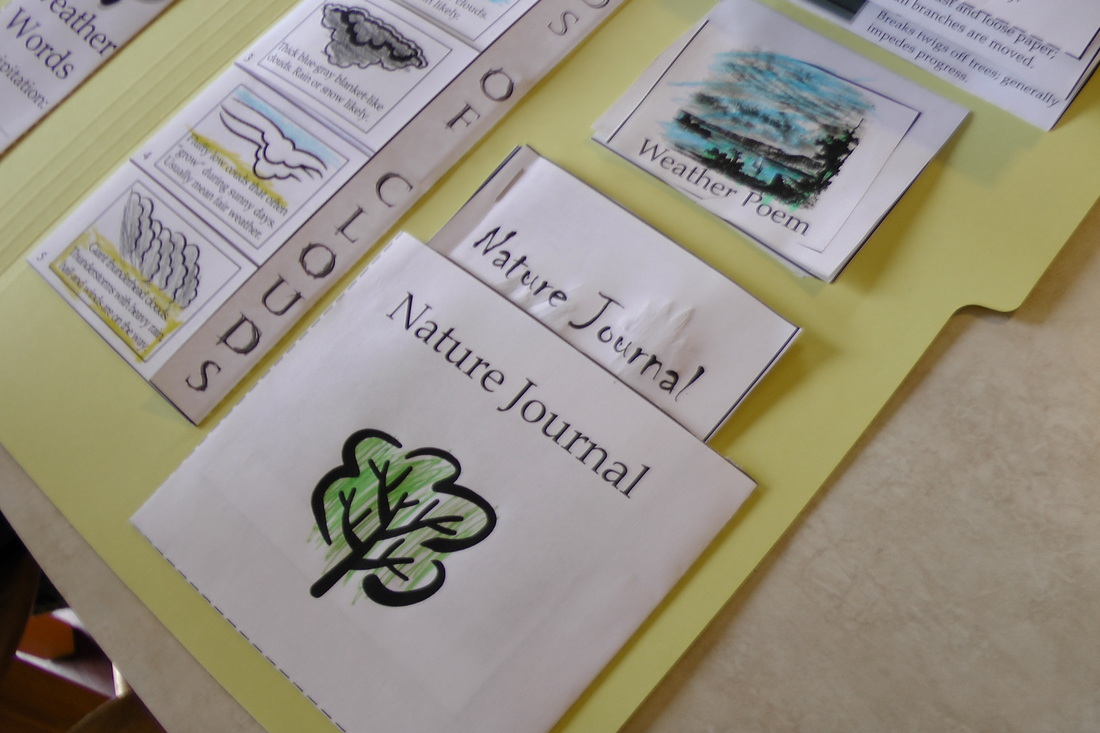
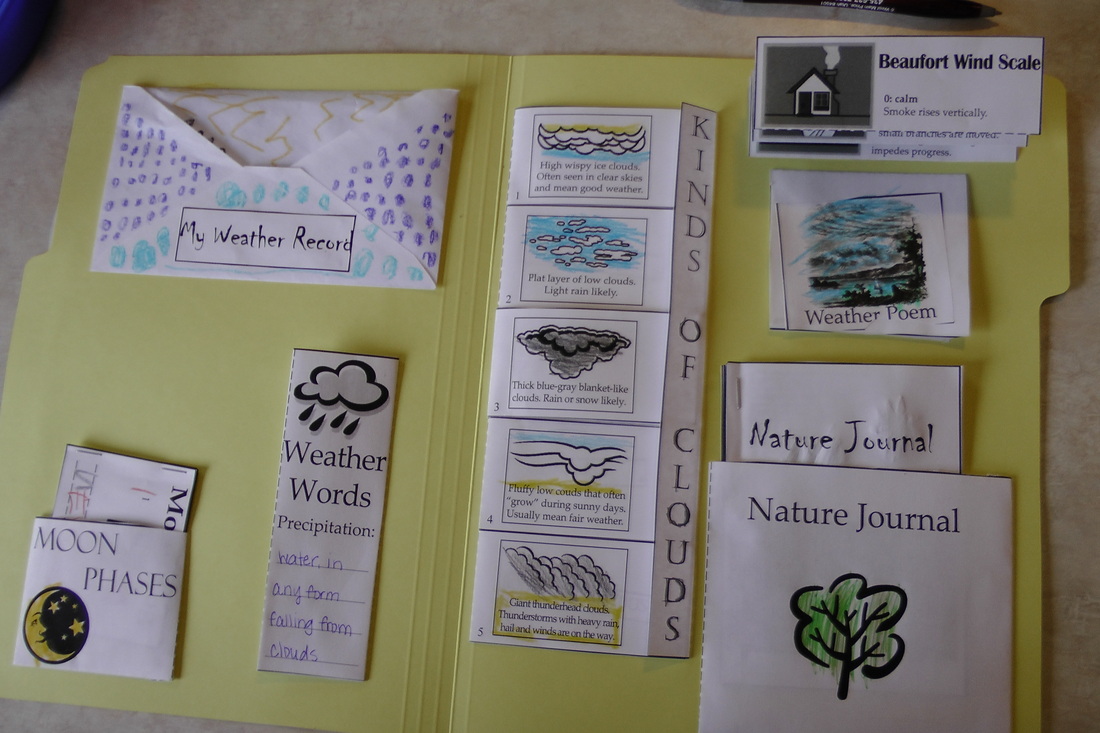
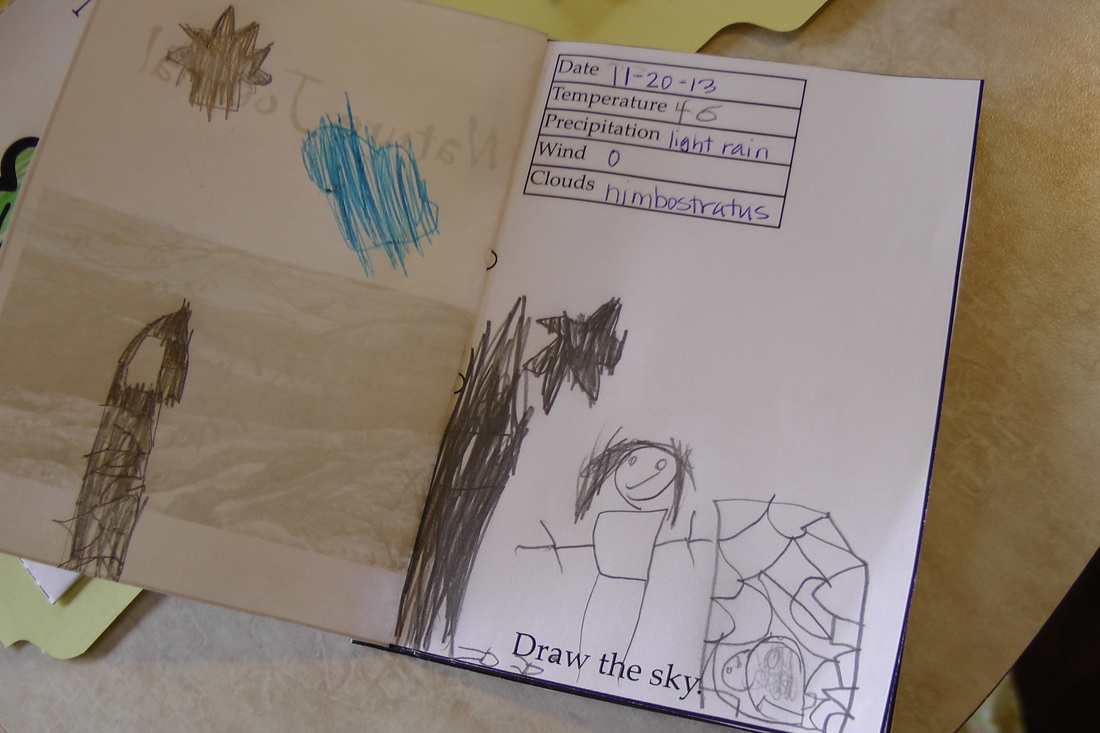
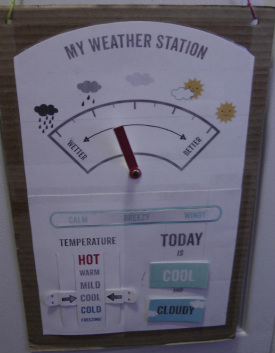
We have been focusing on weather this month for our Outdoor Hour each day. Barb, over at The Handbook of Nature Study has a monthly newsletter giving challenges, free printables and lots of encouragement. We love to use her printables and challenges to help us along with our nature study each day. The first week of the month we cut out the grid challenge and observation ruler (included in the newsletter) and glued them into our natural journals. Big Woman had the grand idea to tape the grid to the top of her journal page and use it as a flap. Even the Littles had to cut and glue a grid into their books. November brings fun and crazy weather, we had sunshine days with temps in the 70's, lots of falling leaves, rain, wind, frost and a fun snow storm to top it off. On snow days the journals are tossed and its all about the hands on, there was even enough snow to build a snow fort! Look at these really cool leaf imprints we found on the driveway! This was fun for the children to speculate how the weather made leaf stamps. A few years ago I purchased this Weather Lapbook PDF from Hearts and Trees. As you can see from the photo above, it has hands on weather activities including; kinds of clouds, the Beaufort wind scale, precipitation weather words, weather tracking calender, moon phases, a weather tracking nature journal, a weather poem and weather forcasts (which I don't use in the Littles folders). We have used and loved these lapbook printouts over and over. I even had my cub scouts put them together for the weather belt loop and pin. This year Little Man was so excited to make his own weather folder and we have been using the nature journal for recording our weather and Outdoor Hour time. When we come in from Outdoor Hour we adjust our Weather Station chart accordingly. I found this printable last year but for some reason the link won't work anymore, here is the link to the post on my pinterest board, maybe the link will become active again. This has been a fun tool to use (if we remember:)).
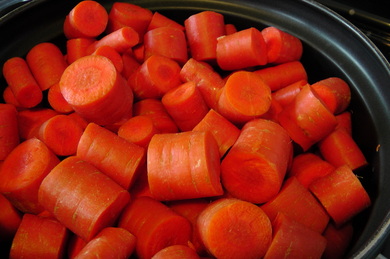
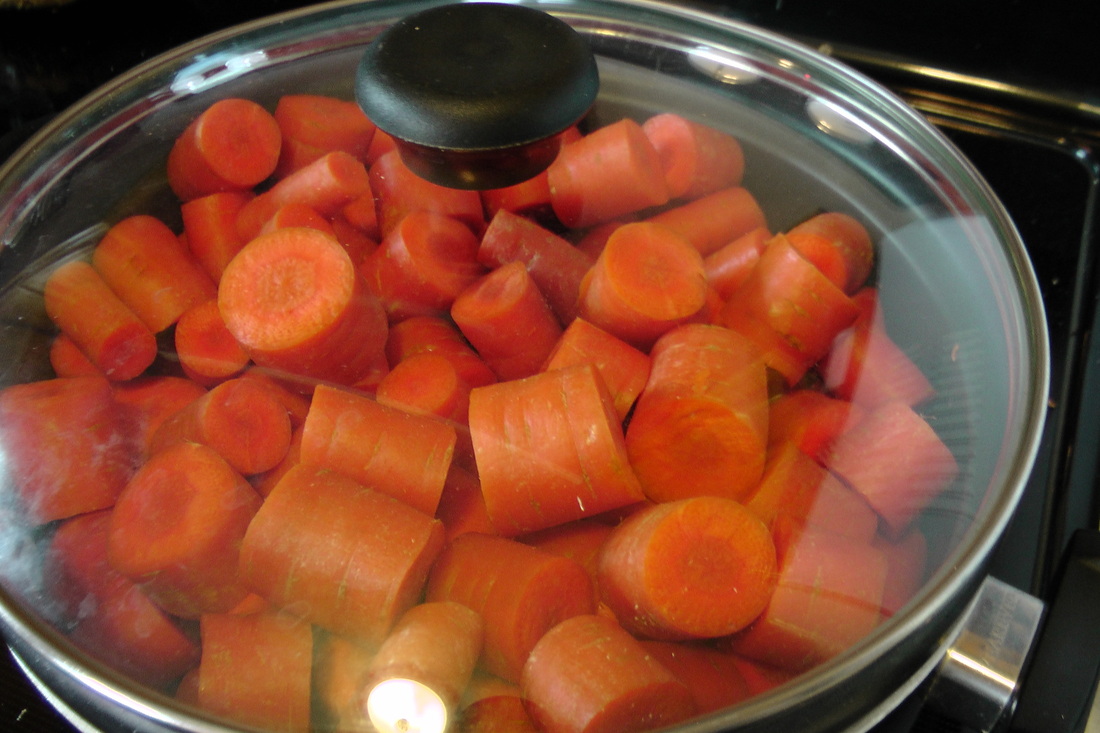
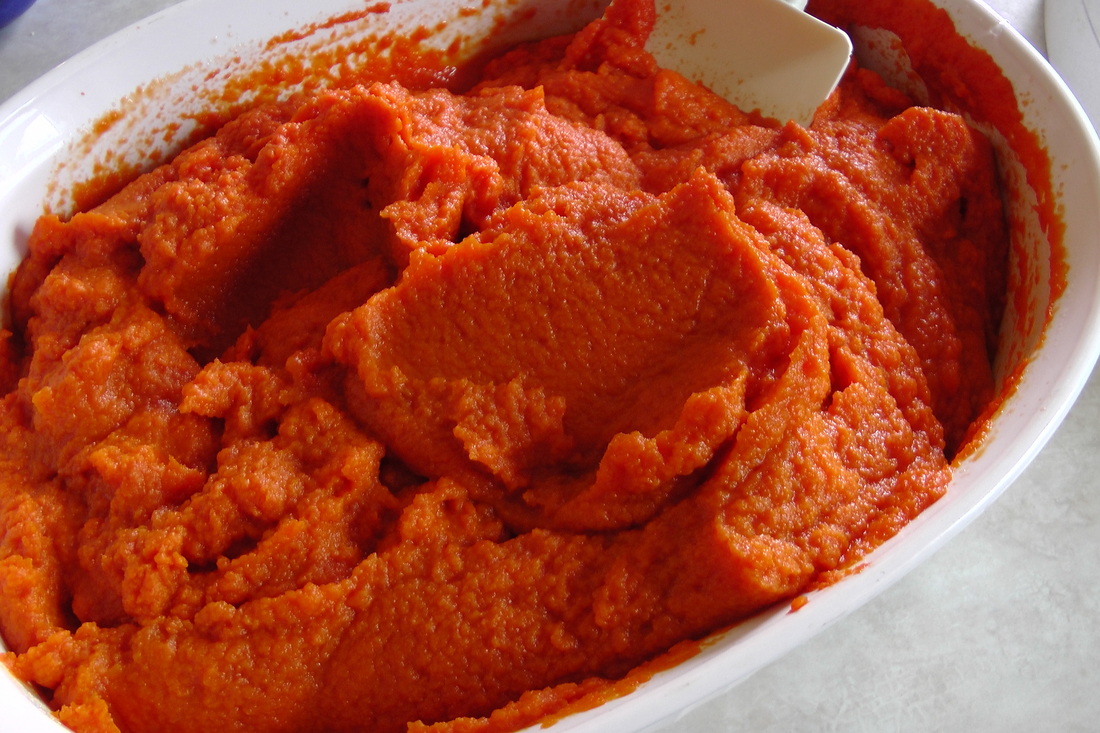
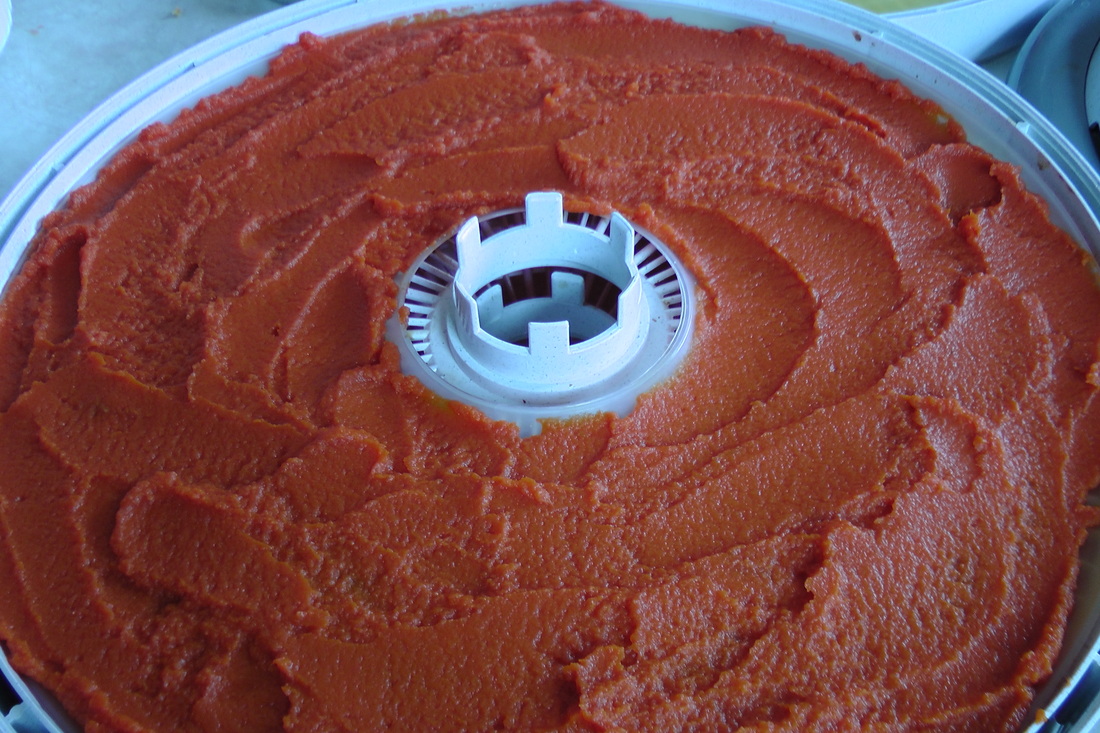
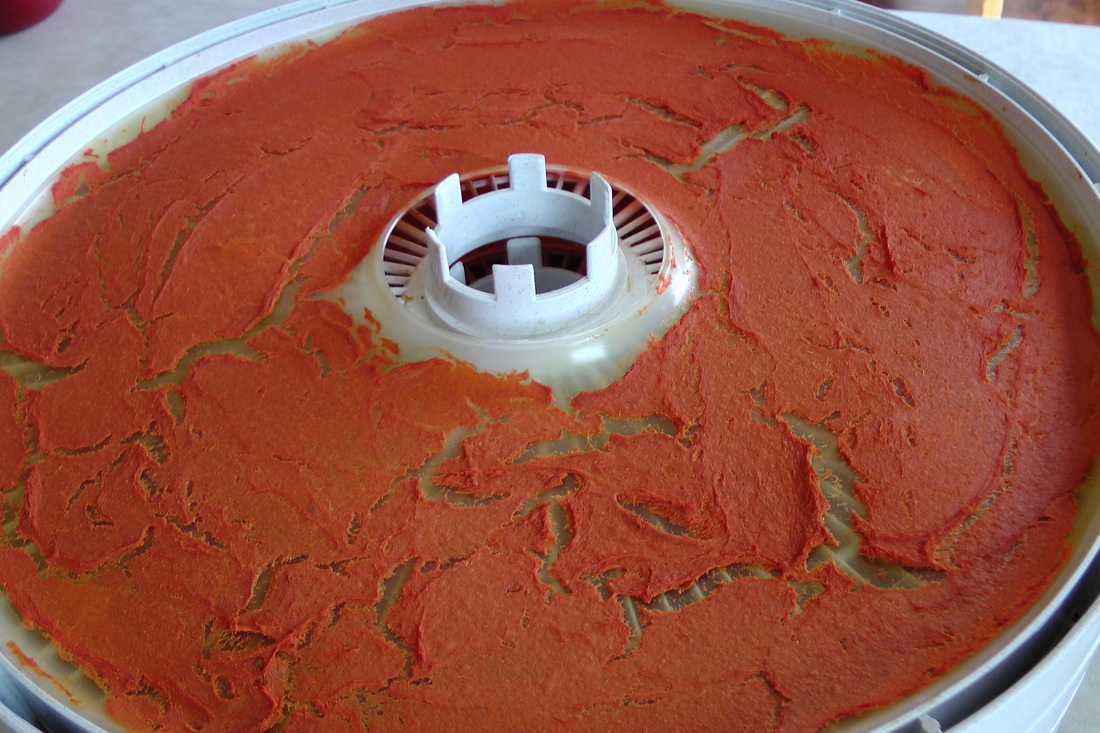
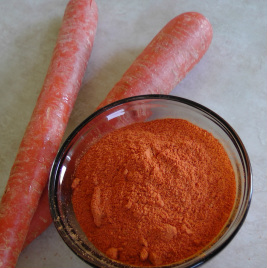
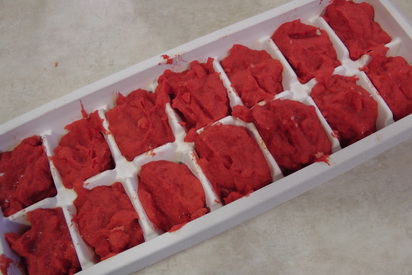
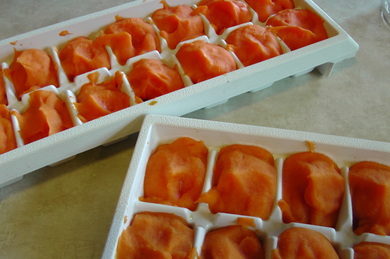
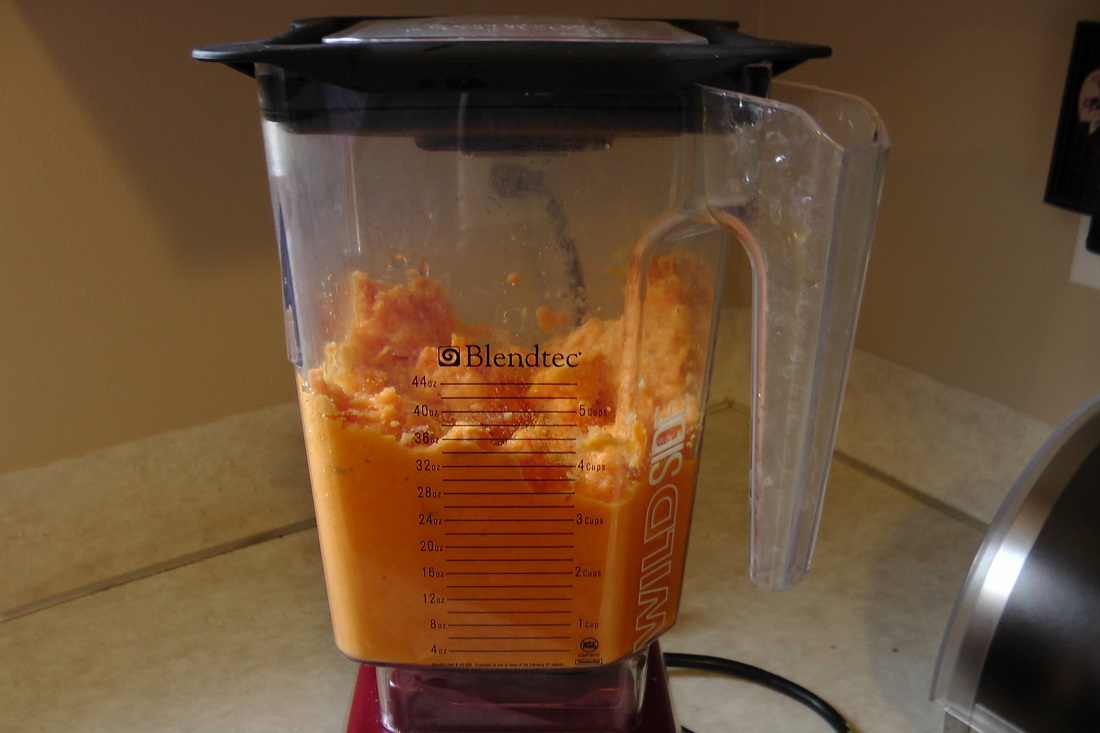
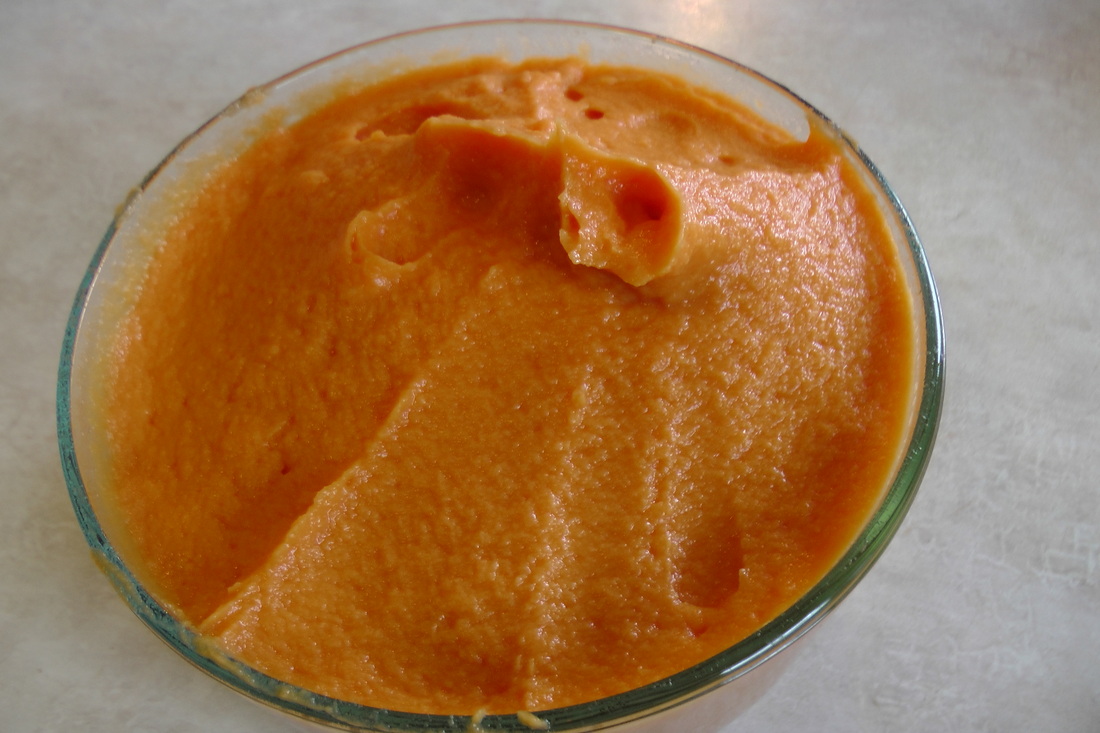
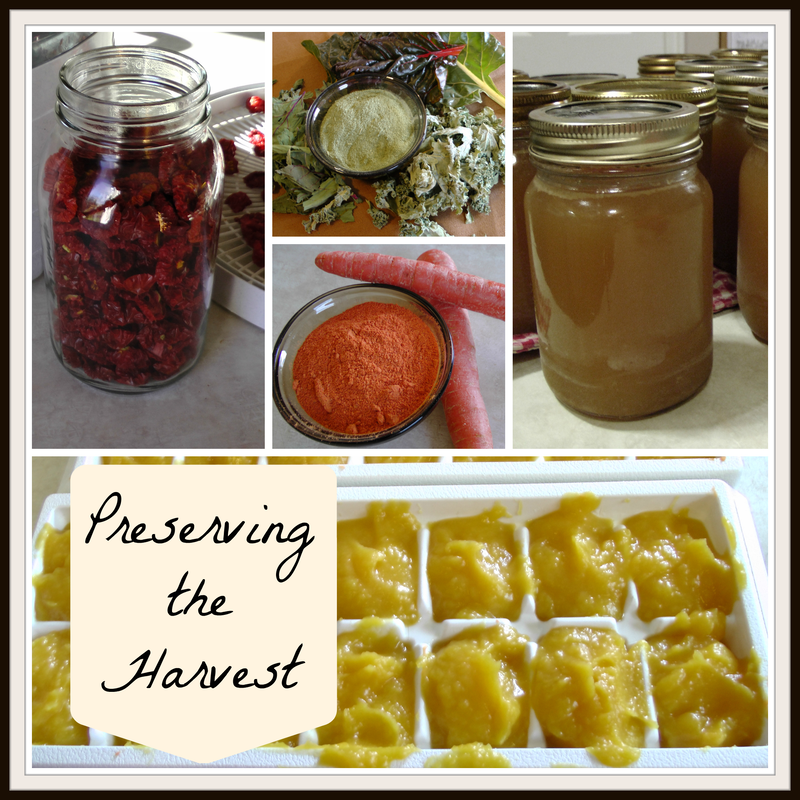
Carrots are my next victim in the puree and powder obsession. Our local farm usually carries these in the fall and I love to stock up. Two years ago I bottled a ton a carrots and no one was eating them so I had to employ my sneaky skills of pureeing and powdering. I drained the water, pureed the carrots, froze half of them in food cubes and dehydrated the rest. I liked it so much that I no longer bother with bottled carrots and go straight to the puree and powder. Powder First lesson I learned with carrot powder is, it doesn't work like the pumpkin and yam powder, no raw dehydrating here. I ended up with carrot "rocks" that put a permanent ring around my beloved Twister Jar! No, carrots must be pureed first and then spread on dehydrator trays like you are making fruit leather. So first step is to steam those carrots until they are soft and tender, you could also put them in a slow cooker overnight. I don't bother with peeling the carrots, as a lot of nutrients are in the "skin" part, so I give them a good brush scrubbing and then cut into chunks. My chunks for this batch may have been a little too big because the steaming time took about and hour. The smaller you make the chunks the faster they will steam. You want them to the point where you can poke a fork easily into the carrot. Once ready place in a blender or food processor and blend until they are pureed. Spread the puree on fruit roll sheets for the dehydrator and dehydrate until the sheet is crisp. You can see how there will be "crack" marks throughout the dried puree. Break apart into a blender and blend into a powder. I like to use this powder in sweet breads, pancakes and waffles. When I had nothing but zucchini for my Garden Cake, I used this carrot powder. You can also put in an old spice jar and sprinkle into your soups and dinner dishes. As a bonus the powder makes a great natural food coloring. Frozen Food Cubes With the remaining puree, spoon into ice cube trays and freeze. Pop out and store in freezer bags with a label, you may want to include that two cubes equal 1/4 cup. I loved using these for baby food and they make a great add in to soups, casseroles, sweet breads, pancakes, essentially anything you are using the powder for.
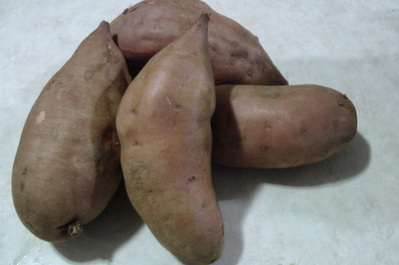
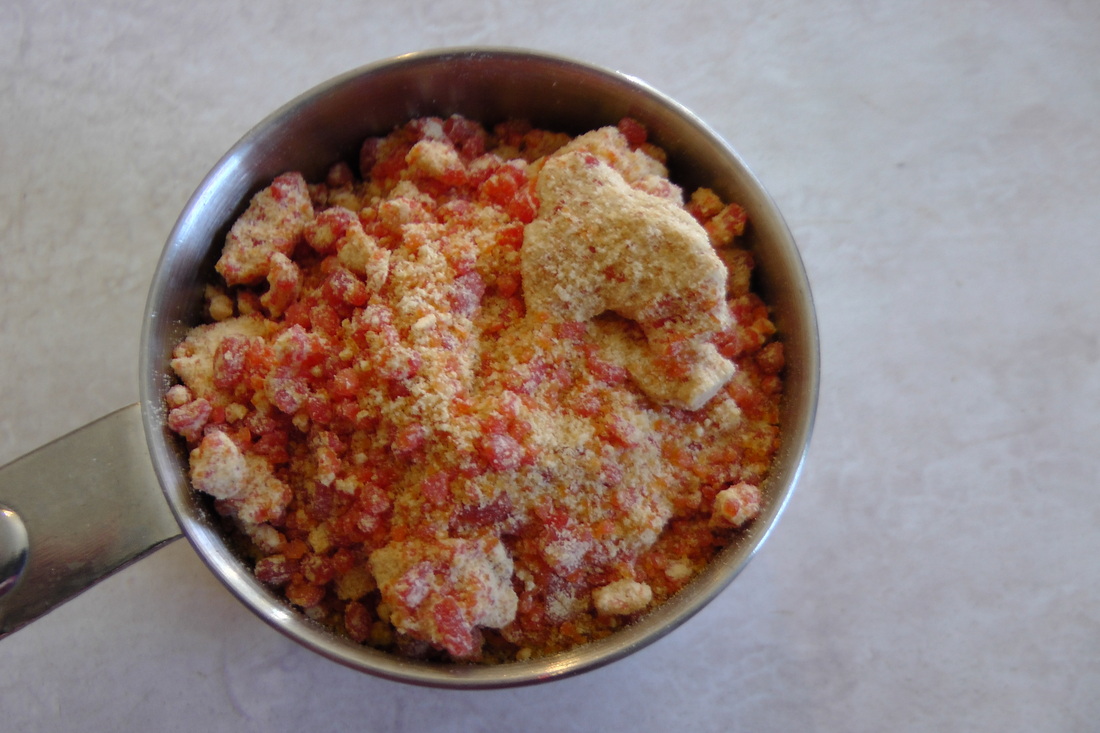
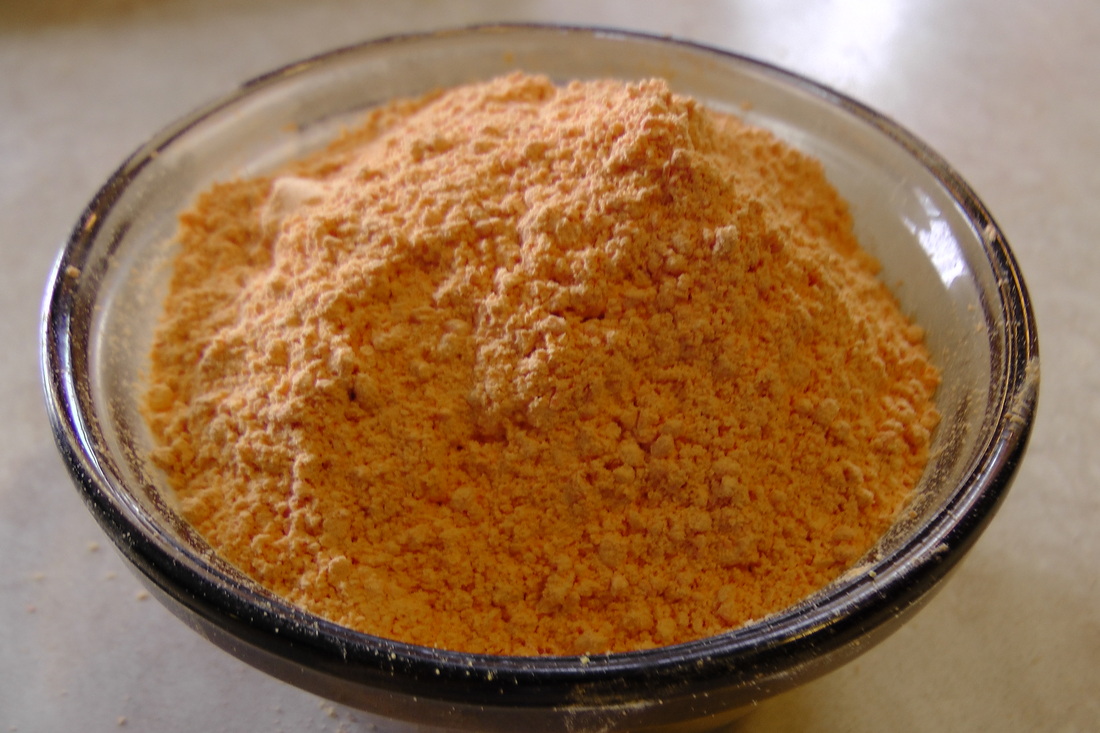
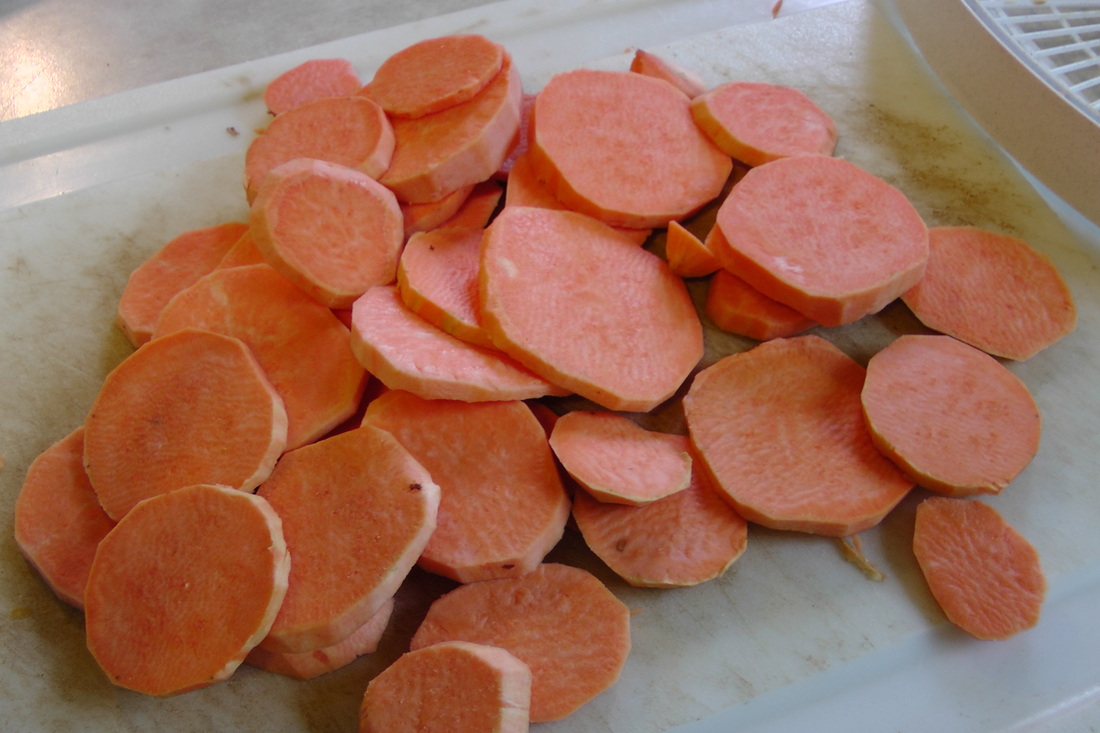
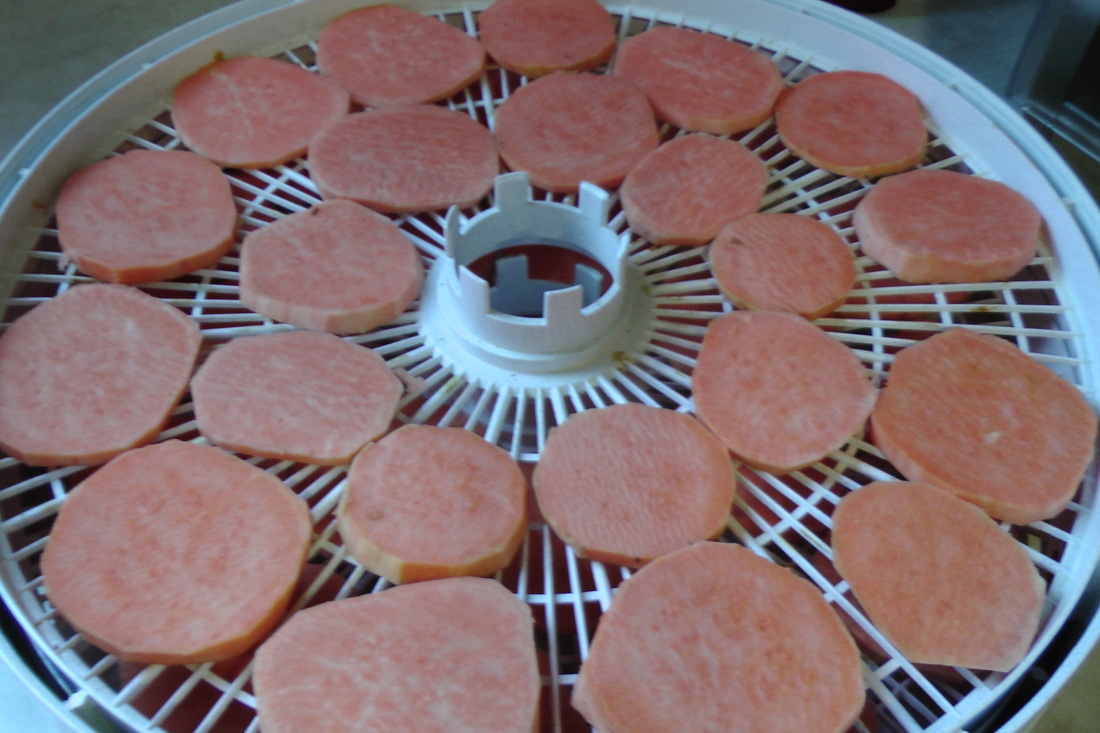
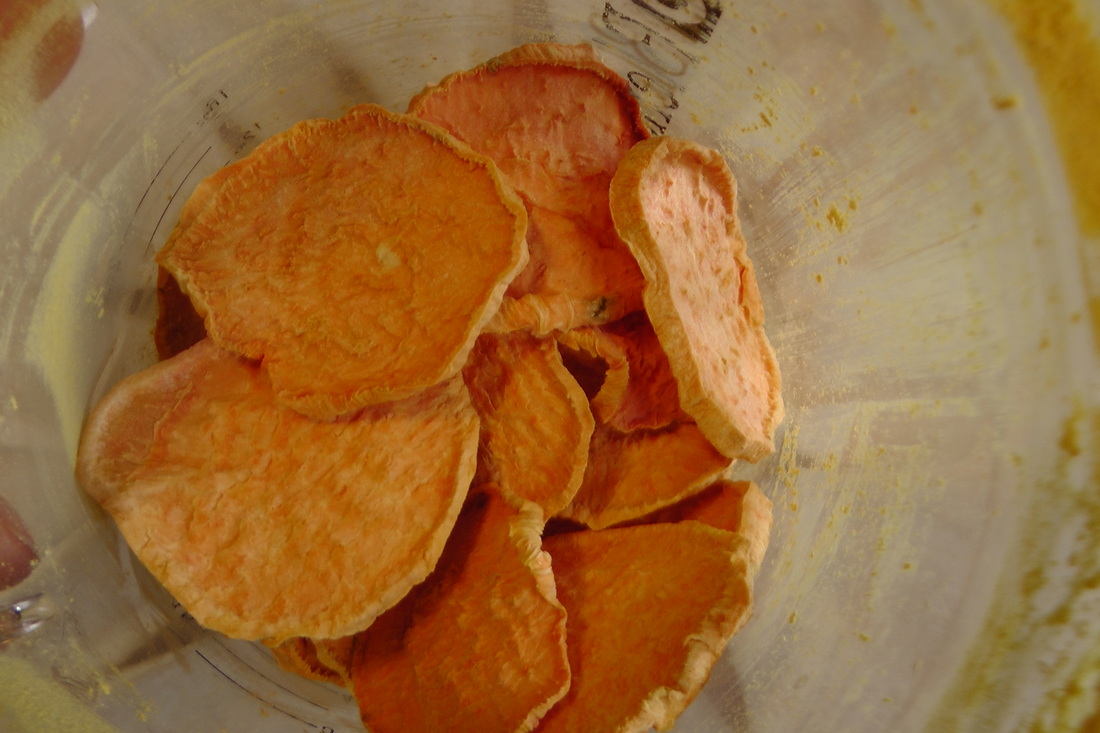
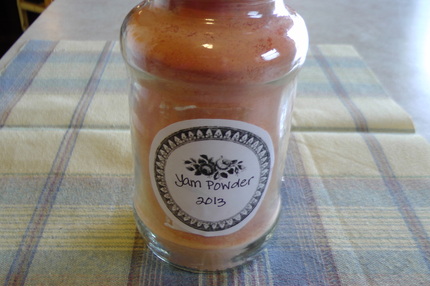
This time of year brings big deals on yams and I always stock up and preserve them for future use when they are cheap. Yam powder is my favorite way to utilize the yam. I use it in all our pancake, waffle and breakfast foods. I have even been substituting 1/4 cup of the breakfast flour in our Banana Chocolate Chip Pancakes with 1/4 cup of the yam powder and really love the texture and flavor. I also love to make a puree and freeze in the cubes, like we did with the pumpkin. I like to add the cubes to hot cereal, hidden in hot chocolate, mixed into soups, blended in smoothies and defrosted for instant baby food or as a side for dinner or lunch spread with butter and sprinkled with some Breakfast Sprinkle or Cold Remedy Spice Mix. And of course you can always do the traditional method of canning them. Yam Powder I did a little experimentation with my yam to see how to make the best powder. I first tried to cook, puree and then dehydrate, with not so fantastic result. You can see in the first picture how the puree became clumpy and hard, rather than soft and fluffy, like a flour. So I used that in dishes I was blending before hand and tried again, this time peeling and dehydrating raw. That is the method that works! Peel your yams and cut into 1/4 inch slices. Place on the dehydrator trays and dehydrate on the fruit/veggie setting, which is 135. I usually do mine overnight and in the morning they are ready. I test readiness by snapping them in half, if they snap they are ready. Place in your blender, I find the high powered blenders work the best for powders that turn out like flour. I use a Blendtec and usually blend it on speed 3 or 4, then pour into a glass jar and label! Yam Food Cubes I love my food cubes and yam puree is my favorite! Bake your yams at 350 for an hour or so, until soft. Peel off the skin (great compost material) and cut into chunks. Place the chunks with a 1/4 cup or so of water into your blender and blend until pureed, using more water if needed. You could also put the cooked chunks into a food processor and process until the right consistency. Fill ice cube trays with puree and freeze, once frozen place into a freezer bag and label. Two food cubes equals 1/4 cup. Nutrition Information Yams are not only deliciously sweet, they are also full of vitamins and minerals.
Resource and more information on nutritional benefits of yams
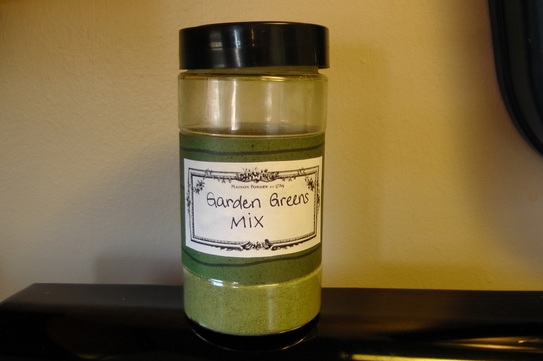
This time of year my dehydrator is always running and I'm blending up all sorts of veggie powders. Between the end of the year garden, the farmers markets and the grocery store sales, there are bargains to be had on produce. This coming week I will be sharing with you a few of my favorite powders and purees I use throughout the year. Garden Greens Mix is my favorite because of the high nutrition content, ease of use and how easily accessible the greens are. You can use any kind of greens and mix and match as you please. I purchase my spinach from Costco and if it looks like I won't finish the bin before it goes bad, I throw the spinach on the dehydrator and add to the greens mix. Don't ever let something in your fridge go bad again, when you can just dehydrate it and make it into a powder.
Garden Greens Mix
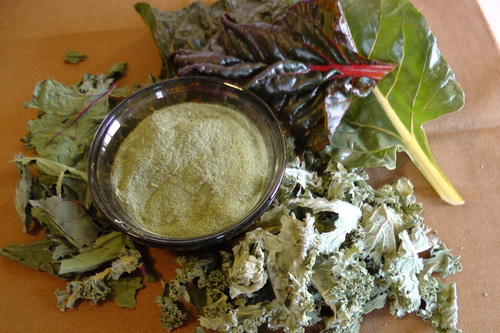
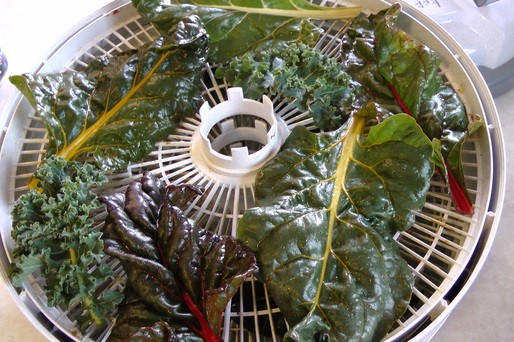
Kale and chard is what I have been using this week because they continue producing in the garden until the first hard frost, and I've even had some go longer than that! They are cold loving plants and don't mind the cooler temps at all, so I take advantage of that by cutting down here and there and dehydrating them. Place a layer of the greens on your dehydrator trays and dehydrate at the lowest setting to keep all the beneficial nutrients.
Once crisp, place in the blender and blend to a powder. I fill an empty spice container up and any left over I keep in a glass pint jar in a cool, dry place to keep it fresher, longer. If I have even more dehydrated greens I keep them whole until I am ready to refill my spice container, again keeping the nutrients in-tack longer. I like to use this in guacamole, pasta, salads, soups, and even my refried beans. This is my favorite sneaky mix in for those picky children of mine.
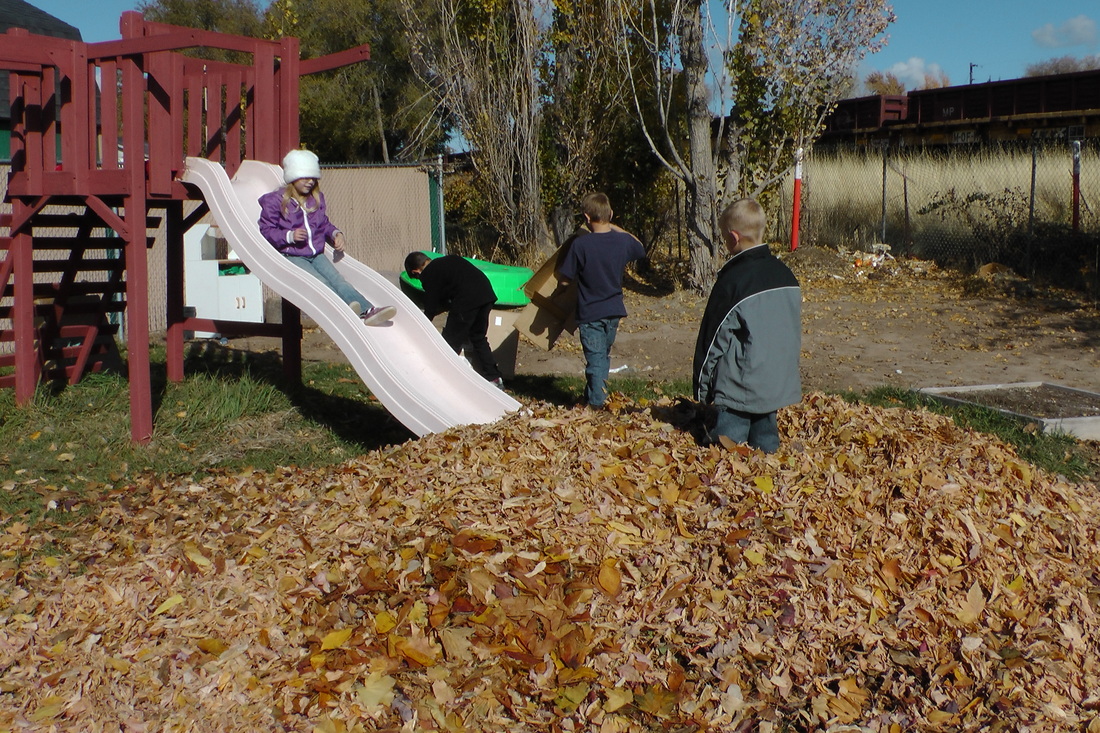
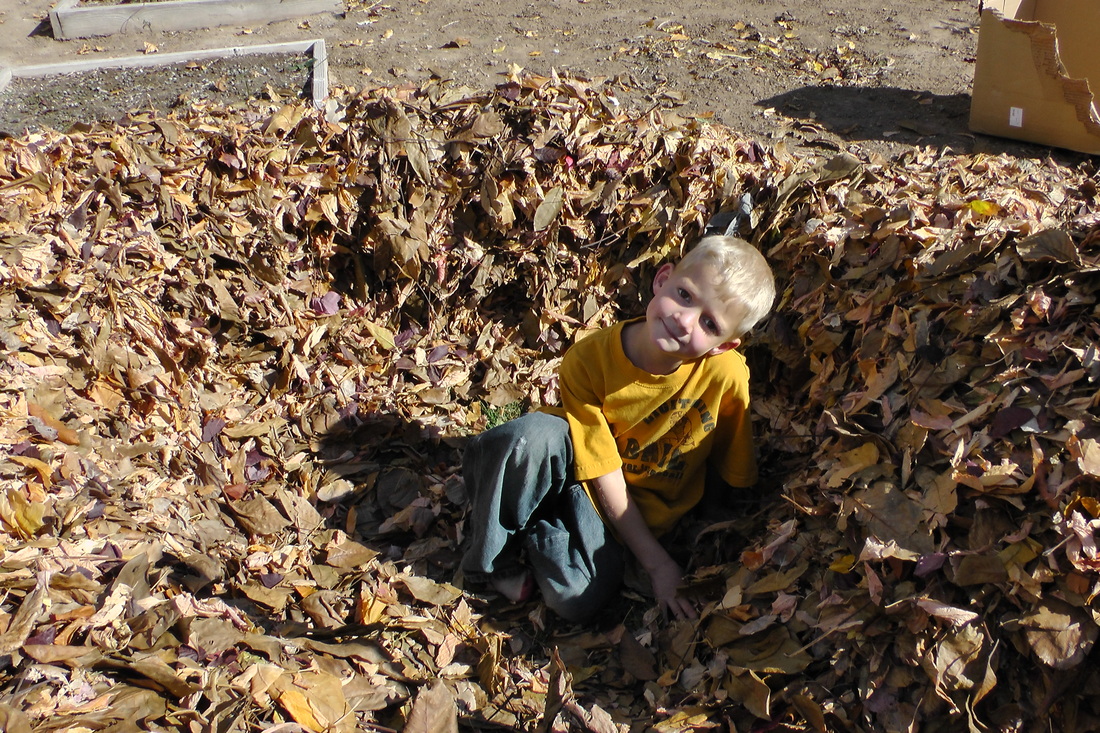
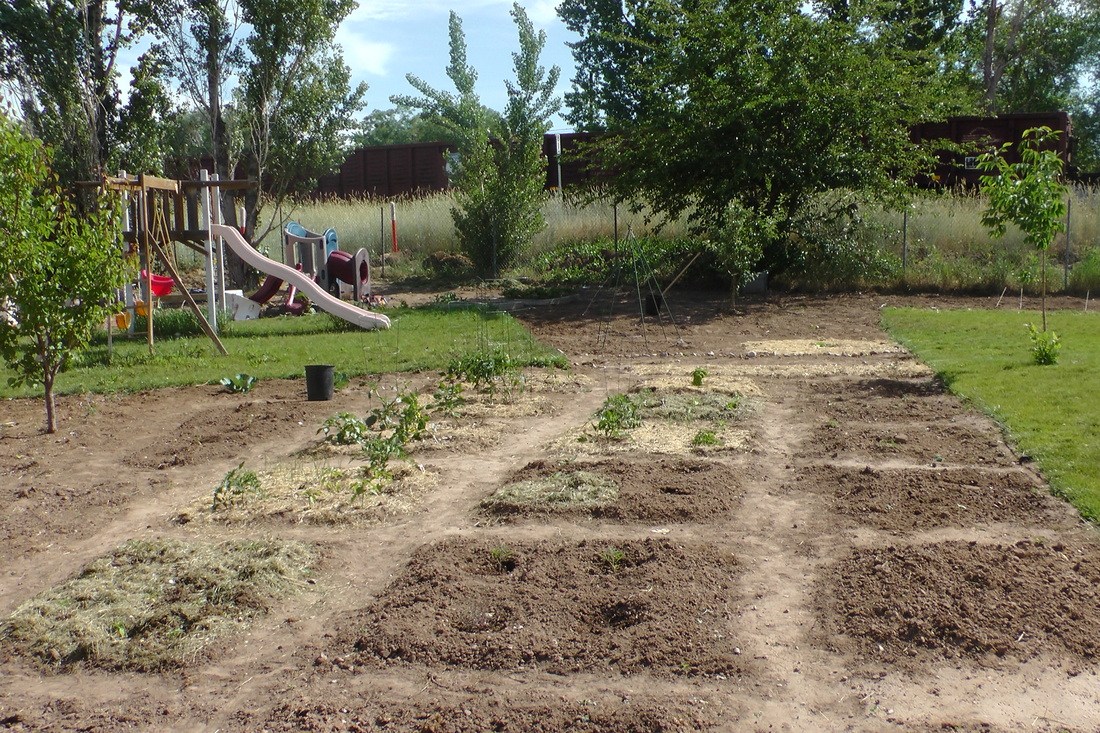
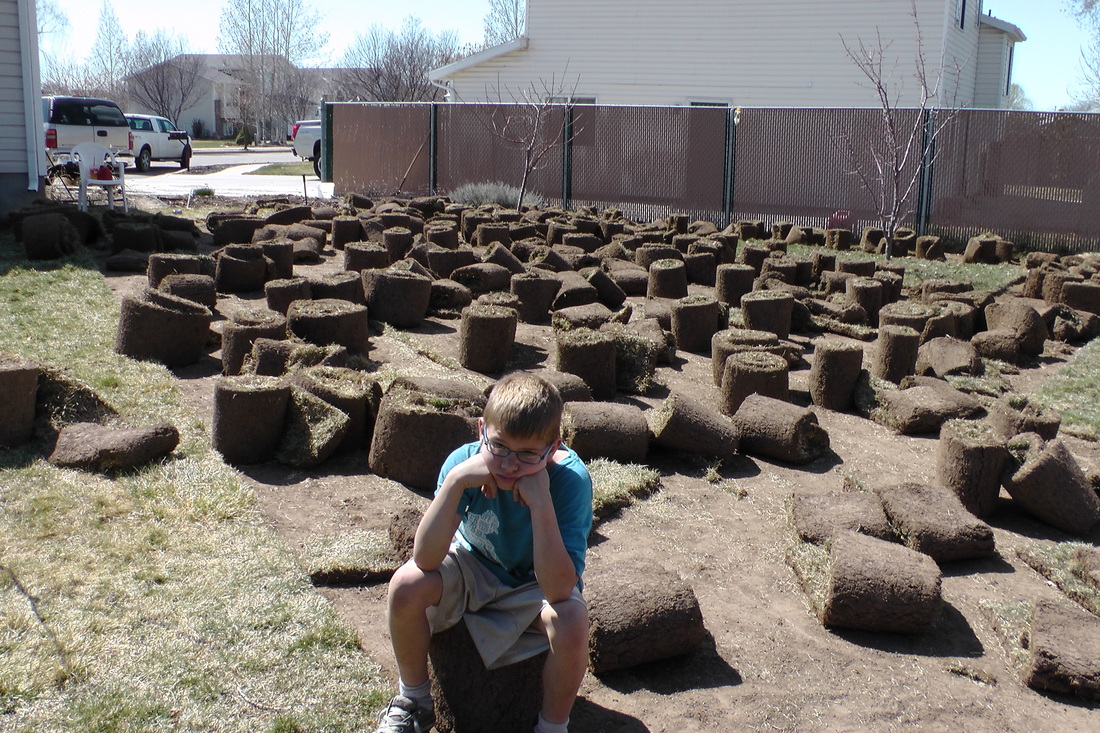
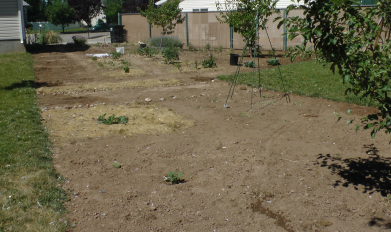
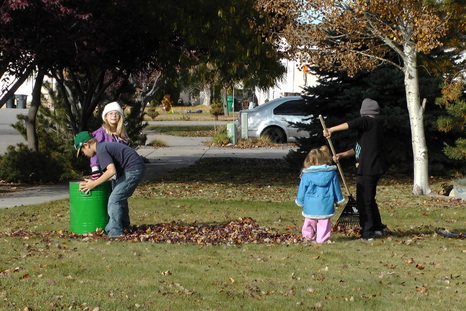
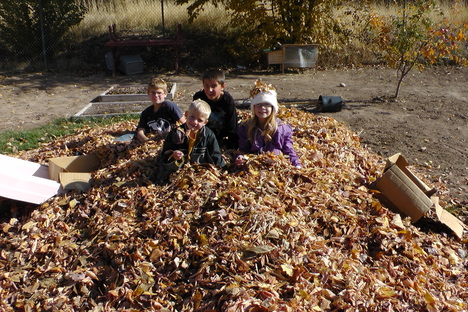
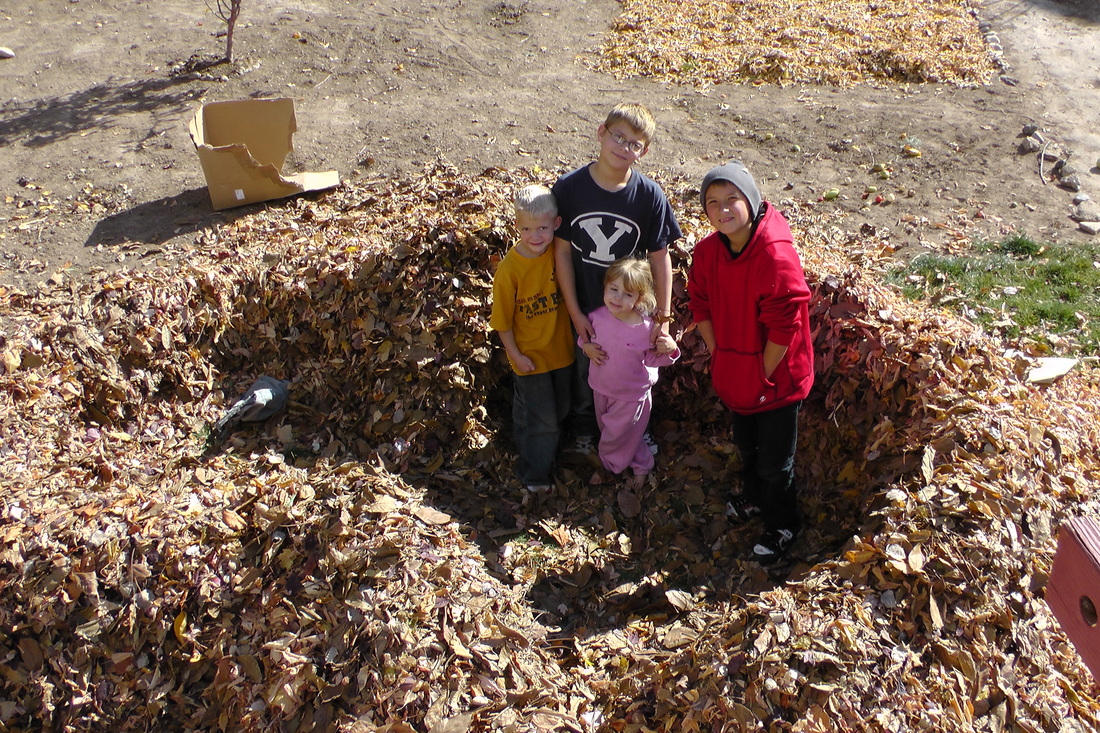
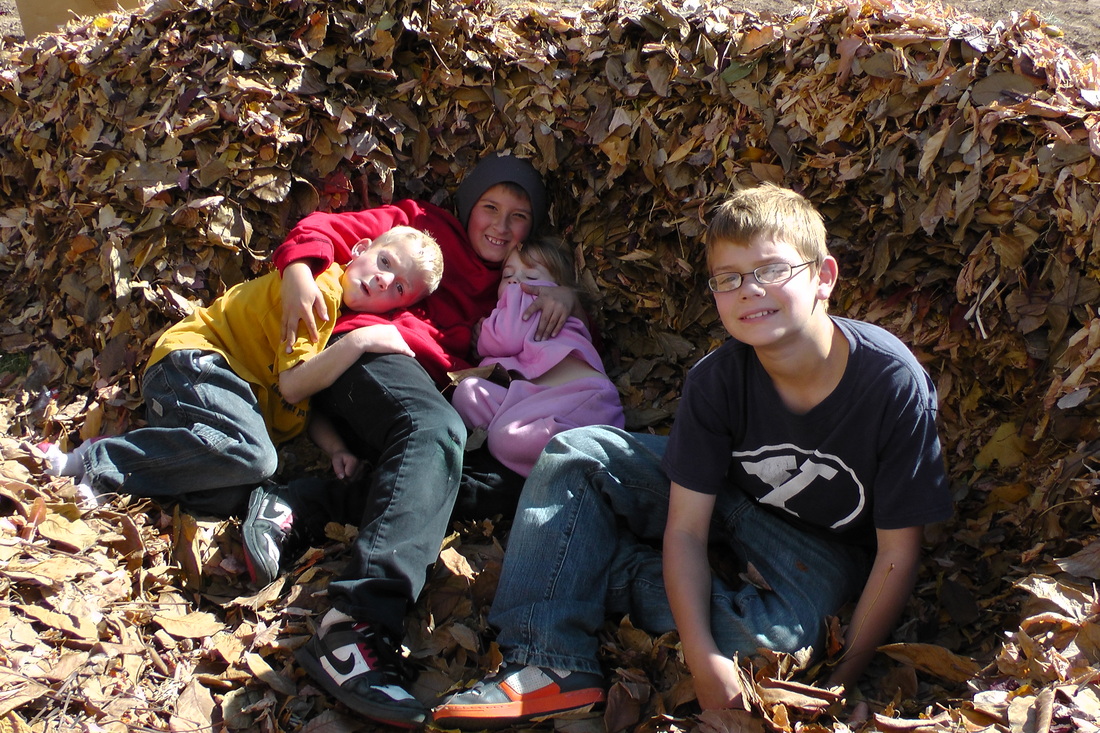
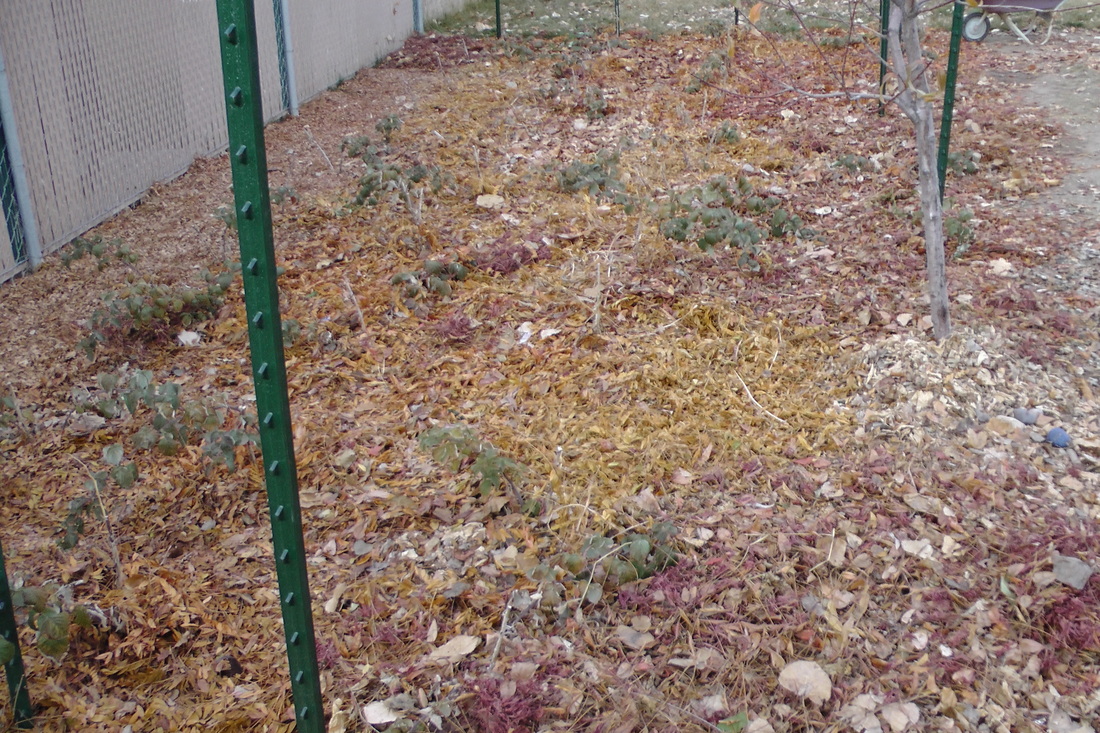
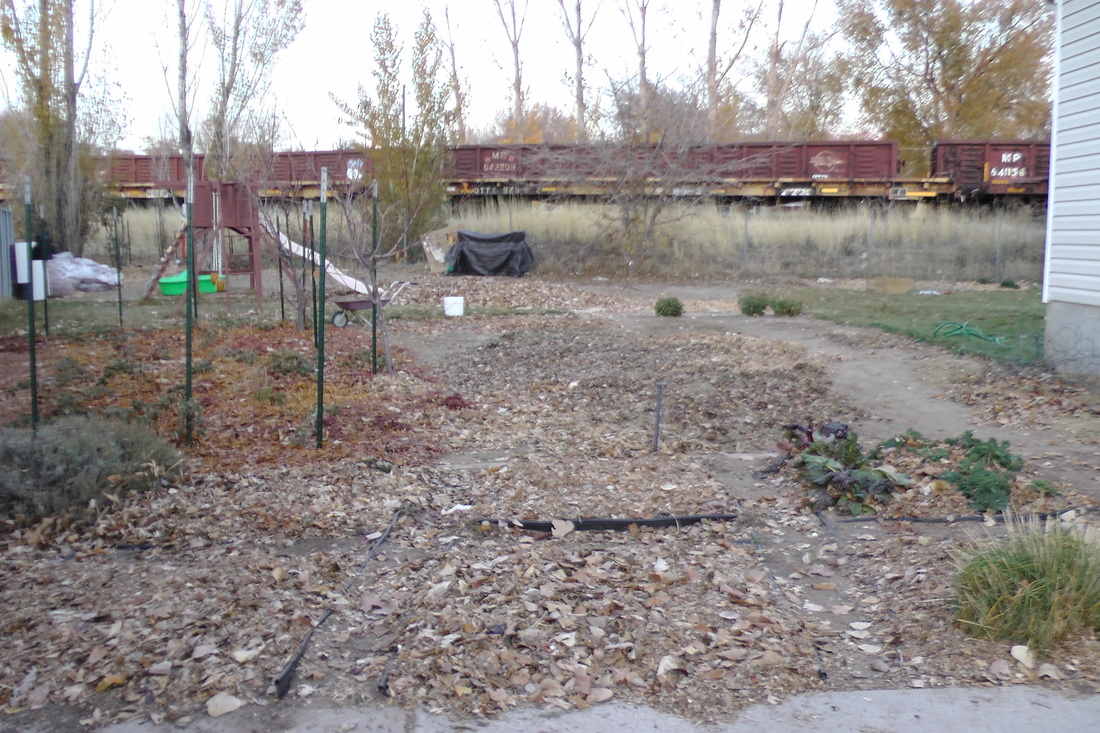
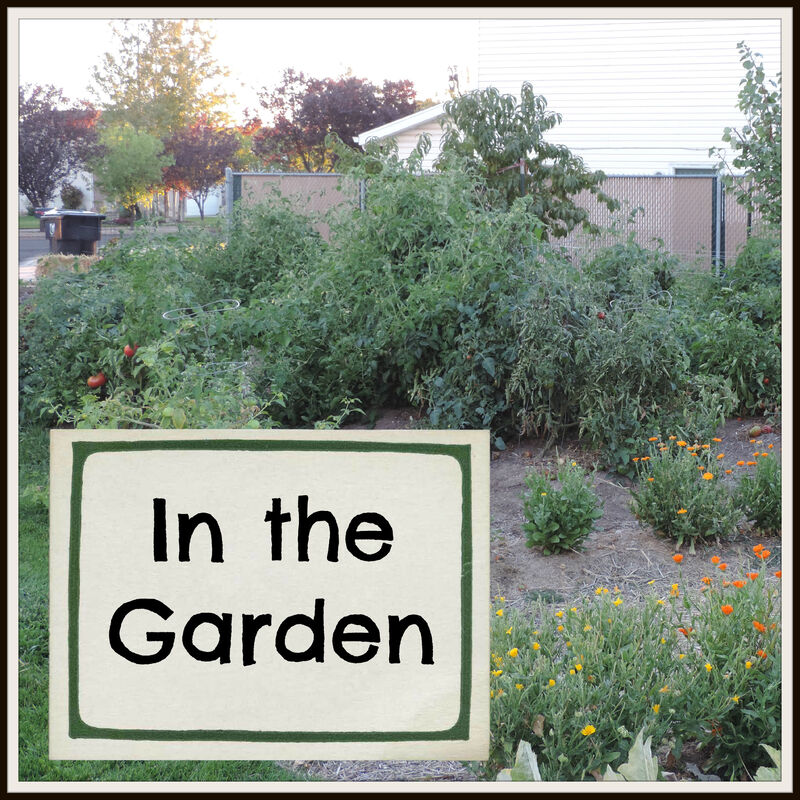
This spring I got a crazy notion to expand my garden, just a little, check out my photos! I was able to plant many of my beloved herbs with plenty of space for my annual plants that I can preserve and add to my food storage. While I am so excited about the space, it is a lot more work than what I previously had and sometimes wonder what I got myself in to. The time of year has come to put that garden to rest and I am ready for the break winter brings. I got some great tips fromOld World Garden Farms and will be making the expanded garden into raised garden rows come spring. We pulled all the plants out of the garden and composted all but the tomatoes and peppers. In order to prepare for the spring I will be laying down a 6" layer of mulch on all exposed soil. This protects the soil from losing precious nutrients and prevents weed seeds from settling in while adding nutrients back. Because leaves are in abundance and readily available this time of year, that is what I will be using. We sent a call out to all neighbors getting rid of leaves that we would pick them up or they could drop them off at our house. We also used this as a service opportunity for the children to rake the leaves of neighbors that could use a little help. We soon had the best leaf pile in the neighborhood and the kids had way too much fun exploring and playing in them. They had so many leaves they were able to make a leaf fort with a room for each child. All good things must come to an end though and I had Big Man mow the leaves to help them decompose faster, before spreading them all over the soil. Any leaves we have left will be saved for the compost pile and come spring we will add a layer of compost and topsoil over the leaves. Here are some great articles from Old World Garden Farms on how to prepare now for next spring:
3 Inexpensive Ways to Feed Your Soil Now For a Great Garden Next Year Preparing the Garden Tools and Equipment for Winter How to Start a Great Compost Pile this Fall for Free 3 Must Take Steps for Fall Garden Clean Up
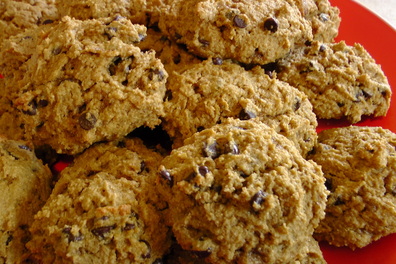
I love pumpkin cookies, but I am not a big fan of processed cake mixes, shortening, white flour or refined white sugar, that I was finding in so many recipes. So I set about to make a delicious and somewhat nutritious (more sugar than I usually like in these) pumpkin cookie. My children usually don't care for pumpkin cookies but they loved these so they have now been added to the keeper cook book and will be part of our pumpkin tradition treats.
The Recipe
Blend together the following ingredients until creamy:
1/2 cup coconut oil 1 1/2 sucanat or coconut sugar 2 eggs Add in: 1 1/2 cups pumpkin puree 2 teaspoon vanilla
In a separate bowl mix together the following ingredients:
3 cups multi-grain flour 1 teaspoon Real salt 1/2 teaspoon baking soda 1/2 teaspoon baking powder 3 teaspoons pumpkin pie spice Add the dry ingredients to the pumpkin mixture and stir until combined. Add 1 cup of chocolate chips and stir.
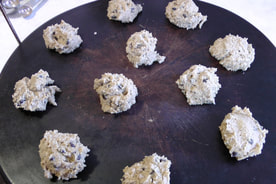
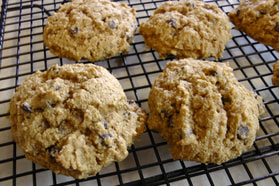
Spoon onto a baking stone or cookie sheet and bake at 350 degrees for 15-20 minutes. My convection oven took exactly 18 minutes to bake these to perfection.
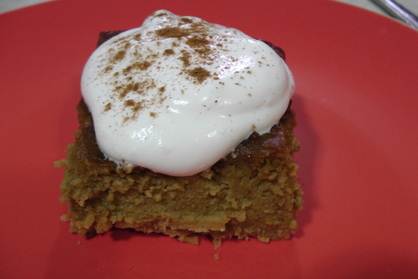
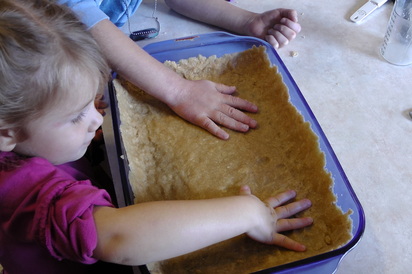
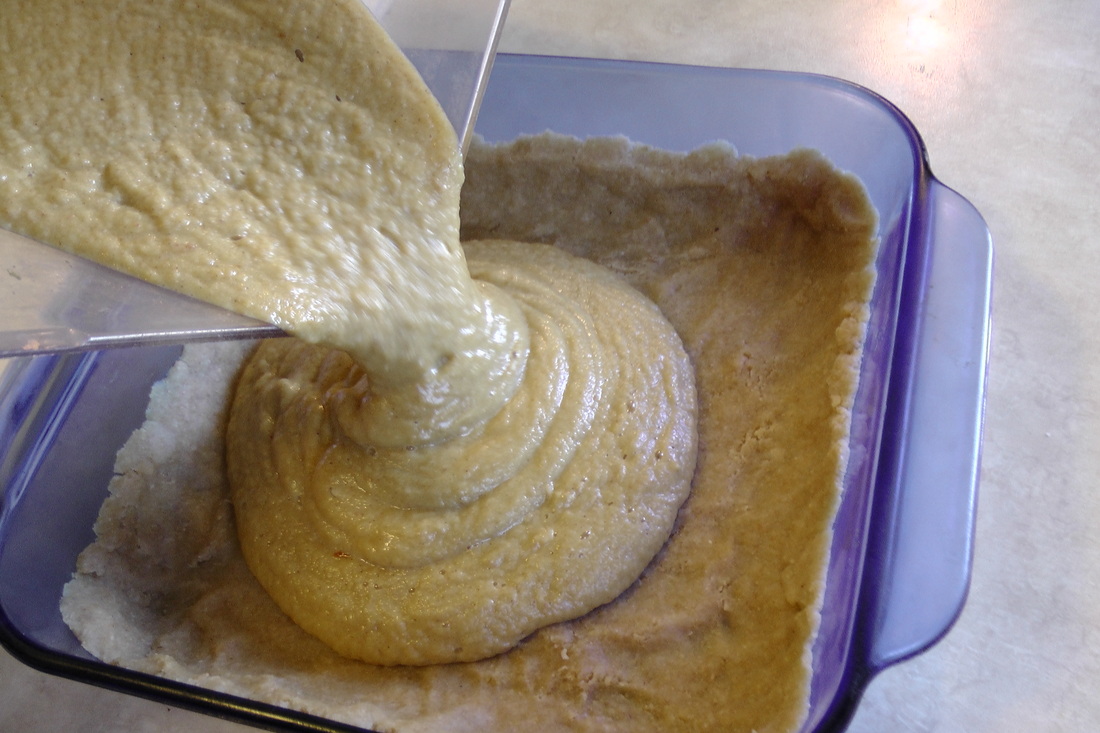
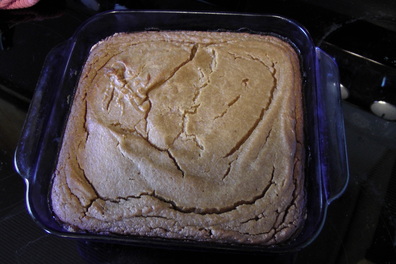
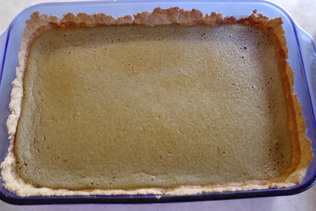
Pumpkin pie is my absolute favorite fall treat and over the years my pumpkin pie has evolved into a healthy treat we can eat for breakfast, as well as dessert time. I don't really feel like I can call my pumpkin pie an actual pie though since I just mix the dough and press it into a cake pan, all about the easy around here. For this reason we call this a pumpkin "pike". The dough is not only easier to deal with, it is also easier to cut out and serve in cake like squares rather than a fat on one side, thin on the other pie piece.
Whole Grain Pie Dough Recipe
2 cups whole wheat pastry flour
1/2 cup wheat germ 2 tsp. Real salt 2/3 cup coconut oil, melted 6 Tbsp. water or milk Combine ingredients until moist. Press into a 9X13, 2 8X8 pans or 2 pie pans, if your going traditional. You can find gluten and dairy free pie crust recipes here, using almond flour or coconut flour. Pumpkin Filling
I tried a new pumpkin filling recipe this year that I got off the Bulk Herb Store articles section (filling #1). It is gluten and dairy free, which don't really matter to me but I loved the use of almonds for extra protein. It was really good, but everyone voted that they liked my original filling better, which is filling #2.
Filling #1 Gluten and Casein Free
3 cups pumpkin puree
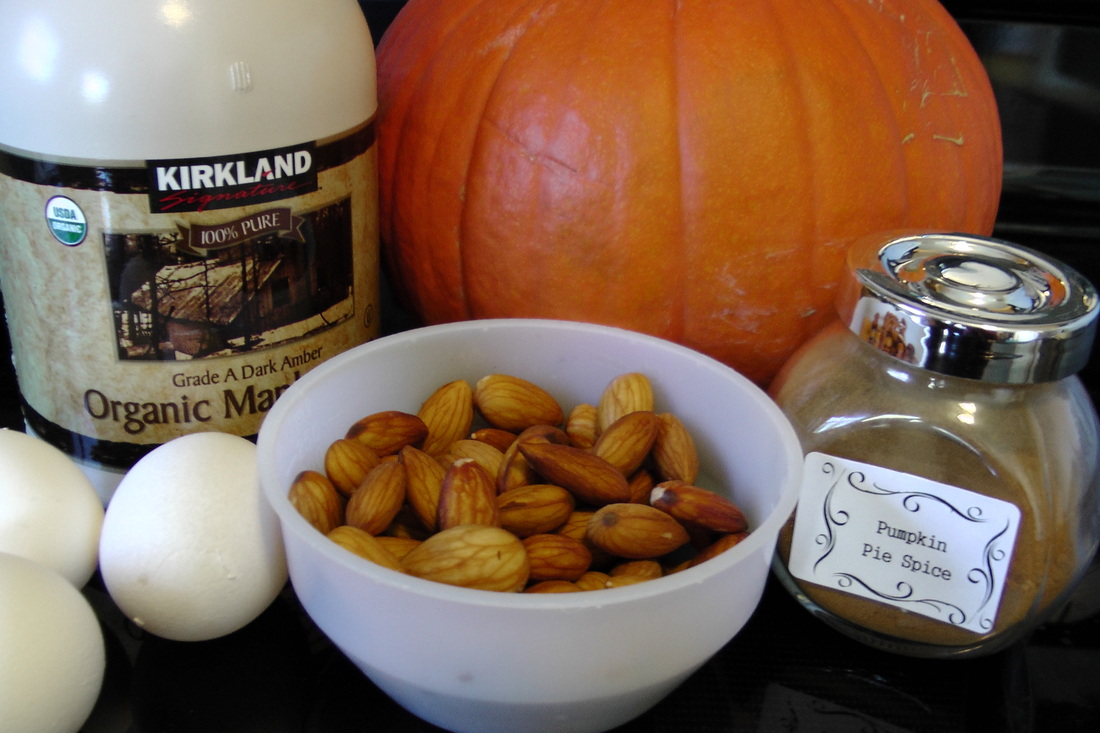
1 cup pure maple syrup 3 eggs 1/2 cup soaked almonds (see quick tutorial below) 1/2 tsp. Real salt 3 tsp. pumpkin pie spice Mix all ingredients together and pour into the prepared cake or pie pan. Bake at 350 degrees for 40-50 minutes, until firm.
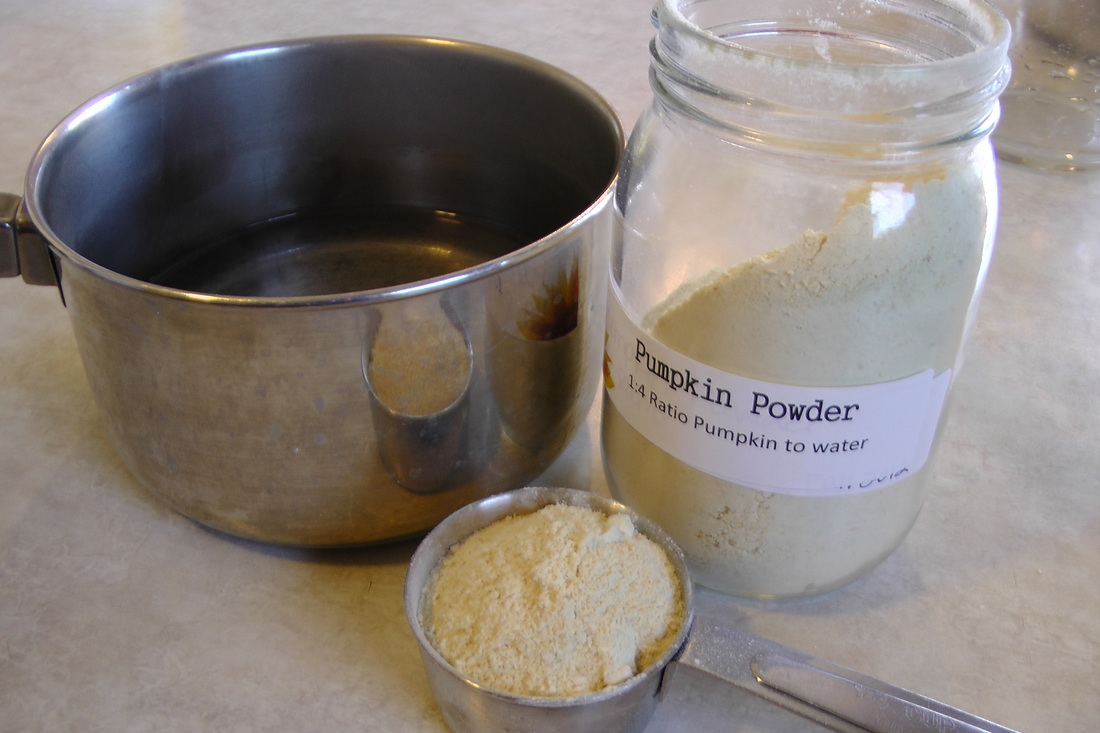
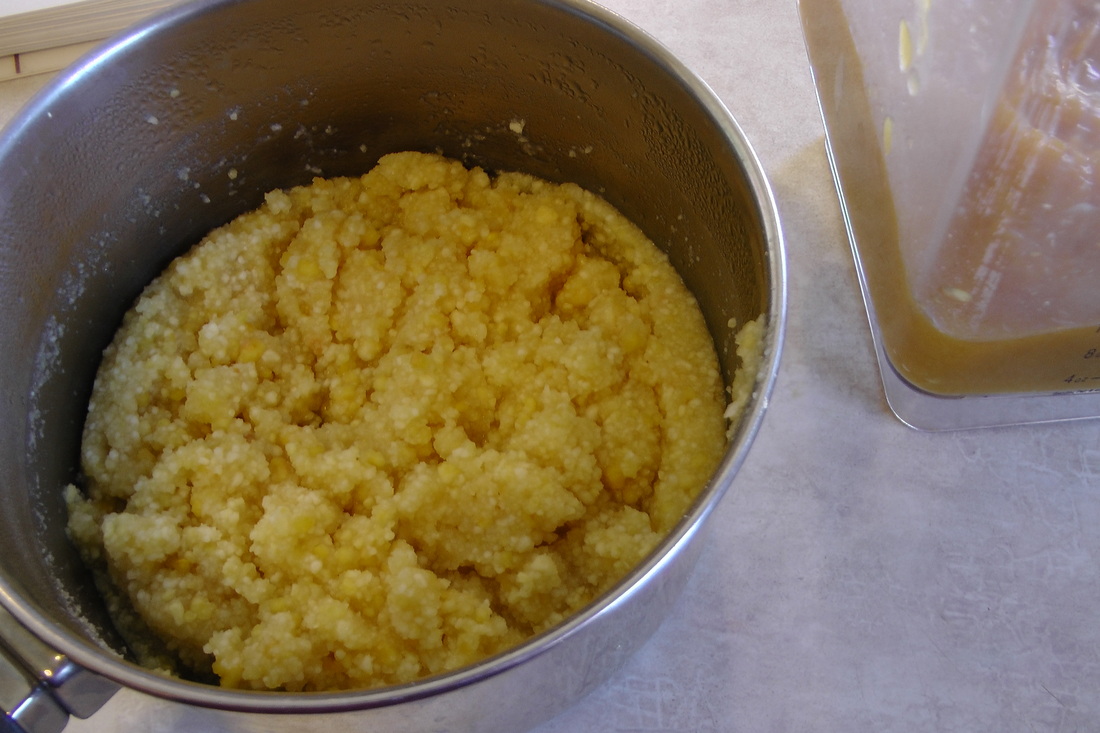
Now because this recipe calls for 3 cups of puree, rather than the usual 2 cups, I was able to pull out my pumpkin powder and re-hydrate 1 cup worth of puree. I just brought 1 cup of water to almost a boil, then added 1/4 cup of pumpkin powder, stirred, covered and let sit for about 15 minutes. Whalah! Pumpkin puree. It had a lighter color and was not as smooth as the fresh puree, but it worked beautifully.
Filling #2 Annie's Original Filling
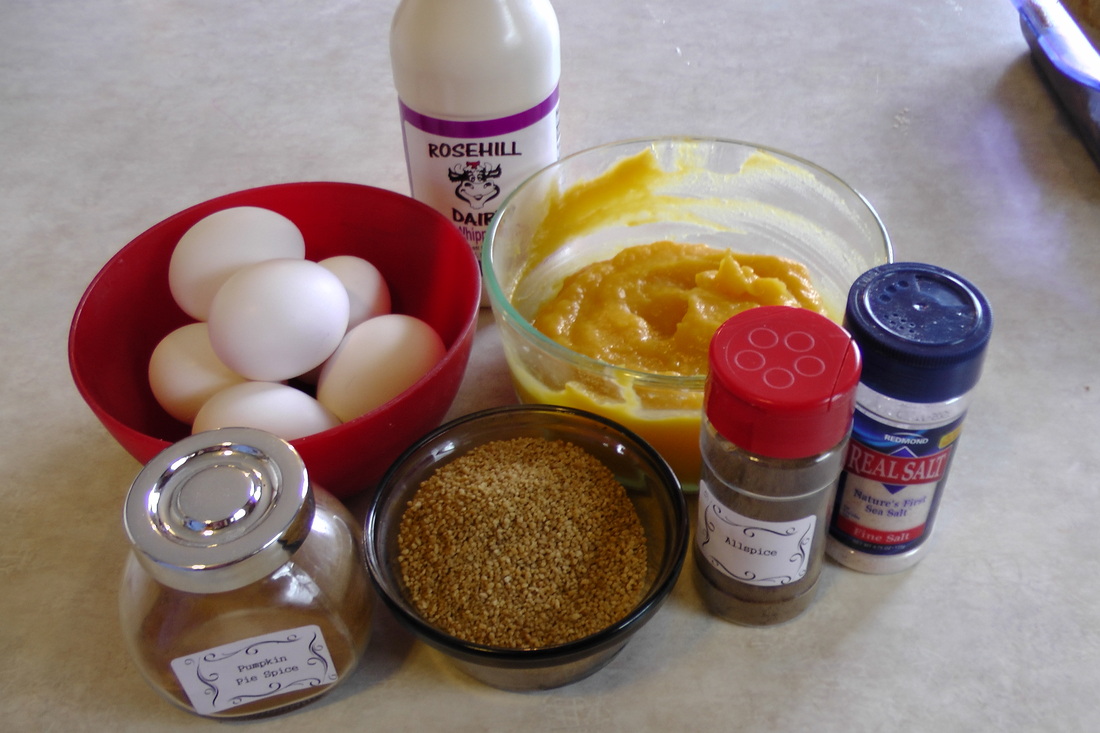
2 cups pumpkin puree
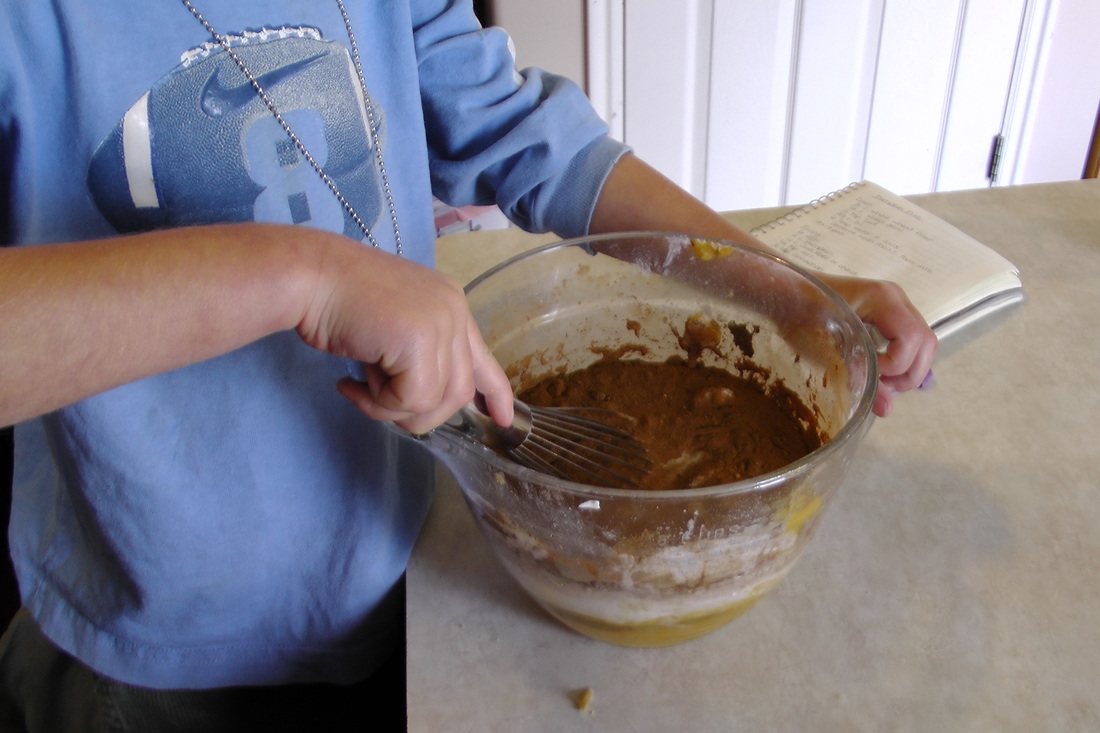
6 eggs 1/2 cup sweetener (sucanat, coconut sugar, brown sugar, etc.) 1/2 teaspoon Real salt 3 teaspoons pumpkin pie spice 1/2 teaspoon allspice 1 cup heavy cream Mix all ingredients together and pour into the prepared cake or pie pan. This will fill a 9x13 or 2 pie pans. Bake at 425 degrees for 15 minutes then drop the temperature to 350 and bake another 45 minutes.
Top with whipping cream and sprinkle with a little pumpkin pie spice and I'm in heaven!
Soaked Almonds Quick Tutorial
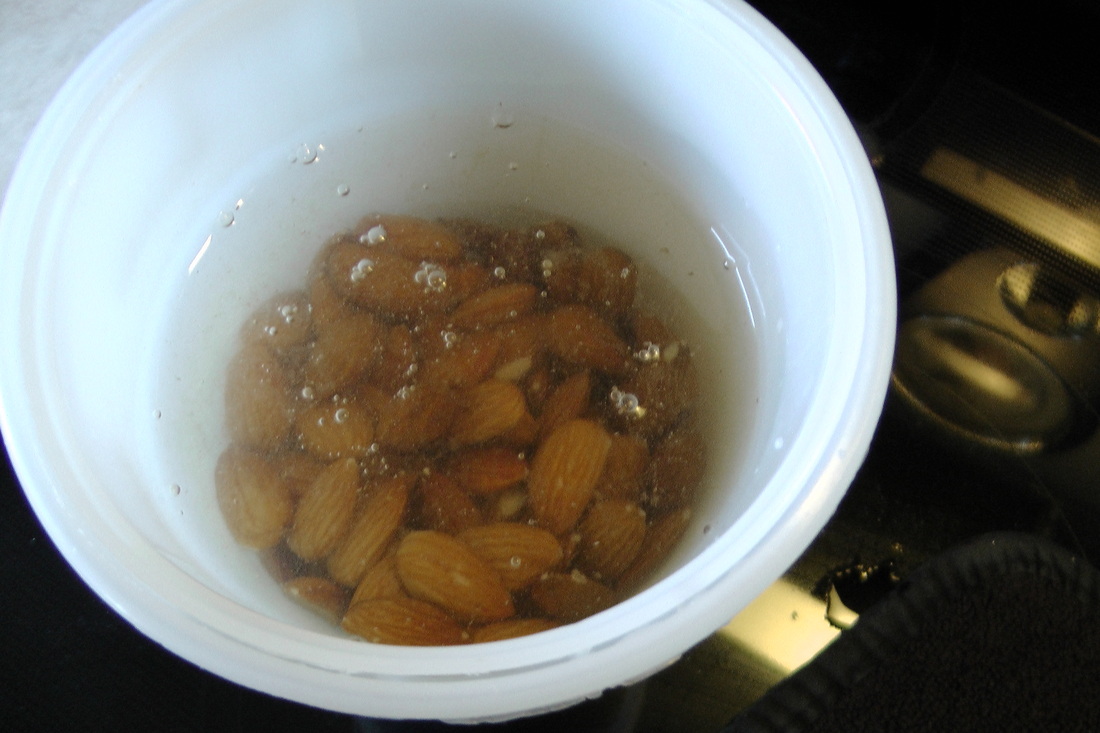
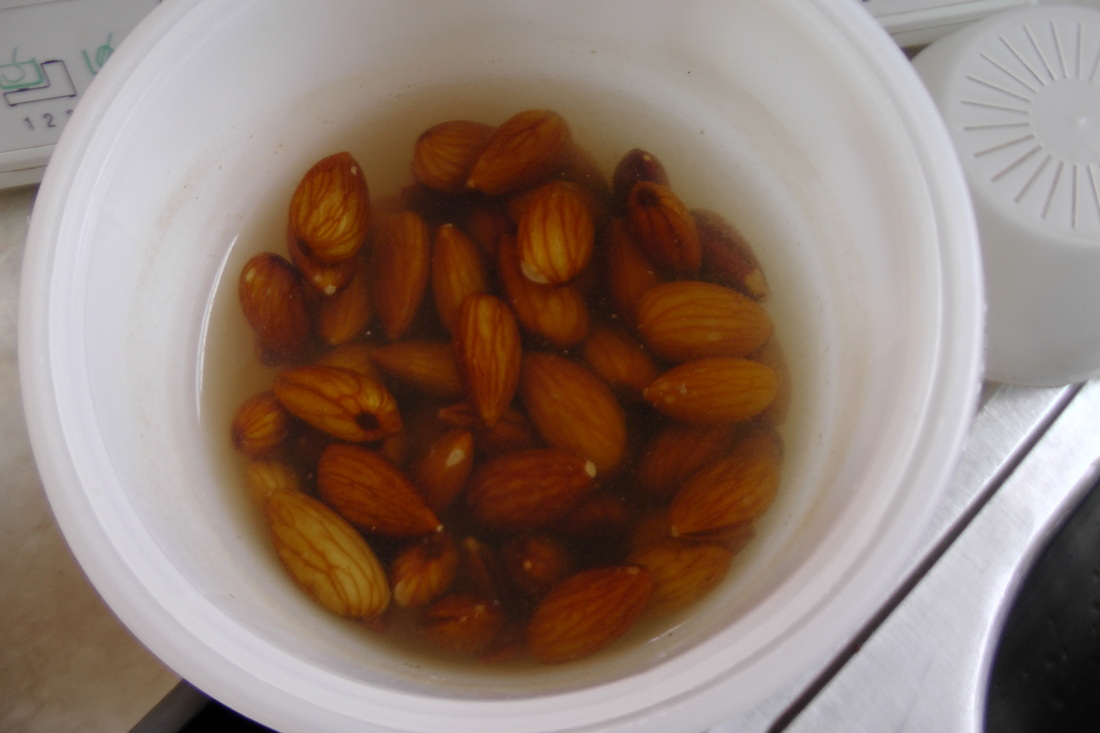
Fill a container (I use my sprouter cup) with almonds, then cover with water. I start my almonds in the evening and let them soak overnight. Strain and either use immediately or dehydrate on low until crisp, then store in an airtight container. Here is a great post on the benefits and nutrition of sprouted foods.
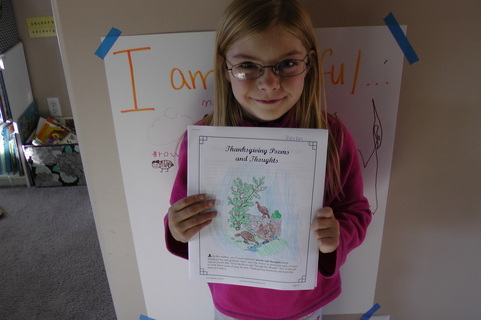
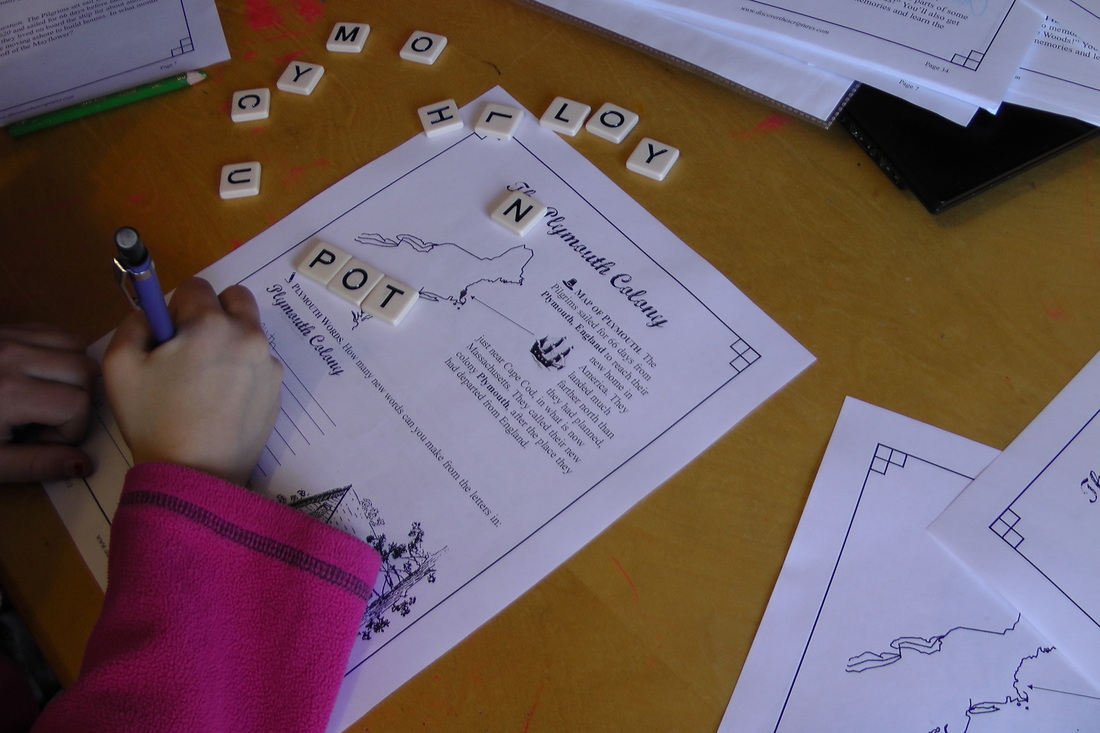
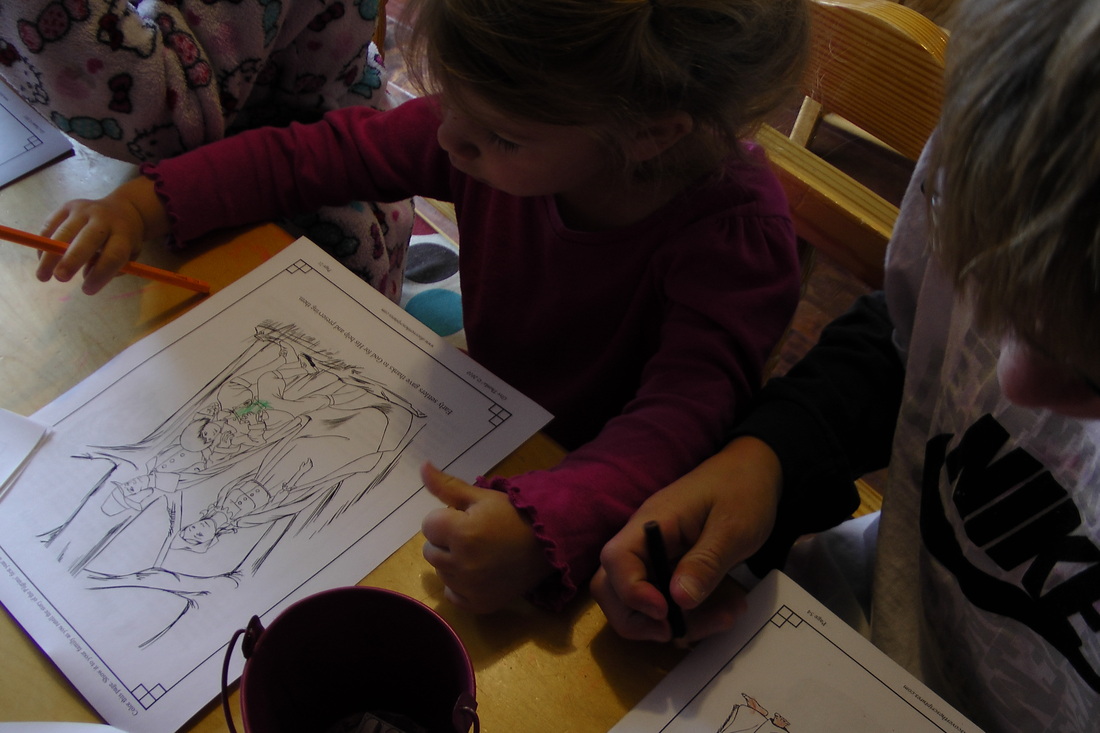
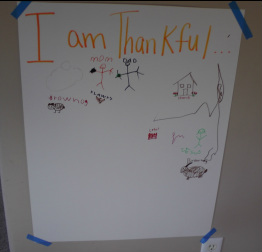
I love the Thanksgiving season as we focus on our blessings and all the Lord has done for us. These are some ways we focus on the giving season in our home and homeschool. Give Thanks My favorite resource for this season is Gives Thanks: A Study of Gratitude and Thanksgiving from Discover the Scriptures. I use this every year during the entire month of November, some years I do it all and some years I only use bits and pieces. We always use this for our poetry, copywork, and memory verses during the month as well as coloring pages and activities for the Littles. You can check out this wonderful resource, as well as download some sample pages here. Gratitude Poster One of the children's favorite traditions is our thankful poster. Every year I write I Am Thankful For... at the top of a posterboard and we tape it to the wall in our living room (I use painters tape so it can be removed easily). Every day (and sometimes several times a day:)) family members draw a picture or write something they are grateful for. On Thanksgiving we read the poster, admire all the artwork and give thanks for all we have been blessed with. Gratitude Journal After reading an article in our monthly church magazine called,Recognize, Remember and Give Thanks, we decided to start a family gratitude journal. Every evening before we read scriptures together, we pull out our family gratitude journal and every person names something they are grateful for that day. This is an ongoing journal we keep all year long and really helps us to focus on all that we have, rather than what we don't have. Our Favorite Thanksgiving Books I keep a basket on top of our children's bookshelf that houses seasonal books. These are just of few of our favorites, along with books we read for school time. Other Ideas
Pray Most importantly we must thank our Father in Heaven for the blessings we have and express our gratitude through daily and family prayer. Have a great Thanksgiving Season! Shared On: Encourage One Another,
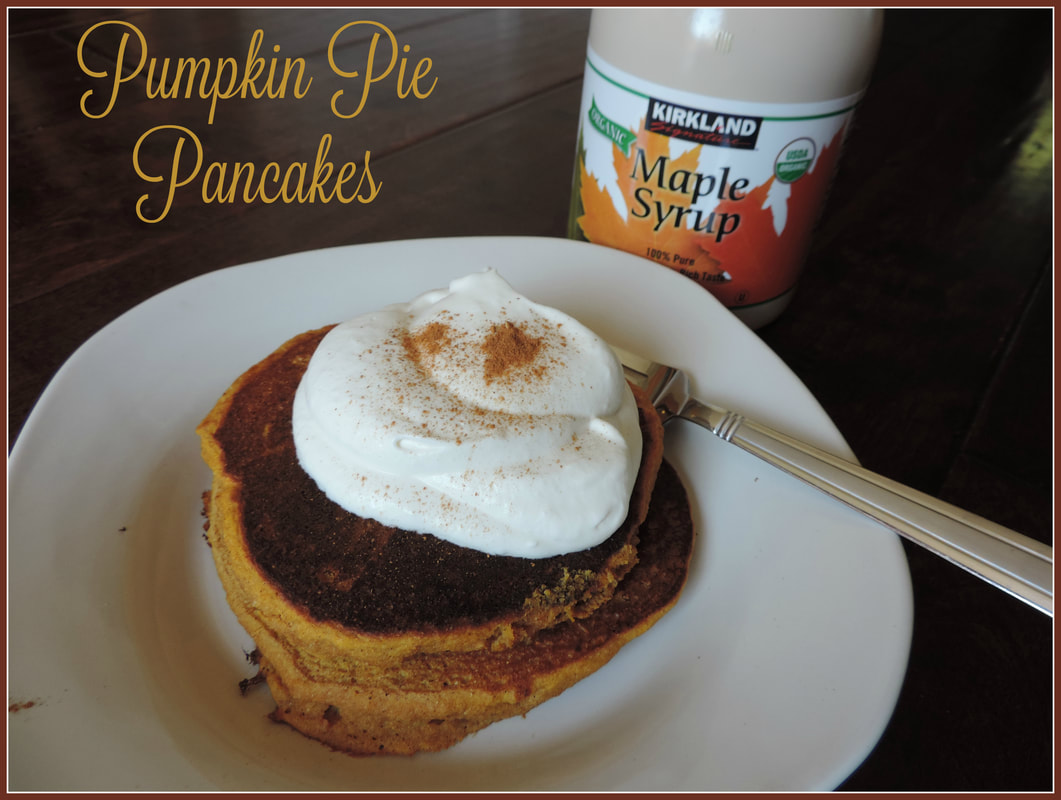
We love pancakes around here and because we have them so much I am always trying different things to spice them up a bit. This recipe is truly a "pumpkin pie" pancake, using two cups of pumpkin puree, instead of the traditional half cup. These pancakes are dense, just like pumpkin pie (which will make the cooking time a little longer than regular pancakes) and when served with whipped cream tastes just like pumpkin pie! My children love to have their pancakes topped with Applesauce Syrup instead of the whipped cream so I have included both toppings and you can decide which one you prefer.
Pumpkin Pie Pancake Recipe
Mix dry ingredients in a bowl.
2 cups Breakfast flour 2 Tbsp. Sucanat (I have been able to find this in the bulk section of my Health Food Store) 2 tsp. cinnamon 2 tsp. pumpkin pie spice mix 1 tsp. Real salt 2 tsp. baking powder In a seperate bowl mix all the "wet" ingredients. 2 cups pumpkin puree 1 cup kefir (or 1/2 cup yogurt and 1/2 cup water or milk) 1 tsp. vanilla 3 Tbsp. coconut oil (I keep mine in a pint jar and sit in a pot of hot water to melt) 2 eggs Gently mix the dry ingredients into the wet ingredients until combined. Spoon onto griddle and cook until firm around the edges, flip and continue cooking until done. Serve with applesauce syrup or whipped cream (which makes it taste more like a pumpkin pie).
For a soaked grain version, mix the flour and kefir (or yogurt mix) the night before and place, covered in the oven with the light on. Add the rest of the ingredients in the morning.
Applesauce Syrup
Place the following ingredients in a high powdered blender, I use a Blendtec.
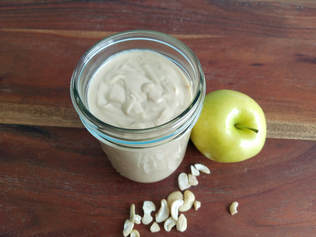
2 Tbsp. coconut oil or butter 1/4 cup Sucanat 1 1/2 cups applesauce 1/2 cup cashews or other nuts Blend on the soup setting, it should have a creamy look and texture. I have never made this in a regular blender but I'm thinking it will not be able to reach the creamy texture so expect it more chunky than what is pictured if using one. Whipped Cream
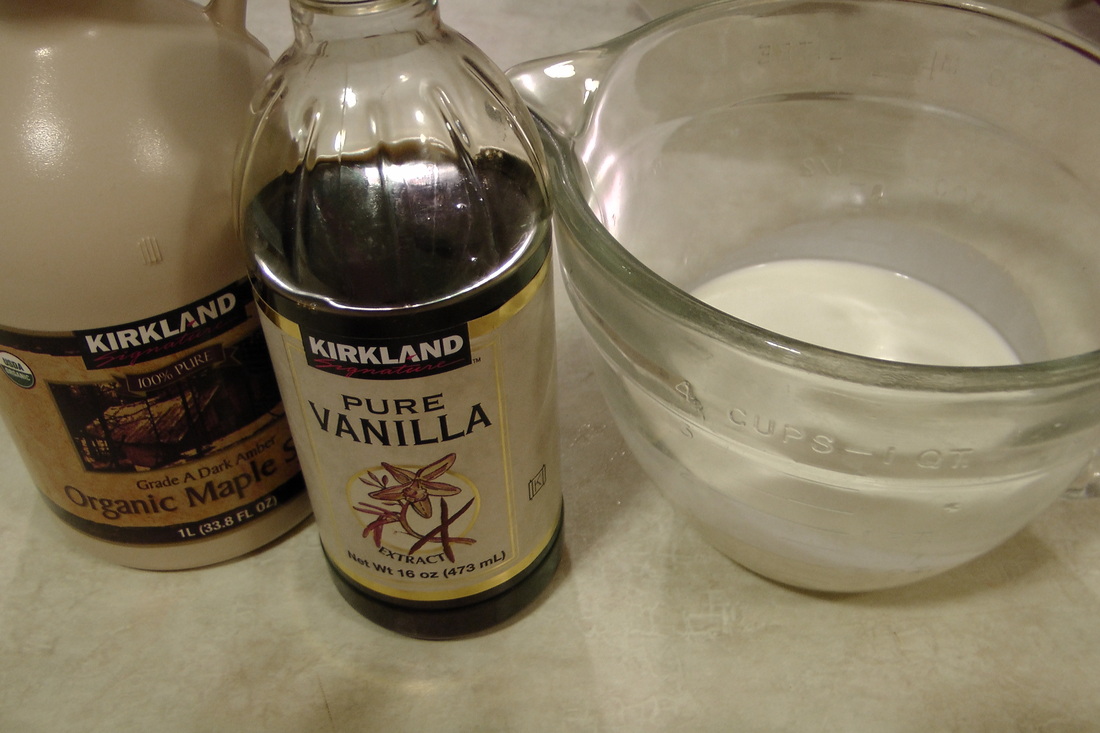
1 cup heavy cream
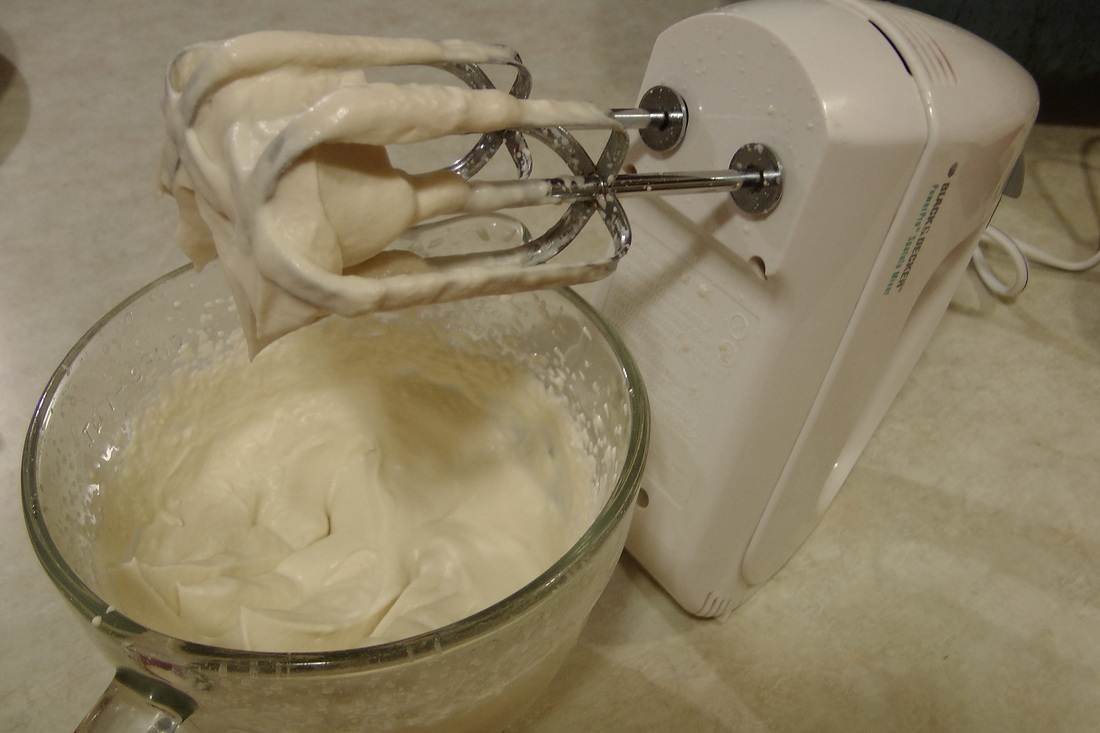
3 Tbsp. pure maple syrup 1/4 tsp. vanilla Blend on high with a hand mixer until thick fluffy clouds appear.
I like my pancakes topped with whipped cream and sprinkling of pumpkin pie spice on top, soooo yummy!
Shared on: Mostly Homemade,
|

Hi, I’m Annie, a child of God, Mother of Influence and Herbalist. Welcome to my place where I share what I have learned of natural and frugal living, healthy eating and living, gardening, homeschooling, herbal crafting, preparing temporally and spiritually, and love for God and Country.
LearningLivingArchives
January 2023
|

