Homestead Barn Hop, Homemade Mondays, Thank Goodness It's Monday, Natural Living Monday, Mama Moments Monday, Mostly Homemade, Modest Monday, The Gathering Spot, Hearth and Soul Hop, Fat Tuesday, Growing Homemakers, Tuesday Garden Party, Wellness Wednesday, Homemaking Link-up, Christian Homemaking Link Up, Homeacre Hop, Simple Lives Thursday, Homemaking Link, Old Fashioned Fridays, From the Farm, Small Footprint Friday, Healing with Food Friday, Farmgirl Friday, Simply Natural Saturdays, Pin it Saturday.
|
We have come to the end of the spring plant series for this year. Next year I will be adding some more plants to our list as well as my garden. I will be posting on summer crops in the coming month but for now here is the list of plants we covered all gathered in one spot. I hope you enjoy! This post has been linked with the following blog hops - please visit them for further inspiration.
Homestead Barn Hop, Homemade Mondays, Thank Goodness It's Monday, Natural Living Monday, Mama Moments Monday, Mostly Homemade, Modest Monday, The Gathering Spot, Hearth and Soul Hop, Fat Tuesday, Growing Homemakers, Tuesday Garden Party, Wellness Wednesday, Homemaking Link-up, Christian Homemaking Link Up, Homeacre Hop, Simple Lives Thursday, Homemaking Link, Old Fashioned Fridays, From the Farm, Small Footprint Friday, Healing with Food Friday, Farmgirl Friday, Simply Natural Saturdays, Pin it Saturday.
2 Comments
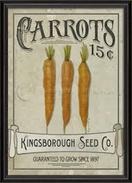
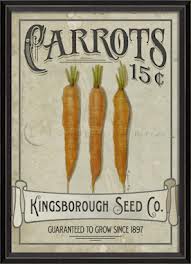
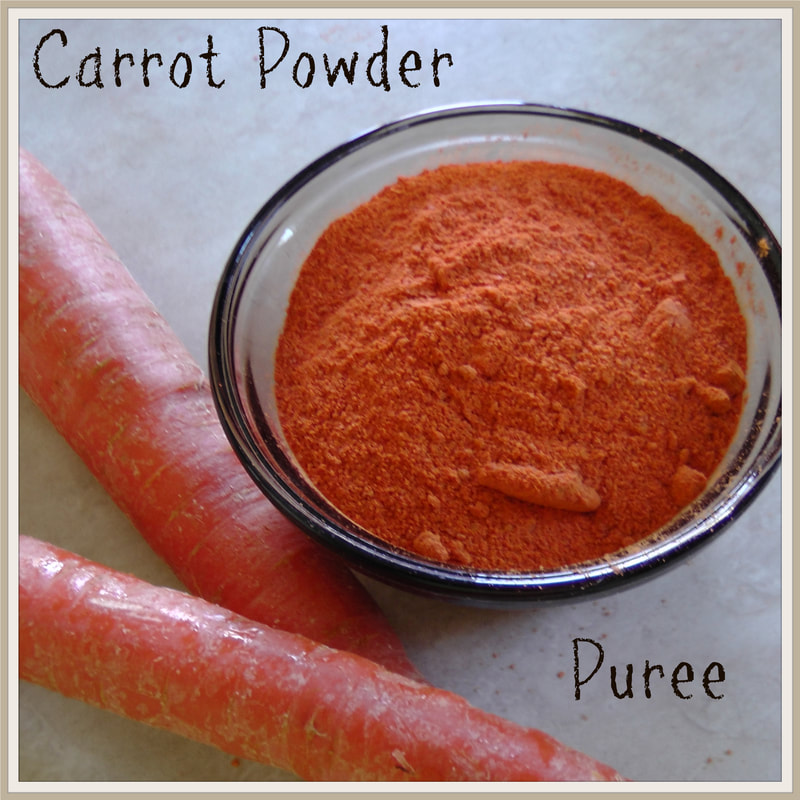
Carrots come in a variety of colors and the darker varieties have even more biflavenoids than the orange, plus the kiddos think it is so cool to be eating a purple carrot. Carrots and I don't get a long very well in the garden though so I am hoping this year will be different with my new raised rows. There are many varieties to choose from and Baker Creek Heirloom Seeds is where I like to purchase my seeds, this year we planted the Cosmic Purple and Danvers variety.
Seed Starting and Propagation
Must be directly sown into garden soil when ground has warmed (last week March) 16 per square foot. Sow seeds in full sun and cover with a light layer of compost. Water gently, carrots can take up to three weeks to germinate so be patient.
Care
Keep the soil uniformly moist until the carrots have germinated, this may require more than one misting a day, do not over water though. When plants are 2-3 inches tall, water twice weekly, keeping soil moist.
Companion Planting
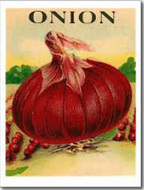
Leaf lettuce, tomatoes, peas, onions, leeks, rosemary, wormwood and sage. Don’t plant in the same spot as family members (celery, fennel, parsley, cilantro and dill).
Harvesting and Preserving
When ¾ inch in diameter they are ready to harvest. Pinch the tip pull right, left and then up. Eat fresh, bottle, pickle, ferment, dehydrate, powder, etc.
RecipesNutrients and Healing Properties
Antioxidants, minerals, vitamins, dietary fiber, carotenes, vitamin A, phosphorus, copper, calcium, manganese, potassium, folic acid, vitamin B-6, thiamin and vitamin C. Nourishing for the skin and hair.
Resources
Cabbage is from the mustard family and includes cauliflower, kale, kohlrabi, broccoli, collards and Brusell sprouts. There are two main types of cabbage - flat leaf and savoy, which is the crinkle leaved variety. Baker Creek Heirloom Seeds has a large variety of cabbages to choose from including early and late varieties.
Seed Starting and Propagation
Start seeds indoors 12 weeks before the last frost (February for zone 5). Transplant into garden 5 weeks before the last frost (1st week in April for zone 5) 12-18” inches apart or 1 per square. Plant in rich, moist soil in full sun. For fall harvest, start seeds in June and transplant in the fall.
Care
Cabbage needs lots of water until the head is formed, you can cut back once the head is formed. Remove any bottom leaves that have turned yellow, they can carry fungus and disease that will spread. Apply a good amount of compost to the soil before planting, and feed with compost tea every two weeks, cabbage is a heavy feeder. Mulch to retain moisture and keep cool right after transplanting.
Companion Planting
Hyssop, thyme and wormwood help repel the white cabbage butterfly. Cabbage loves aromatic herbs such as celery, dill, chamomile, and rosemary as well as onions and potatoes. Do not plant by strawberries, tomatoes or pole beans. Crop rotation is a must for cabbage, plant where tomatoes or peppers were the year before.
Harvesting and Preserving
Cut off the entire head with a knife anytime the head develops and feels firm. Once too hot, cabbages will split their heads so be sure to harvest before then. Occasionally another head can form from the root. Wrap the cabbage tightly in plastic wrap and store in fridge until ready to use. You can also make sauerkraut for long term storage.
Nutrition and Healing Properties.
Cabbage is a good source of vitamin C, vitamin K, phytochemcials, antioxidants, several minerals including iron, potassium and magnesium. The leaves contain anti-inflammatory properties so wrapping a wound in cabbage leaves will aid in healing, cabbage can also lower cholesterol.
Resources
We love strawberries around here, in fact when I buy a container of them from the grocery store it is a safe bet they will be inhaled in a matter of minutes. So naturally this was one plant I have always wanted in my garden. I have tried for the last couple of years to have a large, producing strawberry patch and what I've produced is a few, tiny (but very yummy) strawberries and I'm constantly fighting over them with the birds, netting and all. With that said, I am not one to give up easily so this year I got me another flat, a brand new raised bed in my garden, some dang good soil and a bb gun (kidding). There is a lot of information out there on planting strawberries and everyone seems to have a different opinion on how it should be done. Because I like to keep it simple I will be following the instructions below for my 2014 strawberry patch.
Seed Starting and Propagation
Strawberries are hard and time consuming to start from seed so buying starter plants is the best way to go. Although if you'd like to go for it with seed check out the resources below. Plant four weeks before the last frost in full sun 6-12" apart or four per square foot. Strawberries like rich, well-drained soil.
Care
Water weekly or twice weekly during dry periods. Cutting runners off as they appear with keep the parent plant growing bigger and better berries. Pull up old plants and replant every 3-4 years. It's a good idea to put bird netting over the plants because birds love strawberries or get that bb gun (again, just kidding).
Companion Planting
Spinach, beans, borage, and lettuce.
Harvesting and Preserving
Pull or cut berries as they ripen. June bearing varieties will provide all your strawberries at the same time making them the ideal variety for making jam, freezing or other preserving. Ever-bearing varieties are good for picking and eating all season long, not for preserving. Strawberries are fun to preserve as you can make jam, syrup, fruit leather, you can freeze them whole and one of our favorites is cutting them in slices and dehydrating for a real "fruit snack."
Nutrients
Strawberries not only taste delicious they are also packed with vitamins and minerals including; vitamin C, B-complex vitamins, vitamin B-6, niacin, riboflavin, pantothenic acid and folic acid, antioxidants, vitamin A, vitamin E, minerals like potassium, manganese, fluorine, copper, iron and iodine.
Resources
The Heirloom Life Gardener by Jere and Emilee Gettle has some serious strawberry growing instructions, including how to start from seed and save seeds.
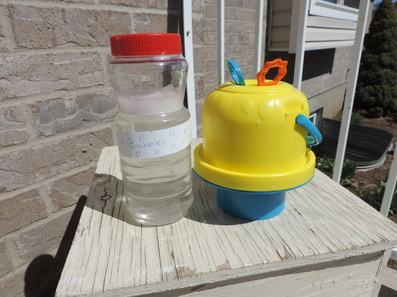
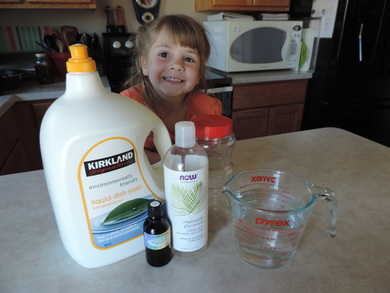
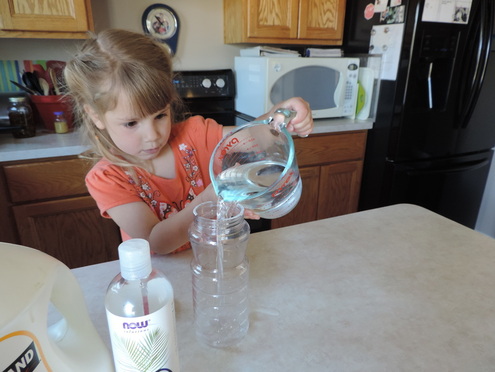
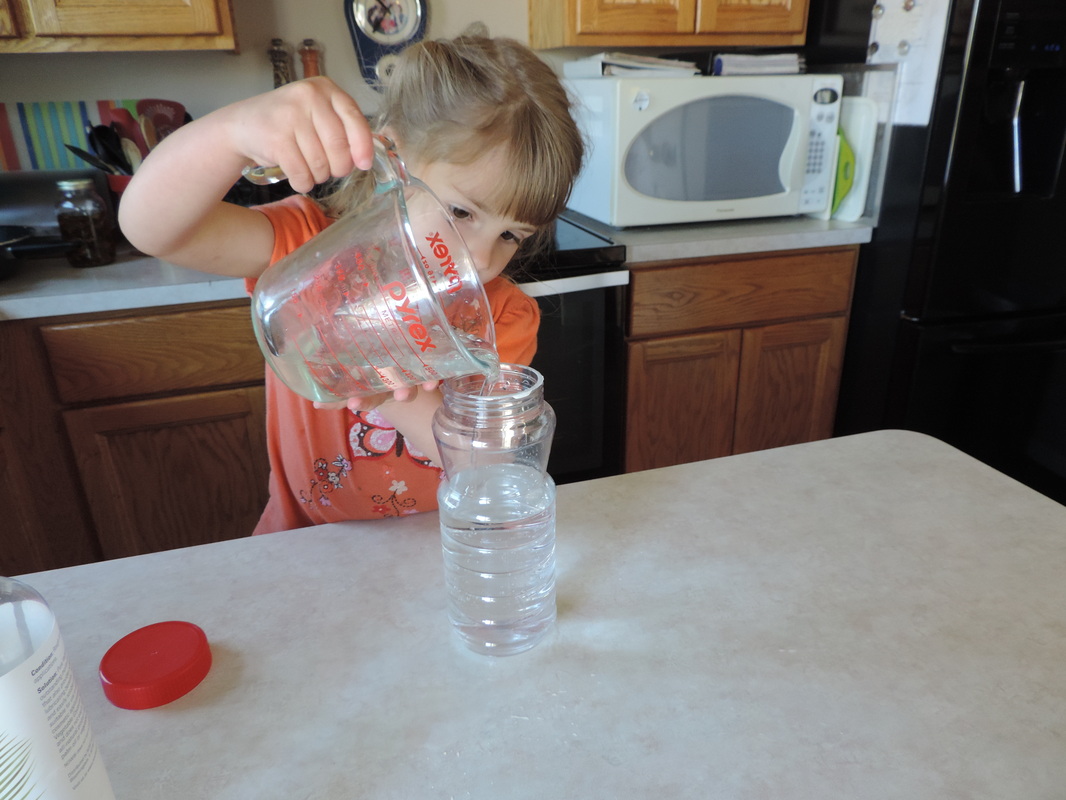
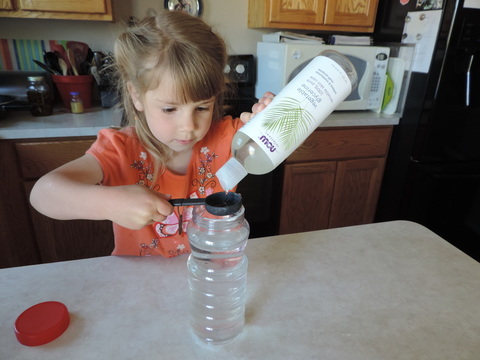
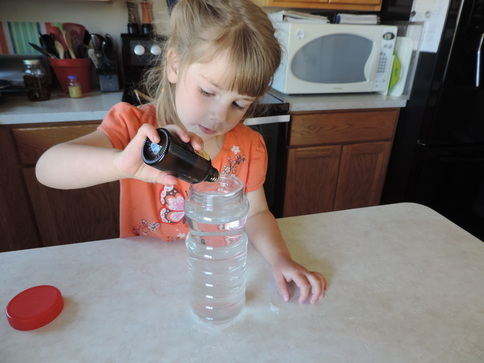
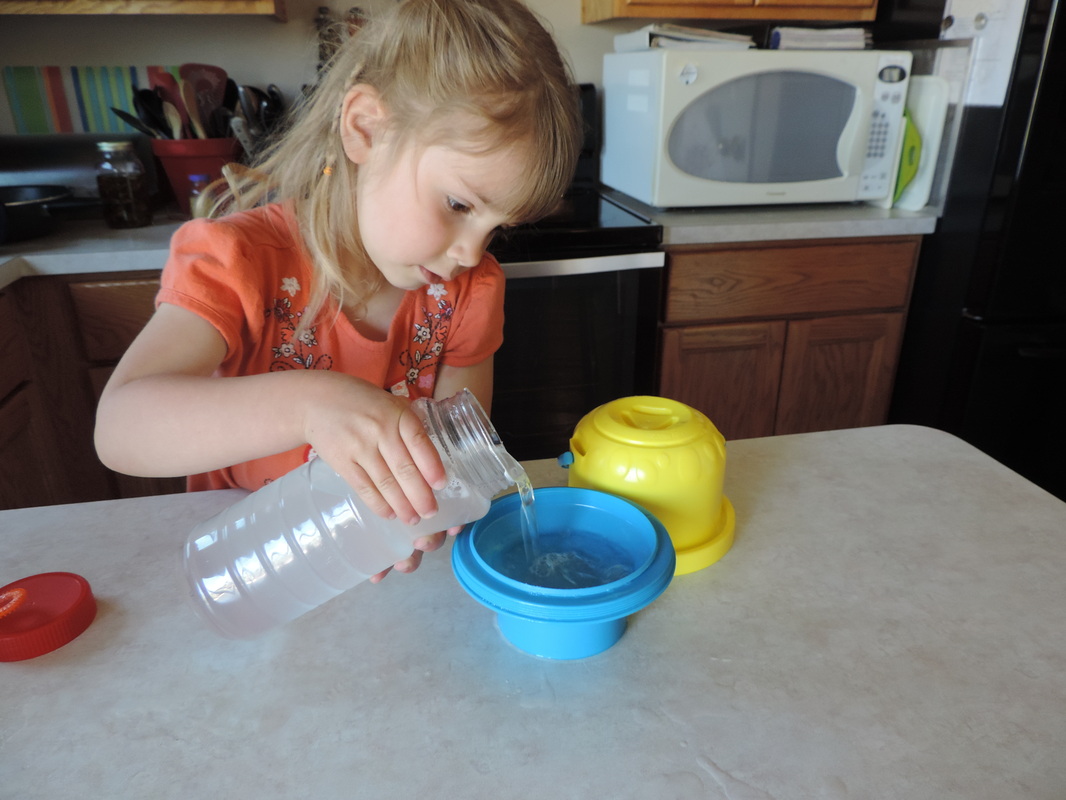
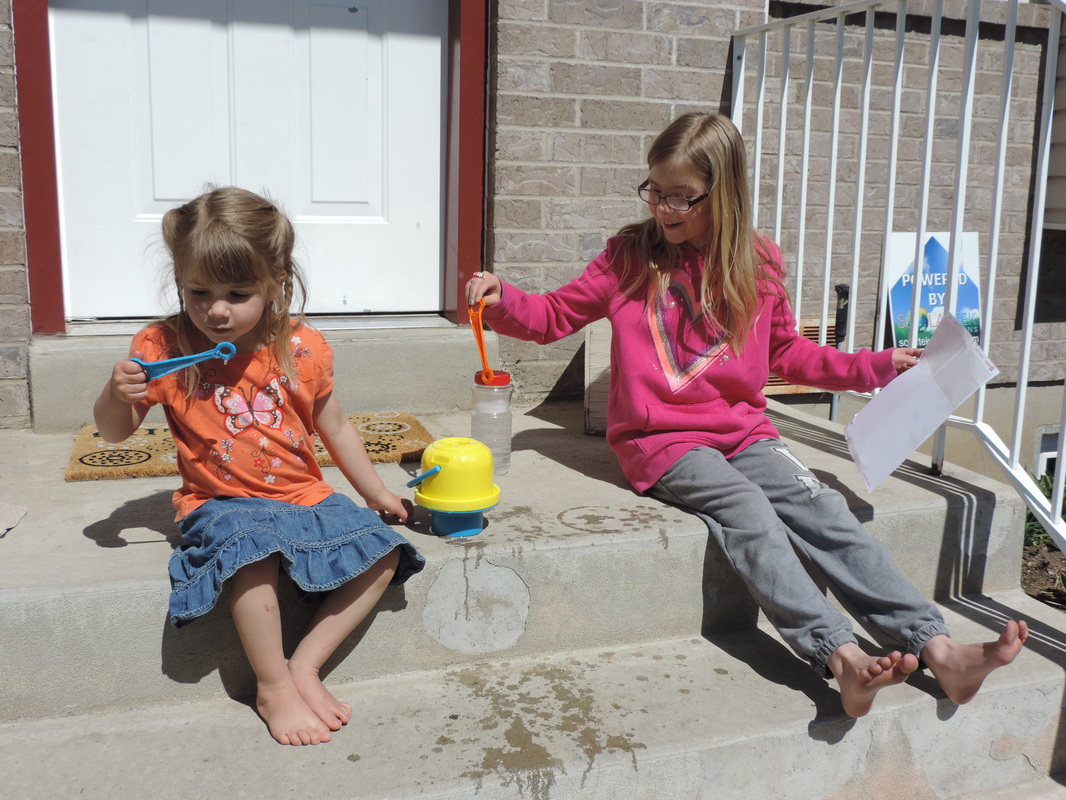
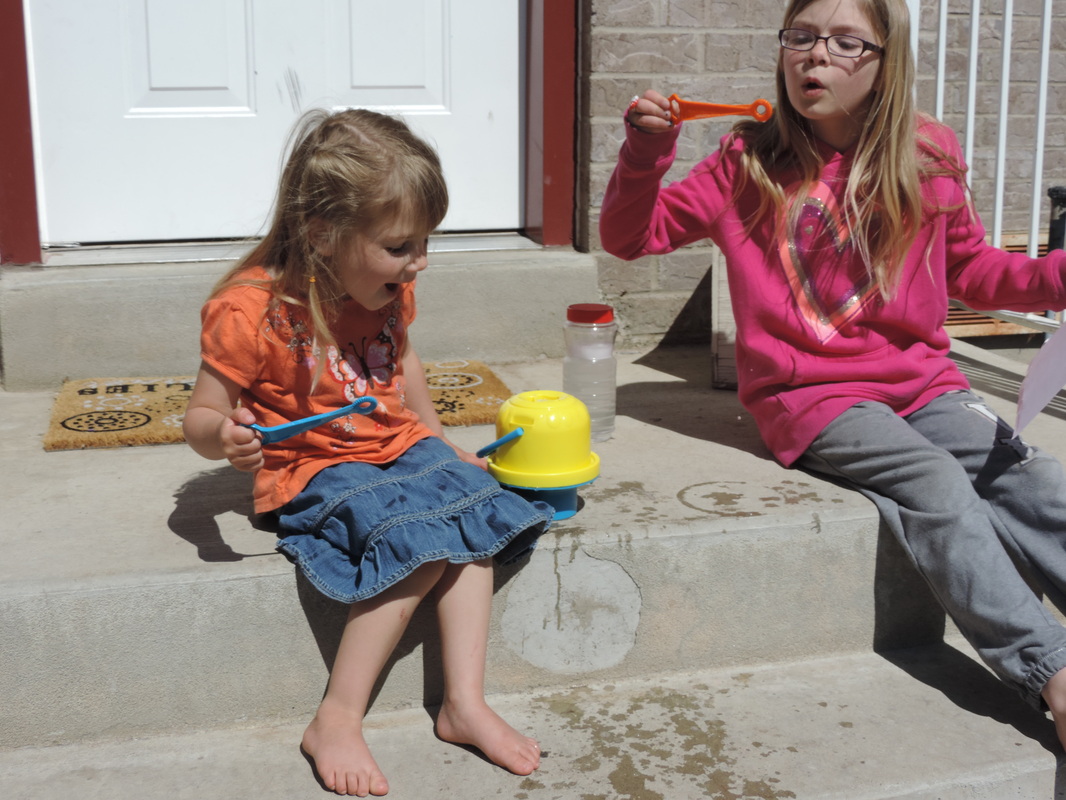
I am finally getting through with my spring clean out and today packed away the last of the winter items from our front closet. As we pack away the winter bin we get to pull out the "good weather" bin. In this bin we have summer hats, popsicle molds, outdoor toys and games, rollerblades, etc. Little Woman found this bubble blower and wanted to blow bubbles right then, so we made up a solution and she spent the afternoon blowing bubbles! The Recipe Little Woman was so excited to make these all by herself. She helped gather all the ingredients we would need. We used an empty peanut container to mix our solution in. First pour in the 2 cups of water. Measure out 3/4 cup of dishwashing liquid and add the water. Add 2 tablespoons of vegetable glycerin. Because I like to add essential oils to everything I make, I thought it would be fun to have "scented" bubbles. I let Little Woman smell a few different essential oils like lemon, lime, Citrus Fresh and peppermint. She wanted them to smell like candy canes so we used the peppermint. As a bonus, peppermint works as a great bug and spider repellent so as she blew her bubbles all over the porch she is also keeping ants, spiders and other bugs at bay. Gently stir the solution together so as not to create an overflowing bubble volcano. Now it is time for some fun!
I love the spring time when I get to watch everything bloom back to life after a barren, cold winter. I love that we celebrate Easter in the midst of all this rebirth, when we celebrate our Savior's atonement, when he overcame death himself. When I started my family I committed to focus on Christ during all our celebrations, especially as the world has tried to commercialize the reason for these celebrations away. For Easter our family focuses on Christ all week, using many of the resources I have listed below. We take Saturday for secular celebrations, including egg decorating, egg hunts and Easter baskets. On Saturday night we read the passage about Christ's body being laid in the tomb and then we take a cut out of Christ and place it in a box (the tomb). In the morning the children find it opened and the cut out missing. In another area of the home they find this cut out with a plastic cover representing his spirit reunited with the body. This is a great visual to teach about his resurrection and the reason for Easter. All of our food and activities on Sunday focus on Christ's atonement and resurrection and ultimately the reason we celebrate Easter.
Several years while my first child was still a baby, I came across this wonderful book called, A Christ-Centered Easter. After reading through a friend's copy, I decided it was a book I had to have and I have used it every year since. This book began my passion for celebrating Christ during Easter. I have added to my collection of Christ centered books and activities through the years and I wanted to share with you today a few of my favorite and cherished traditions for Easter.
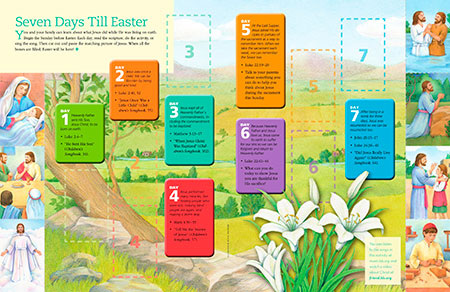
My favorite activity in this book is Easter Week, Day by Day. We begin on Palm Sunday with the triumphal entry and each night for family scripture study we read passages of Christ's last week. As we read about the stories we post a picture on the wall and by Easter Sunday our wall is covered in pictures of Christ. This year I will be adding these amazing video clips of the Life of Christ. We used these video clips during our Keeping Christ in Christmas celebrations and they really brought the scriptures to life for the children and we were taught by the spirit through them.
This is a fun activity for little ones to count down seven days to Easter. Each day they get to cut out a picture of Christ and glue it on the day.
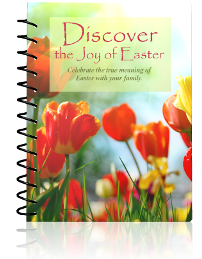
I love everything that Discover the Scriptures has to offer! I use many of the games and activities each year from Discover the Joy of Easter. You can get sample pages and learn more about this resource at their website, here. Another one of their programs we have really loved is the New Testament Studies, these include Discover The New Testament, The Life of Christ and The Acts of the Apostles. I print out the age appropriate packets for each child and we use these for our personal scripture study time in the morning. I also like to use some of the activities and study projects from The Life of Christ during Easter time.
I just came across these cute flip books on why we celebrate Easter from The Red Headed Hostess blog, this year. I haven't had a chance to try them out yet but wanted to add them to my collection of resources. She also put together this study packet for adults to dig in to the last week of Christ's life. I have been using this study guide this month for my personal scripture study and have gained wonderful insights. You can download this PDF for free, here.
I refer to this as the ultimate resource guide to a Christ Centered Easter. This is a list of stories, activities, color pages, videos and pictures, all based around Christ and his atonement.
This blog has some great Christ centered Easter activities, treats and other resources.
I bear witness that Christ atoned for each and every one of our sins. I know that if we repent we can once again be clean and through his atonement we can be with our loved ones once again that have passed from this world and into the next. Christ suffered everything, he knows what we are going through and he can help us through our toughest trials if we come unto him. I pray for his peace, love and spirit to be with you and your families, not just this week but for the years to come. Happy Easter!
Want to learn more about our Savior?
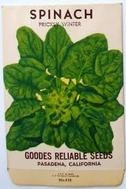
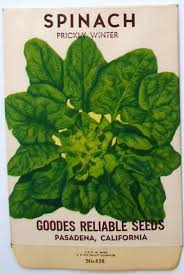
Spinach come from the Goosefoot family, which is the same family as beets and chard. It loves cold weather so is a great crop to try in both the spring and fall. Spinach tastes great and is chuck full of nutrients, making it a great addition to salads and smoothies.
Seed Starting and Propagation
Spinach seeds do not transplant well so seed outdoors 6 weeks before last frost (1st week April for zone 5). Plant seeds ½” deep, 9 per square foot or 4” apart in full to part shade. Succession plant every 2-3 weeks until temps get into the 70’s. Start again in late summer, early fall for another harvest, it should survive until weather gets into the 20’s.
Care
Spinach needs the same care you give to your lettuce plants, mulch and keep constantly moist.
Companion Planting
Plant next to strawberries.
Harvesting and Preserving
Cut individual leaves as needed whenever they are big enough to eat. You can also cut the entire plant, leaving 1” above the root. Spinach can be frozen, I also dehydrate and powder it in my Garden Greens Mix.
Seed Starting
Plant at least 20 plants if you want to save seed. Let them go to see by bolting in the warmer temperatures and collect from the last plants that bolt. When the seed feels dry to the touch, pick them individually from the stalks. Store in a glass container, envelope or plastic bag. Spinach seed usually keeps for 5-6 years.
Nutrition
Considered one of the super foods, spinach is rich in vitamin C, B-complex, K and A, calcium, protein, manganese, magnesium, zinc, potassium , iron, folate, as well as several other minerals and omega -3 fatty acids. Regular consumption can prevent osteoporosis and anemia. This is a great pregnancy food!
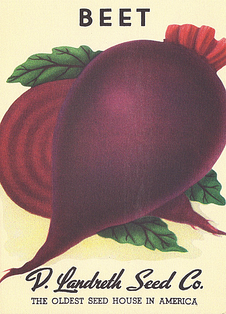
Resources I was always under the impression that kale, chard, and collards were all in the same family and therefore followed the instructions for planting kale for all of them. Not until I started really studying and starting my plants from seed did I find out that chard is not only from the beet family (goosefoot) but the same species (Beta vulgaris) as beets! They are grown using the same methods and there are several varieties to choose from; chard, here and beetroot, here. Our friend, kale, is actually from the cabbage family and we will talk about that family later this week. Seed Starting and Propagation Beets and chard aren't too picky about where they get planted just make sure you have some compost mixed in with your soil. They don't mind the cold at all so go ahead and sprinkle seeds right into the soil when temperatures are in the 50's. Once the seedlings are 3-6" tall, thin them to about 4" apart. Because I don't like to waste any seeds I plant them in one foot squares with 4 swiss chard plants per square and 9 beet plants per square, do whatever works for your garden. Chard can be started indoors 7 weeks before the last frost (last week in March for zone 5) then transplanted in the garden 3 weeks before last frost. Care Keep constantly moist while young, up to 3", water daily if necessary but be careful not to over water or you will have split roots (for the beets). Mulch plants once established and take watering down to once or twice a week, still keeping moist. Cut off any yellow or overgrown outer leaves. Companion Planting Grows well near bush beans (but does not like pole beans), onions, kohlrabi, lettuce and cabbage family. Keep away from mustard and pole beans. Harvesting and Preserving
Nutrients and Other Uses for Beets and Chard
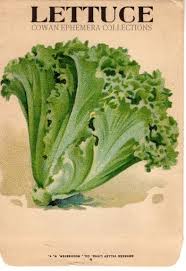
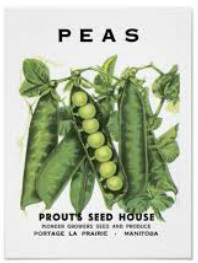
Resources and Extra ReadingWhat tips do you have for planting and using beets and chard? Lettuce is part of the Composite family and comes in two main types of varieties; leafy and head. Leafy lettuces can but cut and will continue to come back until the growing season has come to an end. Head varieties form exactly what the name implies, a head. These are pulled up in one bunch and used, they include romaine, butterhead and iceberg lettuces. Check out the different heirloom varieties here, at Baker Creek Heirloom Seeds. Seed Starting and Propagation Head lettuces can be started indoors 7 weeks before the last frost date (last week in March for zone 5) while leaf lettuces can be sown outdoors 4 weeks before the last frost (2nd week in April for zone 5). Transplant the head lettuces outdoors while planting your leafy lettuce seeds, in full to part shade. Technically though as long as your temps are in the 50's you should be good to plant them outdoors anytime. Head lettuce should be planted 12" apart or 4 per square foot, leafy lettuce can just be sprinkled over your designated area and lightly covered with some potting soil. Lettuce is a great succession planting crop so plant a new row of seeds every 2 weeks until the weather gets too hot, you can start a fall crop when the weather dips between 50-65 degrees (usually 4-7 weeks before first frost date). Care Once seedlings begin to sprout (3-7 days) thin to about 4" apart - just make a mini salad with those starts since lettuce can be eaten any time after it sprouts. Always water in the morning and try to avoid sprinkling the leaves to prevent fungal diseases. Lettuce needs to stay moist all the time or it becomes bitter so don't let the soil get dried out, on the other hand don't over water either. Leaf lettuces are difficult to mulch so generally only head lettuces are mulched and only if there are no slug problems, you don't want to mulch at all if slugs are a problem because they love mulch. Sprinkling some crushed egg shells around the lettuce should keep the slugs at bay. Lettuce can't compete with weeds so keep them weed free at all times. Companion Planting Plant with onions, strawberries, cucumbers, carrots and radishes. Harvesting and Preserving You can harvest leaf lettuce any time after they have sprouted but the ideal time to cut them off for salads is about 3-4" tall. If you cut the leaves 1" from the ground they will re-sprout and continue to produce until the hot weather sets in. Head lettuce is ready when the heads are firm. Seed Saving Let your lettuce go to seed (or "bolt" as it is commonly called), usually once summer comes around. Once they turn yellowish-tan and are dry, cut them off and place in a paper bag. Crush with your hands to separate the seeds and store in a glass container, envelope or plastic bag. They should keep for 2-4 years if stored in a cool, dark place. Nutrients Rich in vitamins A, C, and K, beta-carotene, calcium, iron, folate, and fiber. The darker the color the higher amount of nutrients it contains, this is why iceberg varieties are not as nutritious (and personal the darker colors have more flavor). Resources Nutritionandyou.com, lettuce nutrition facts. What tips do you have for growing lettuce? Peas are from the legume family and there are two main kinds; shelling peas, which you open up the pods and remove the peas and snap peas, which pods are edible so you can eat the entire thing. You can check out a variety of heirloom peas at Baker Creek Heirloom Seeds, here. I already had my pea seeds for this year but next year I will definitely be getting the violet blue pea variety! Seed Starting and Propagation Pre-soak seeds 12 hours prior to planting. Plant seeds directly in garden 6 weeks before last frost (1st week in April for zone 5). Plant 1" deep in full sun, 3-4" apart or 8 plants per square foot. Care Peas like moist but well drained soil, they will start to turn yellow if they are getting too much water. Water weekly about 2-3" and as the plant matures apply mulch to keep the roots cool, retain moisture and prevent weeds. Peas are a vine plant so they will need a trellis or pole to grow up - I just use bamboo poles. Companion Planting Peas grow well with carrots, turnips, radishes, cucumbers, corn, beans and potatoes. They also like aromatic herbs. Do not plant with onions, garlic or gladiolus. Harvesting and Preserving Carefully pick or cut pods off their stems at any stage of growth. For preserving wait until the pods are bulging before picking. Once you are done harvesting turn the entire plant right into the soil for some added nitrogen or pull up the plant and put into the compost pile. Pea can be bottled, frozen, or dehydrated although the best flavor is fresh from the vine. Seed Saving Allow the pods to dry right on the plant, this usually happens by early summer. Pick and open the pods to remove the seeds, then lay on a screen to complete the drying process. Once dried, store in a jar, envelope or plastic bag where they will keep for 4-5 years. Nutrients Peas are a good source of vitamins A, B, C, and K, folic acid, antioxidants, calcium, iron, zinc, manganese and a variety of other minerals as well as protein and fiber. Resources Nutritionandyou.com green peas nutrition facts. What tips do you have for planting and using peas? |

Hi, I’m Annie, a child of God, Mother of Influence and Herbalist. Welcome to my place where I share what I have learned of natural and frugal living, healthy eating and living, gardening, homeschooling, herbal crafting, preparing temporally and spiritually, and love for God and Country.
LearningLivingArchives
January 2023
|
