|
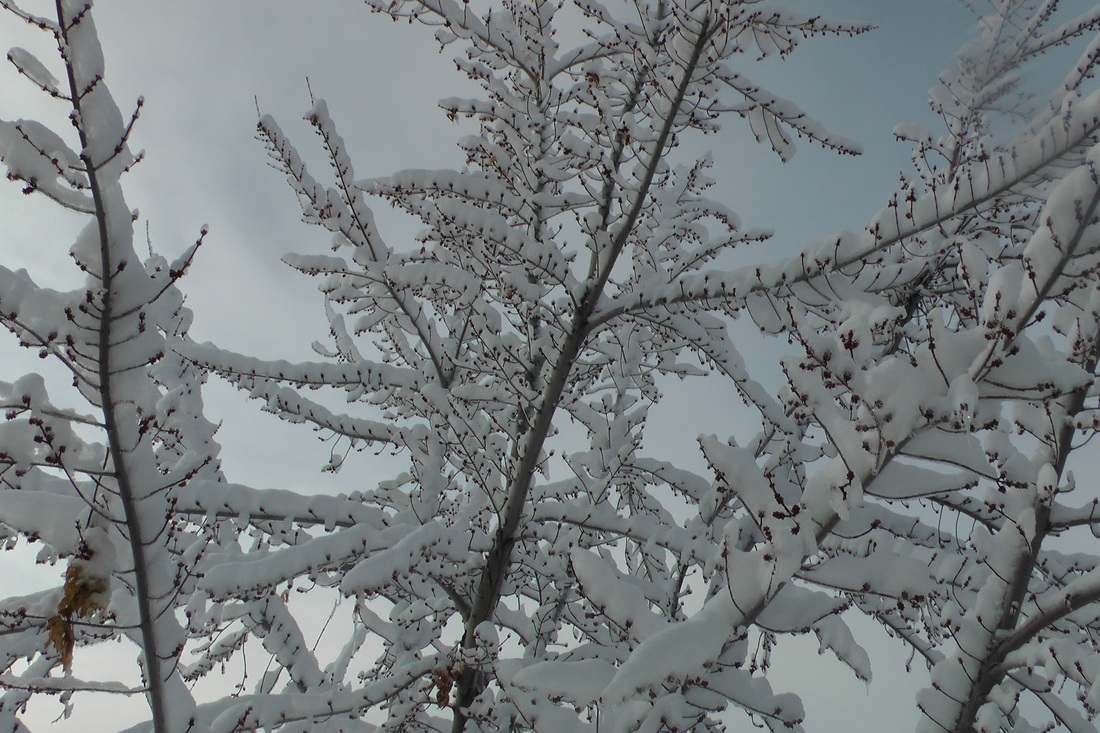
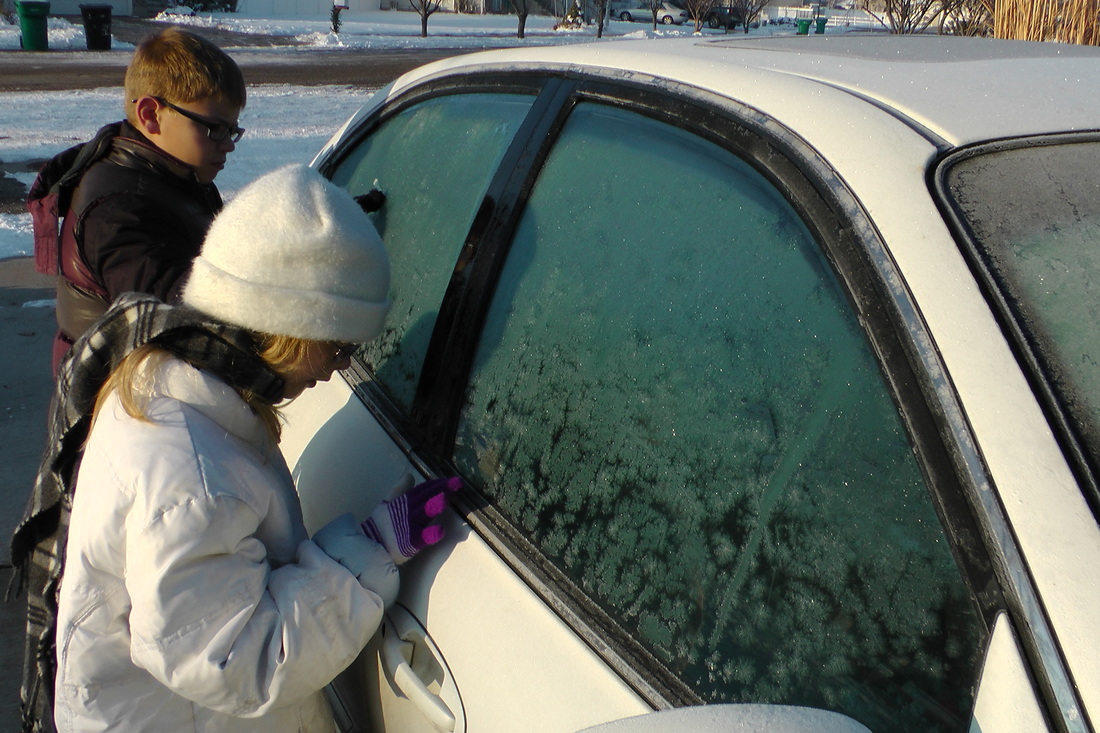
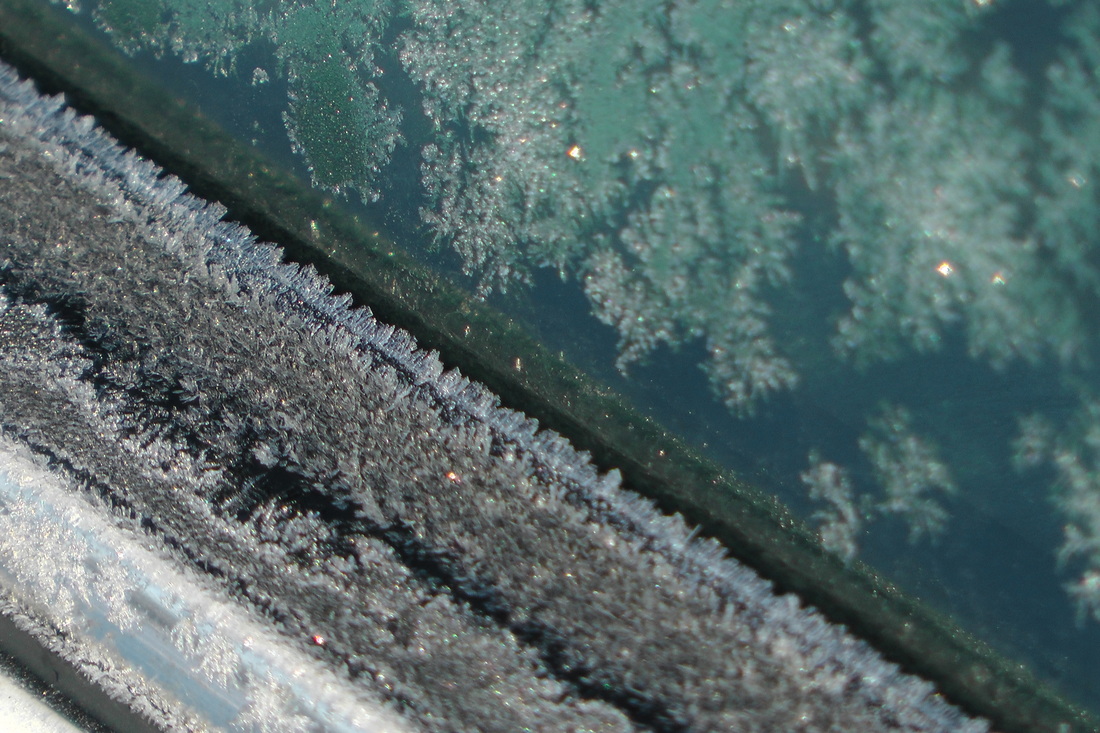
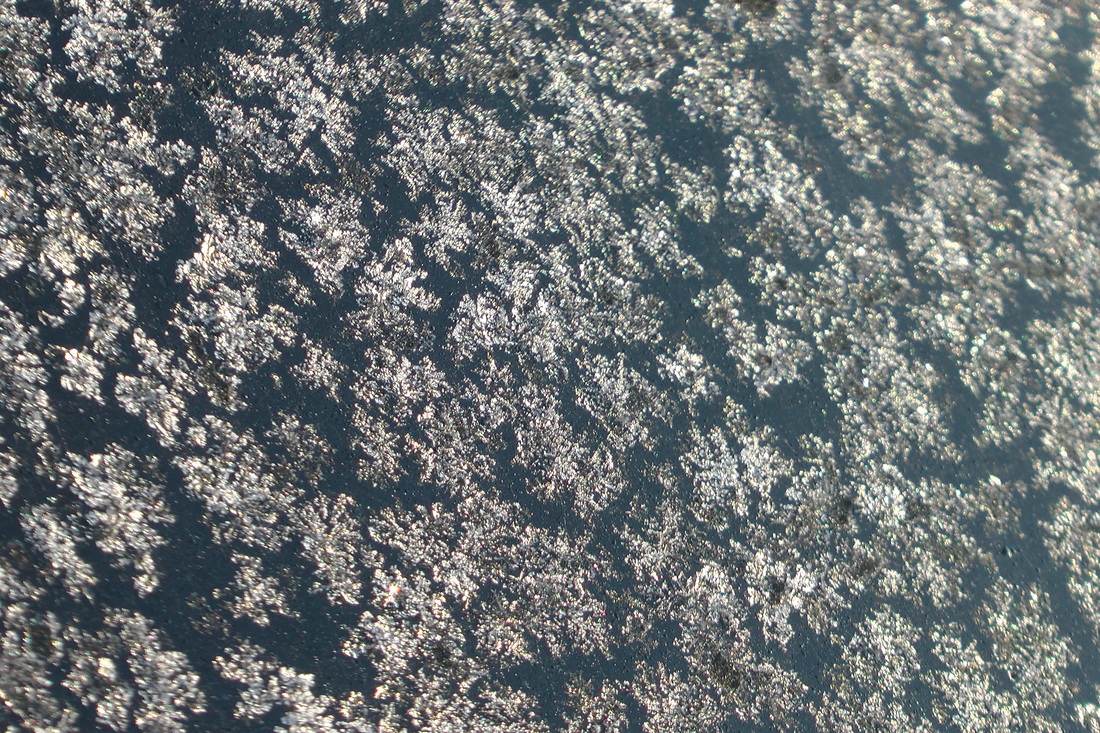
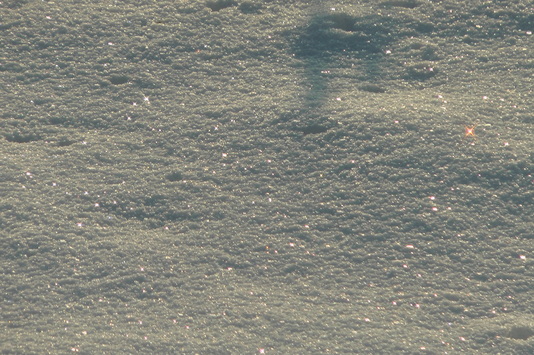
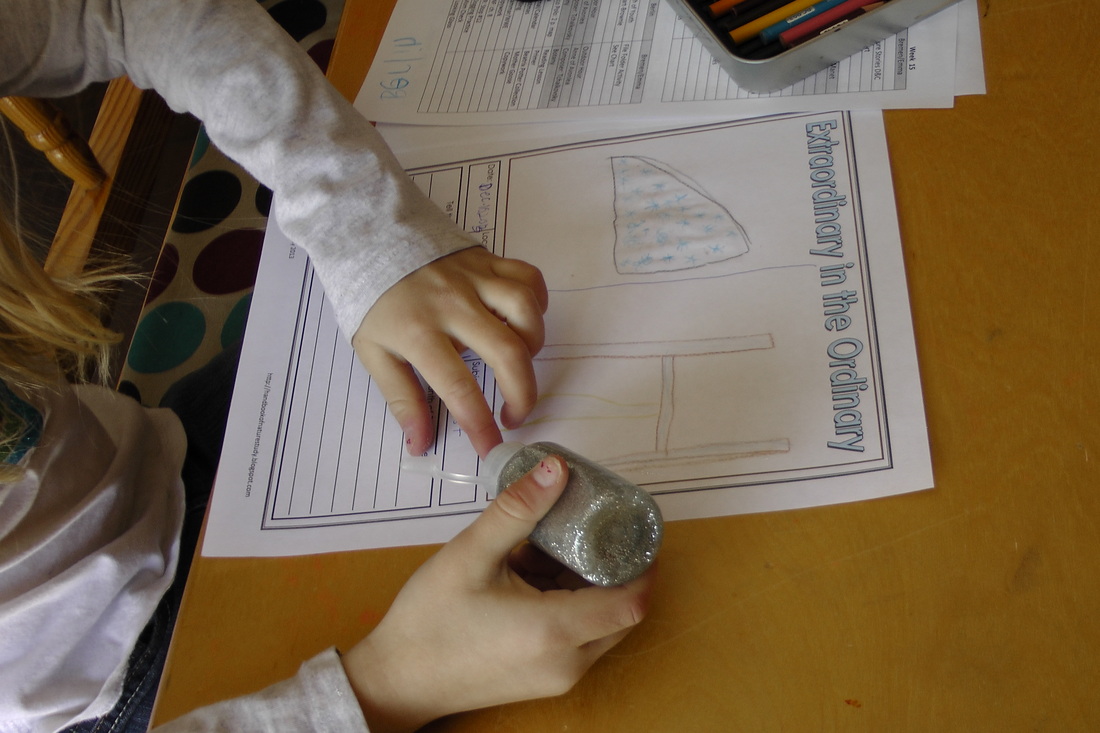
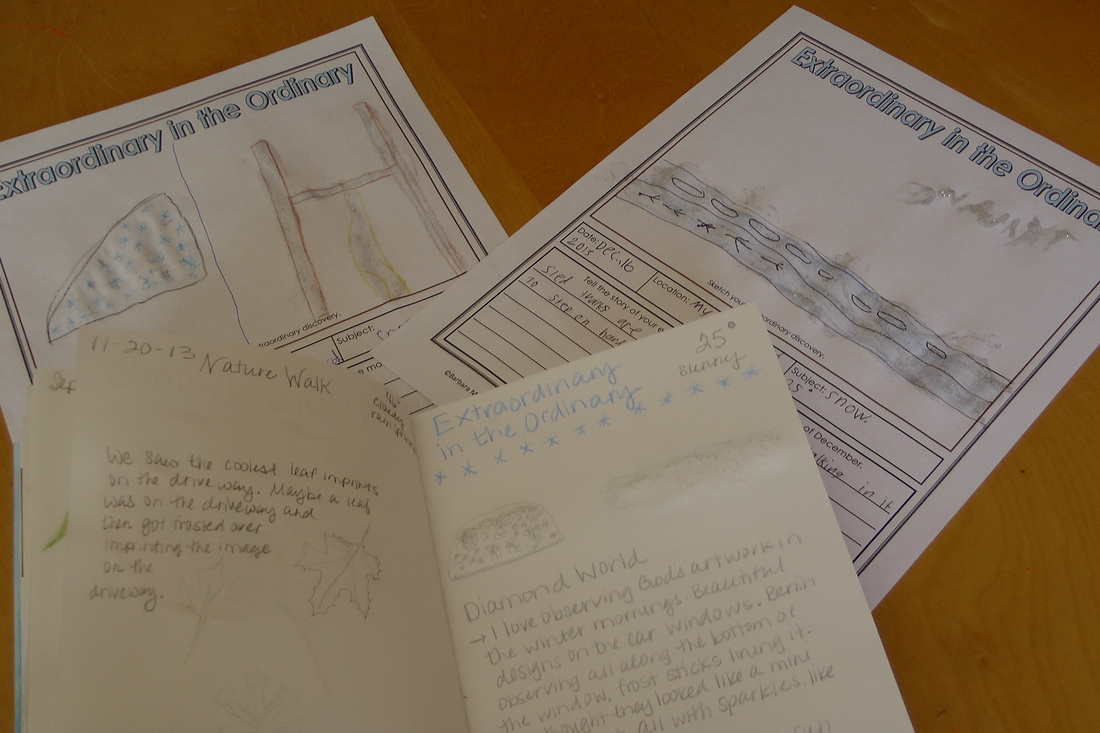
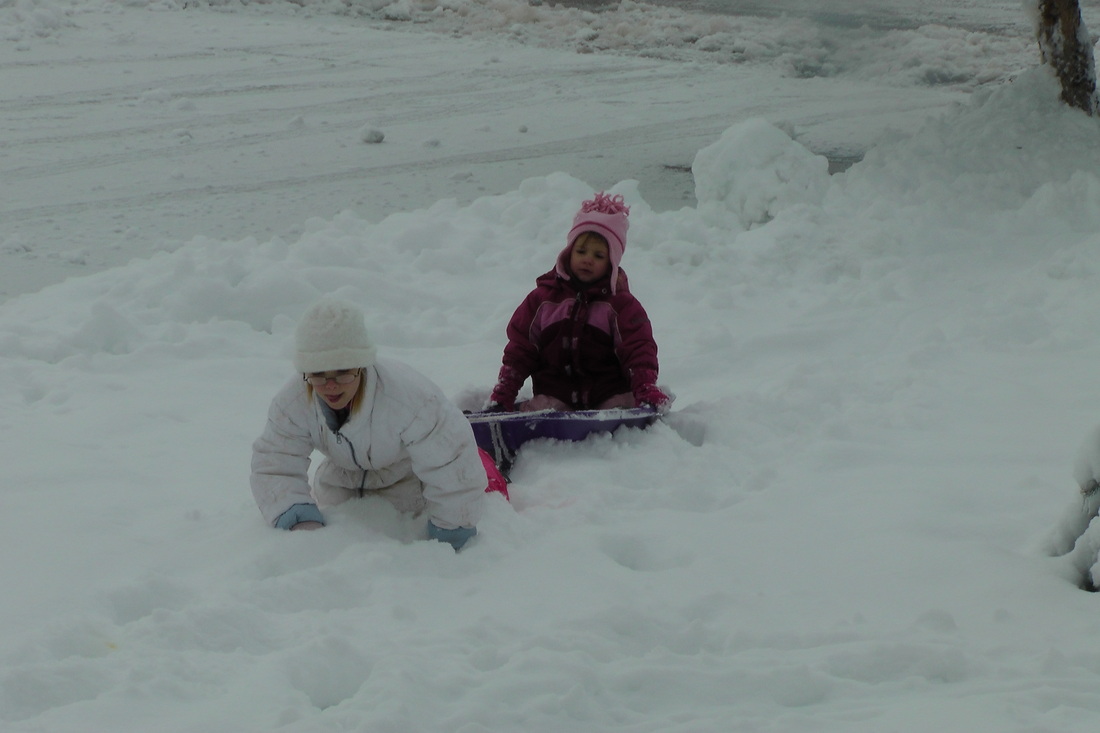
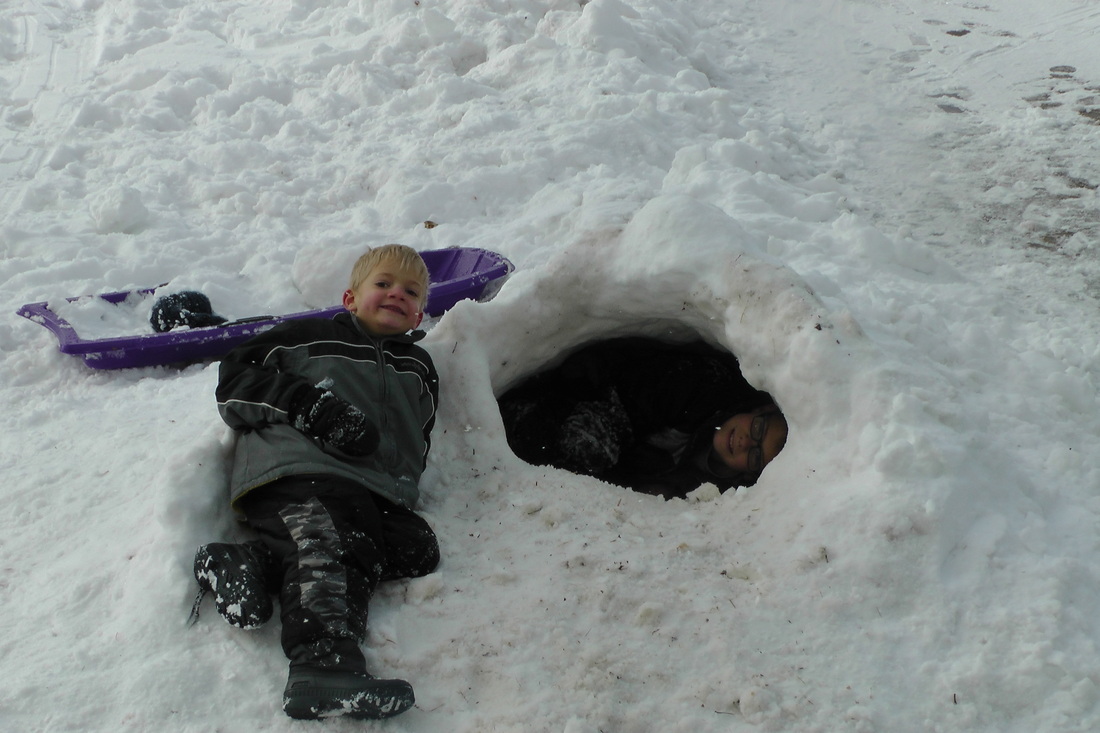
The Outdoor Hour Challenge this month was to find the extraordinary in the ordinary in our December world. Our Northern Utah weather did not disappoint in the least! We had a beautiful snow storm and I only wish I had a good camera to capture the awe of what we were able to witness. I love to go out on my front porch and slowly take in the scenery around me, smelling the fresh air and feeling the cold air on my face. Then hop back in my warm house and be grateful I have heater and some hot chocolate. Here in Utah, we never get ice storms, but this year was a little different. We had an ice storm that coated everything in ice and then it snowed on top of the ice, leaving the trees and bushes covered in this gorgeous white for days. We went out in the early morning before the sun had melted what we call "God's Artwork" from the car windows. The children were fascinated by the frost designs when we took an up close look and found something very extraordinary in something so ordinary in the winter. We were also amazed at the sea of "crystals" so prominent in the backyard with the morning sun shining on all the fresh fallen snow. Big woman noticed an "ice tree forest" along the bottom edge of the car window, big man was just interested in making his own designs in the frosted window, and I was fascinated by all those "diamonds" sparkling in my backyard. When we came inside the kiddos opted to use thenotebooking page Barb provided while I used my nature journal to record our observations. After drawing our pictures and journaling, we added a little glitter glue to our pages for the sparkle effect the snow and the frost gave in the sunlight. And then of course, after school time all the children had to go back out and build a snow cave and pull each other on the sled through all those "ice crystals". I feel so blessed to have a Father in Heaven that loves us so much to give us all this beauty to enjoy through the dark, cold winter.
1 Comment
I just want to wish everyone a Merry Christmas! I will be taking the week off from blogging to spend some time with my family, but want to share with you this beautiful video of The Nativity. We have watched many of these Life of Christ videos with our 25 Days of Christ advent and have been touched by the true spirit of Christmas. I highly recommend watching the entire series of The Life of Christ videos, they are very inspiring. Have a Merry Christmas!
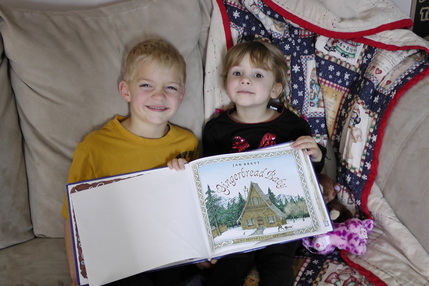
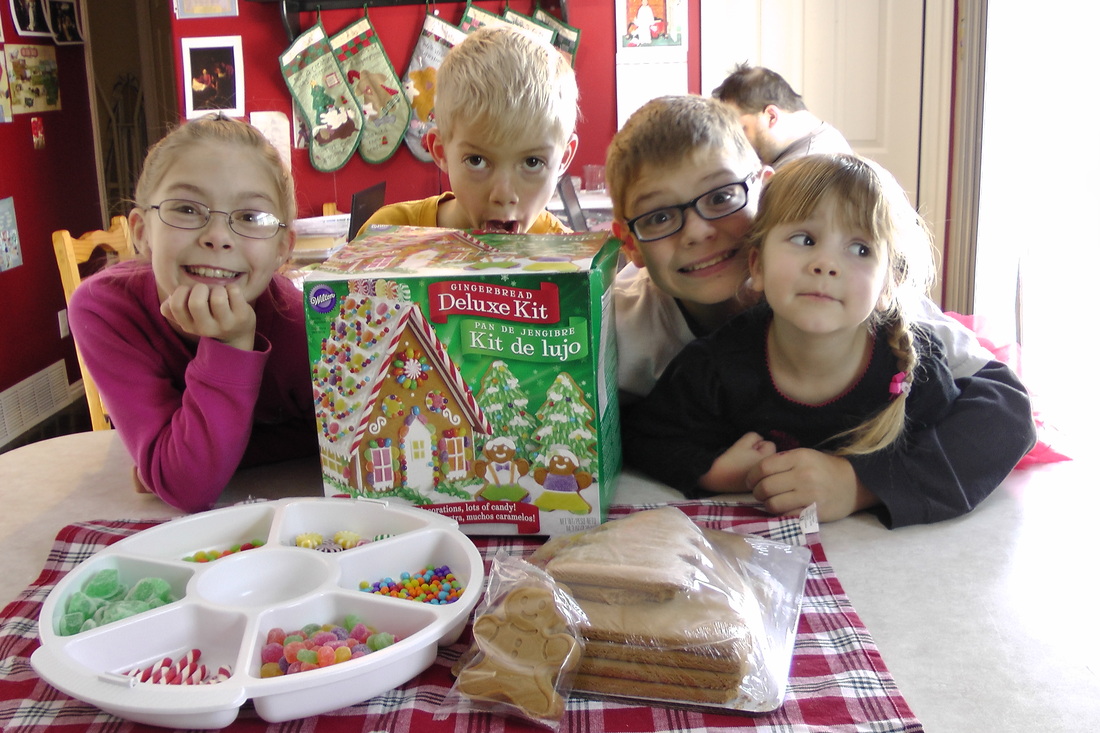
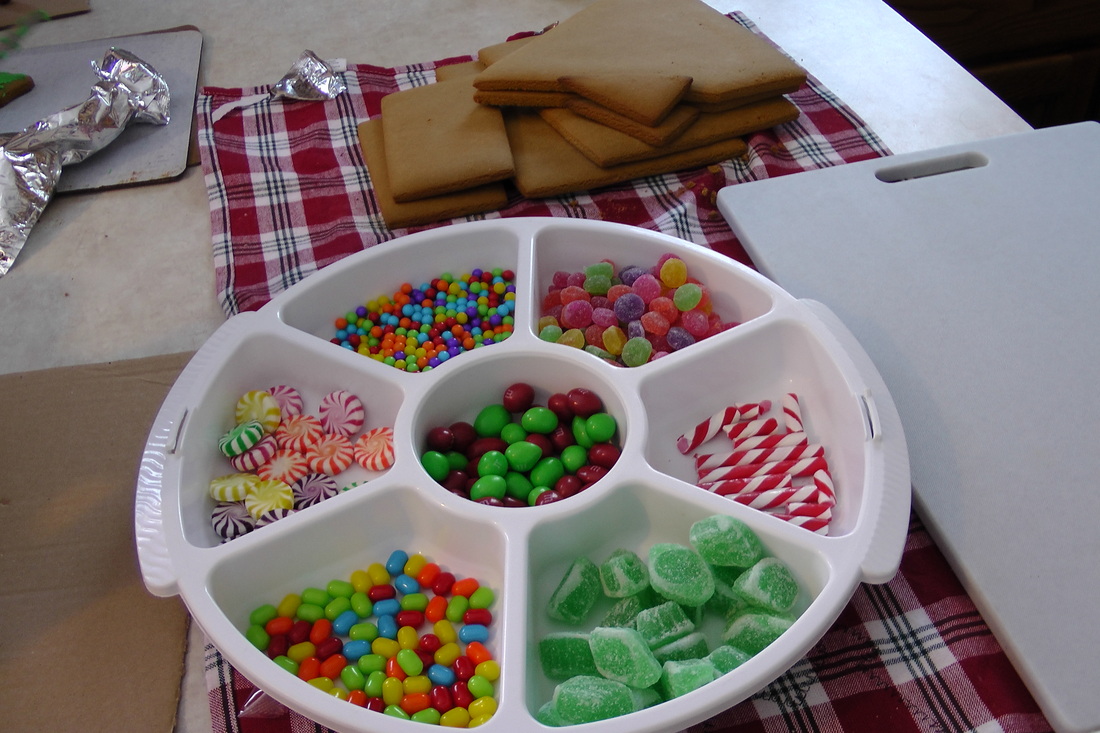
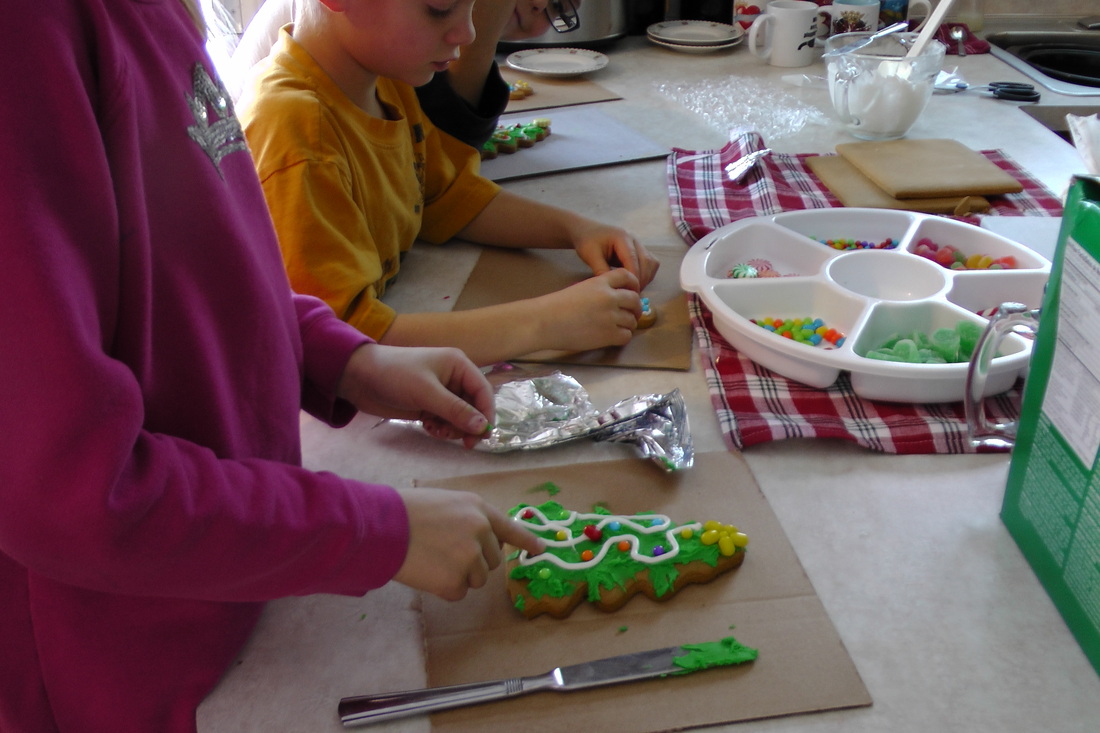
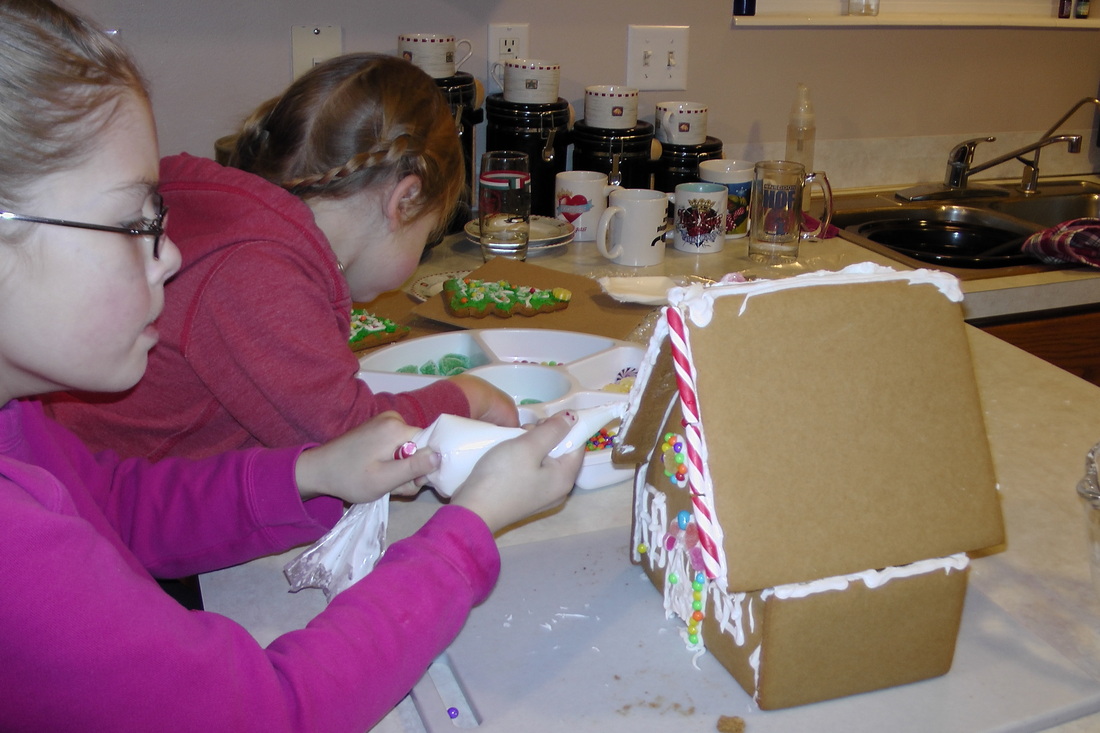
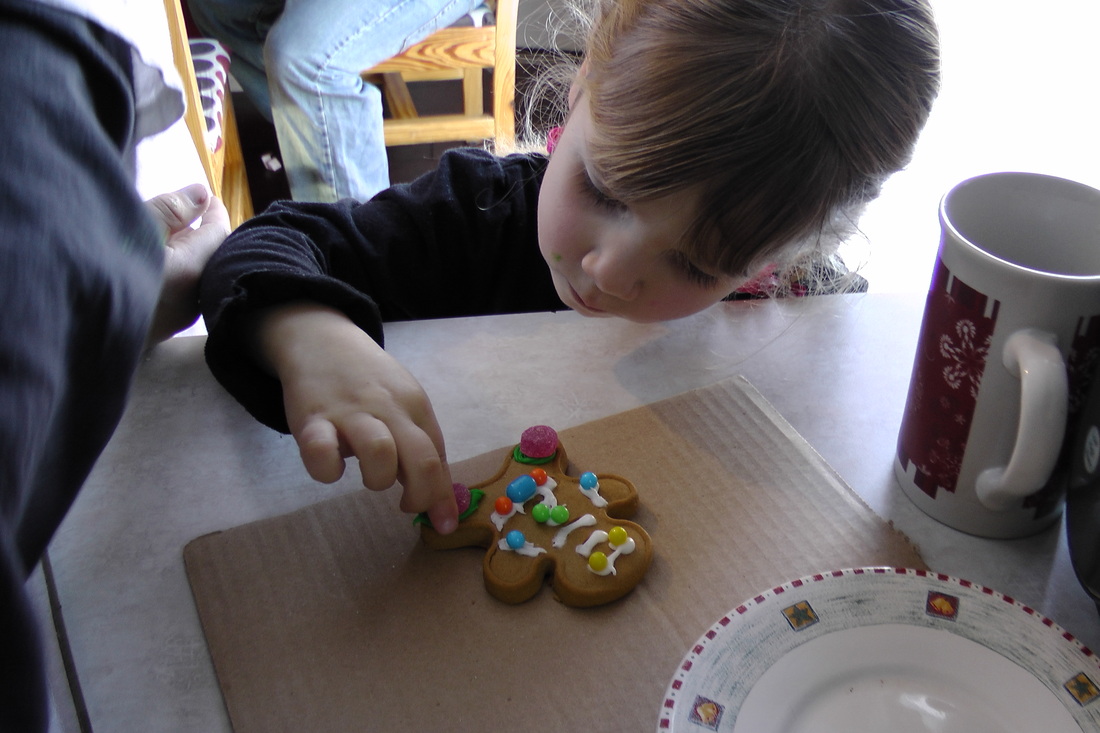
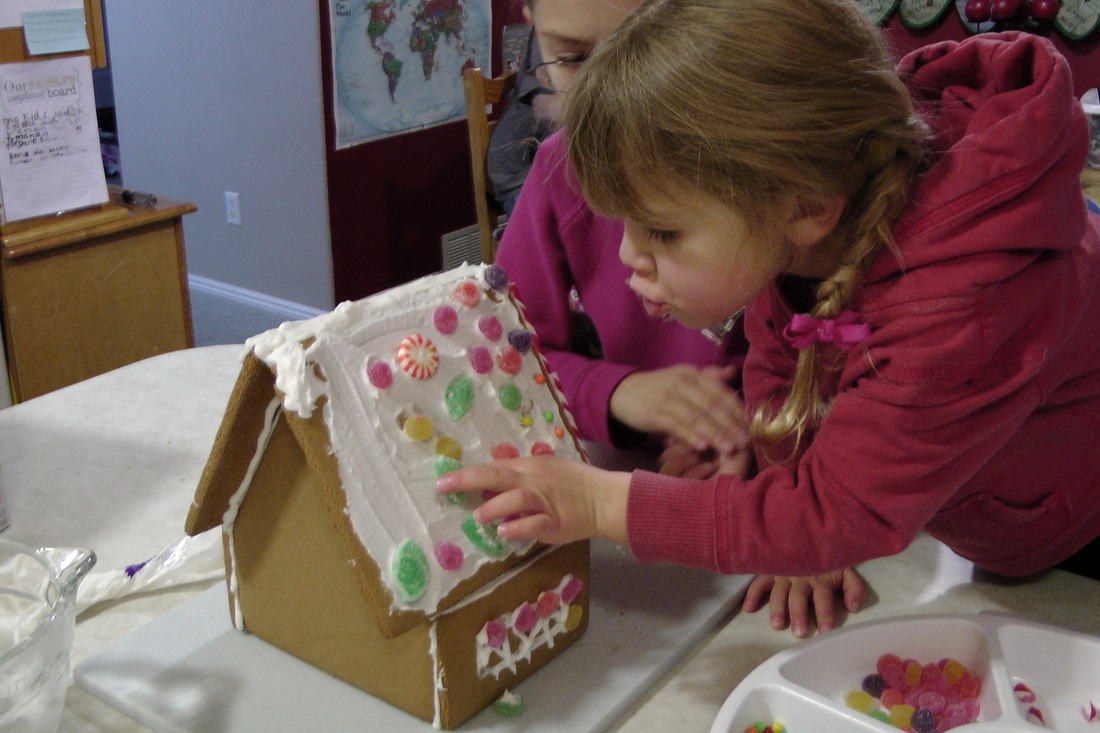
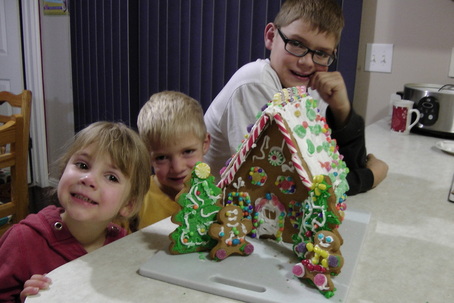
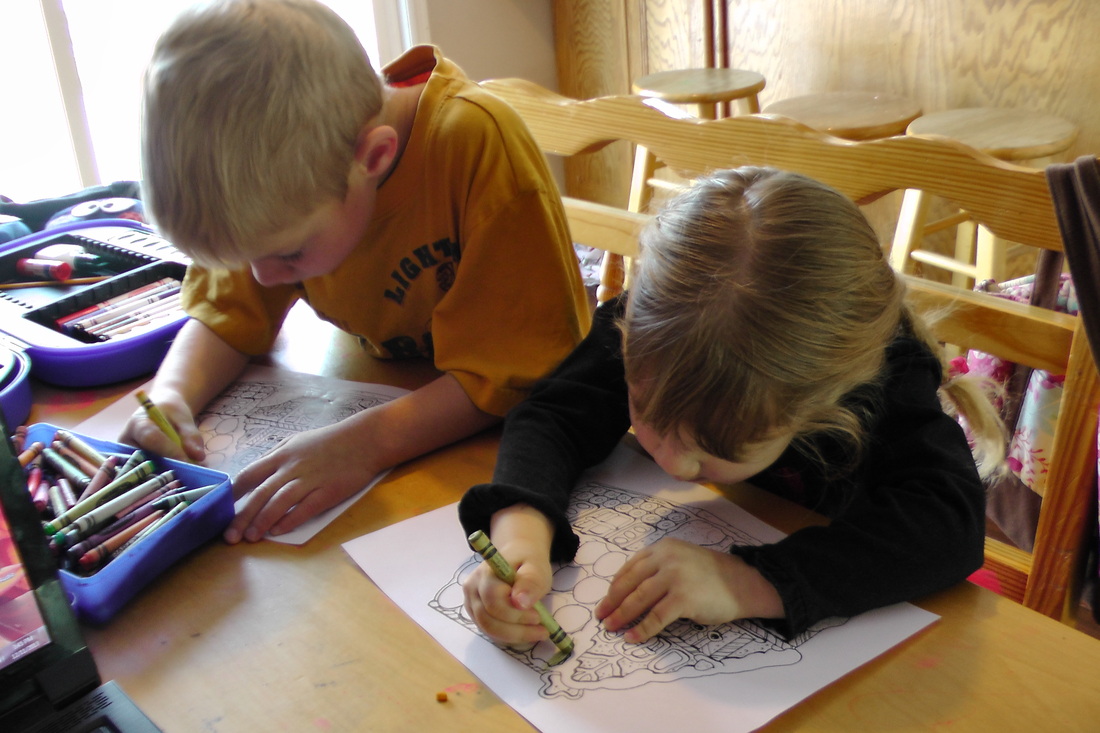
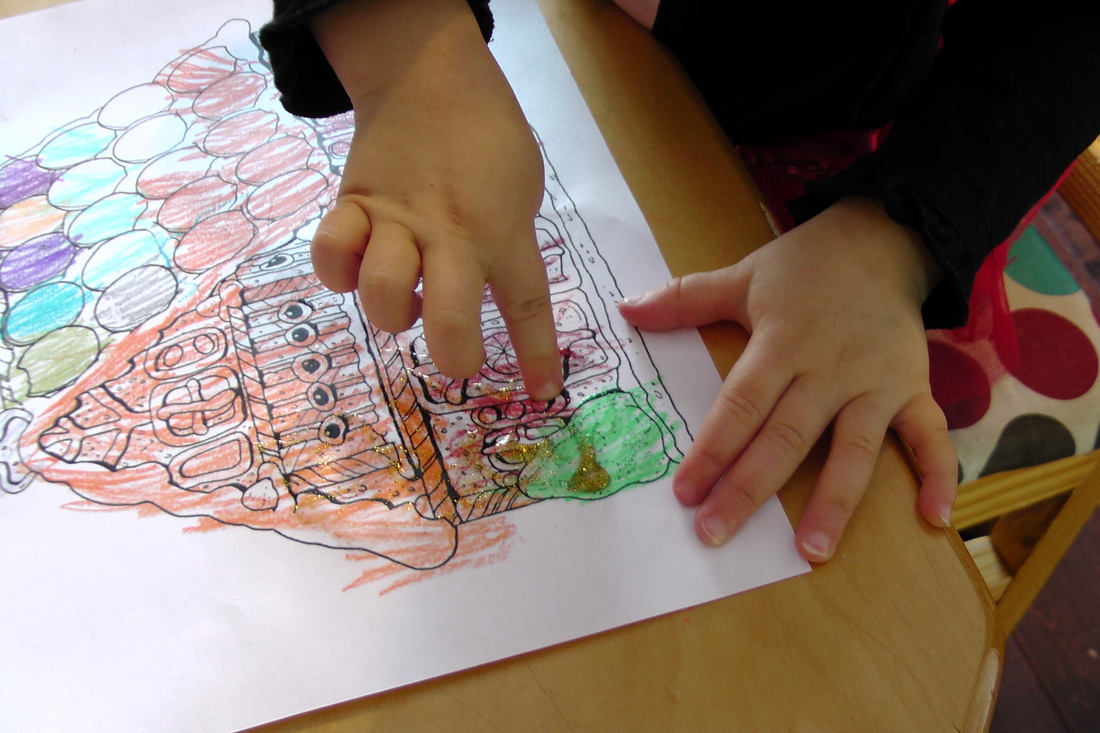
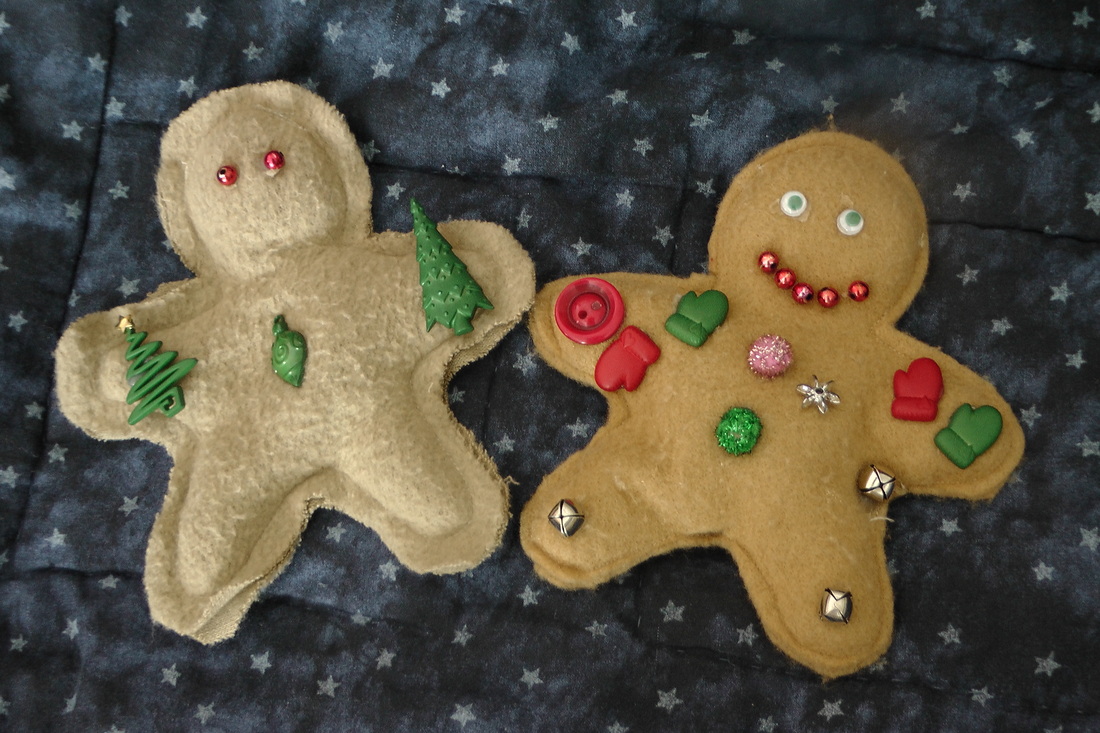
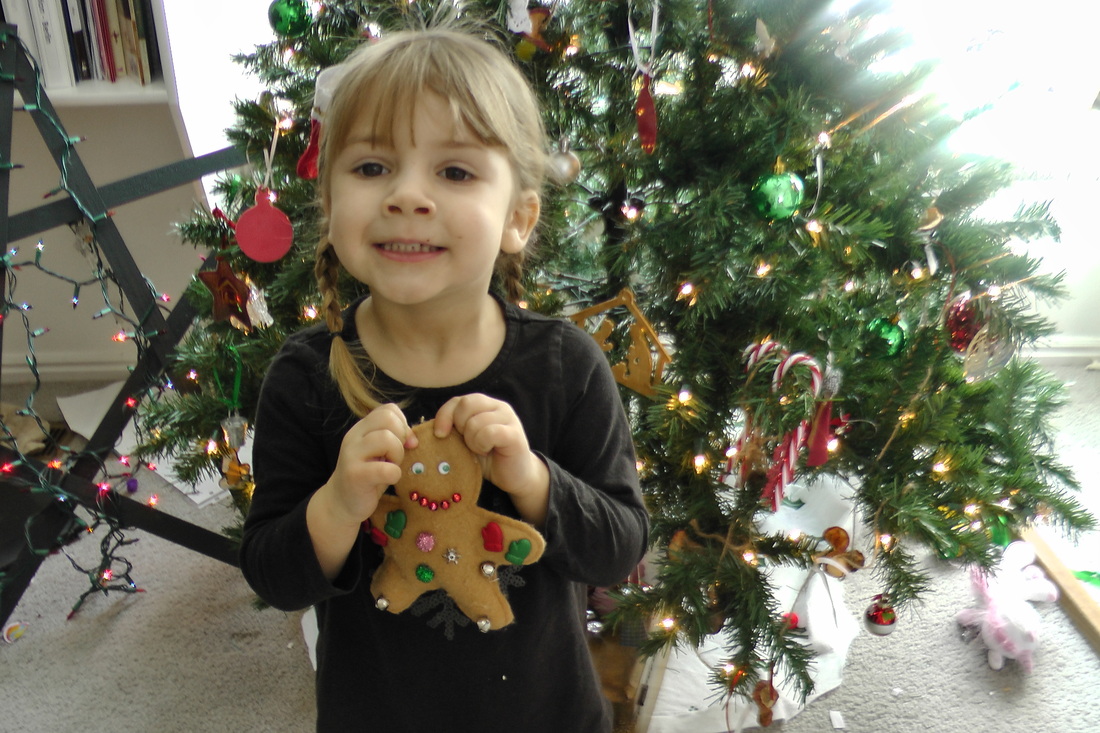
We love story time around here and as I've mentioned before, Jan Brett is one of our favorites. Around Christmas time we always bring out Gingerbread Baby and borrow Gingerbread Friends from the library (we really need to add that one to our collection). We have a tradition each year that after reading Gingerbread Baby for the first time of the year, we make our own gingerbread house. I always purchase a gingerbread house kit at the after Christmas sales to use for the next year. This serves two purposes; I only have to pay $5 for a kit and I can tell my children they can't eat any of the candy because it is old and yucky. I'm not as heartless as you think though, I do purchase a bag of holiday M&M's and keep in the middle of the candy tray just for sneaking while decorating our house. If you would like to make your own gingerbread houses with a whole foods recipe, you can go to My Humble Kitchen, where she has a great photo tutorial and recipe. I just might try this next year and actually let the children eat their houses. Gingerbread HouseJan Brett Website Activities The Littles also love to make their own gingerbread houses with crayons, markers and even some glitter glue to add a sparkly sugar effect, just like the gingerbread house in the book. Jan Brett's website has a really cute gingerbread house print out here, along with different ways you can design and decorate it. You can find a fun gingerbread baby game board here and an interactive drag and drop gingerbread house here. Gingerbread Playdough I found this fun recipe for making gingerbread playdough here, haven't had a chance to try it out but it looks like lots of fun. Gingerbread Men Bean Bags Just make a cut out of a gingerbread man for a template, I got mine years ago from the Family Fun Magazine. Pin the template to some brown or tan felt and cut out two pieces per man. Sew around all the edges, leaving and inch or two opening to fill with wheat, rice, beans, etc. Hand stitch the side after filling and then let the children "decorate" the men with buttons, google eyes, bells, puff balls, etc. Shared on: Wildcrafting Wednesday Christmas Edition.
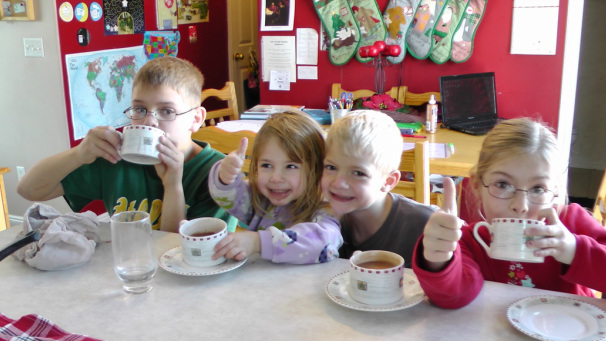
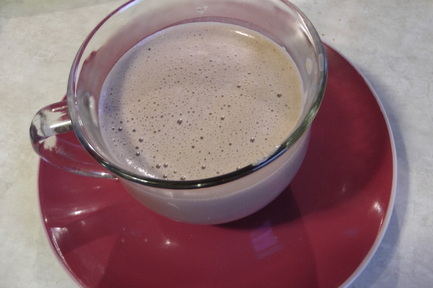
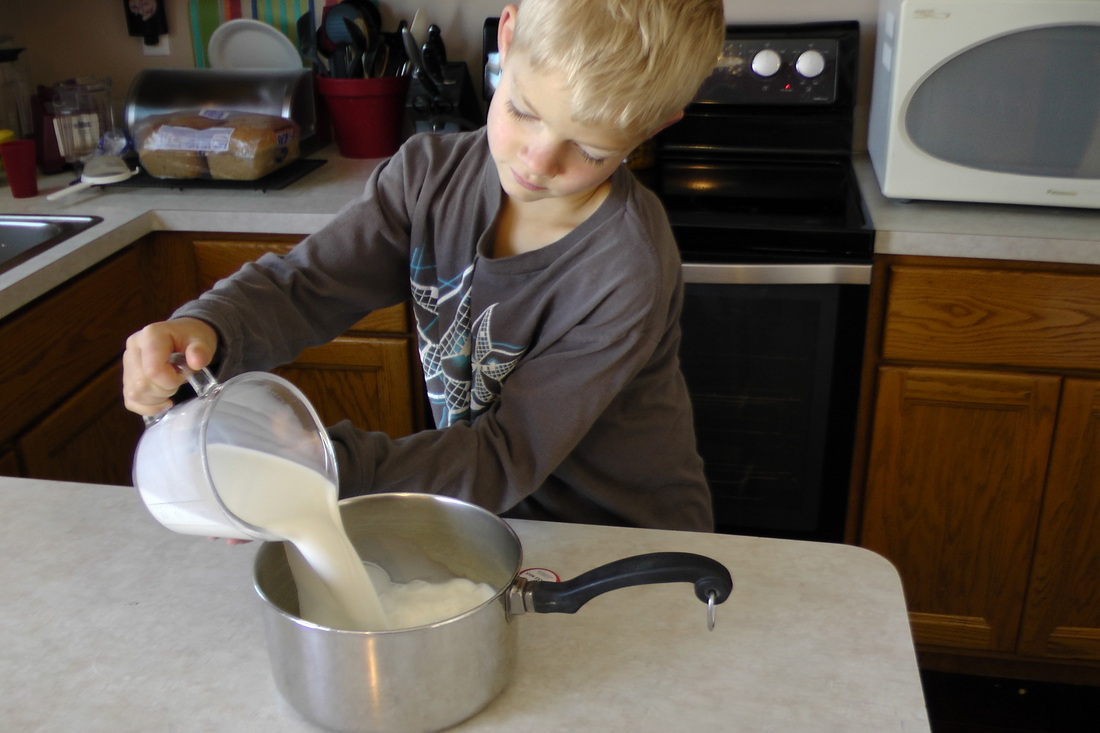
We love to do experiments around here, about as much as we like to drink hot chocolate during the winter months. Why not combine the two and find the best hot chocolate recipe? We spent a week making different hot chocolate recipes everyday, charting and making notes about what we loved and what we didn't in each recipe. We found a fast favorite and want to share the fun with all of you!
Classic Hot Chocolate
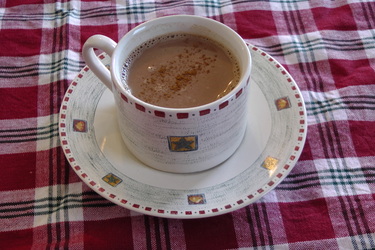
I call this classic hot chocolate because it was the recipe I grew up with. My Mom always had the best hot chocolate, using nothing more than cocoa powder and sugar. I of course have to tweak it a bit since I don't use refined sugar any longer, but this has always been a favorite around here.
Mom's Classic Recipe
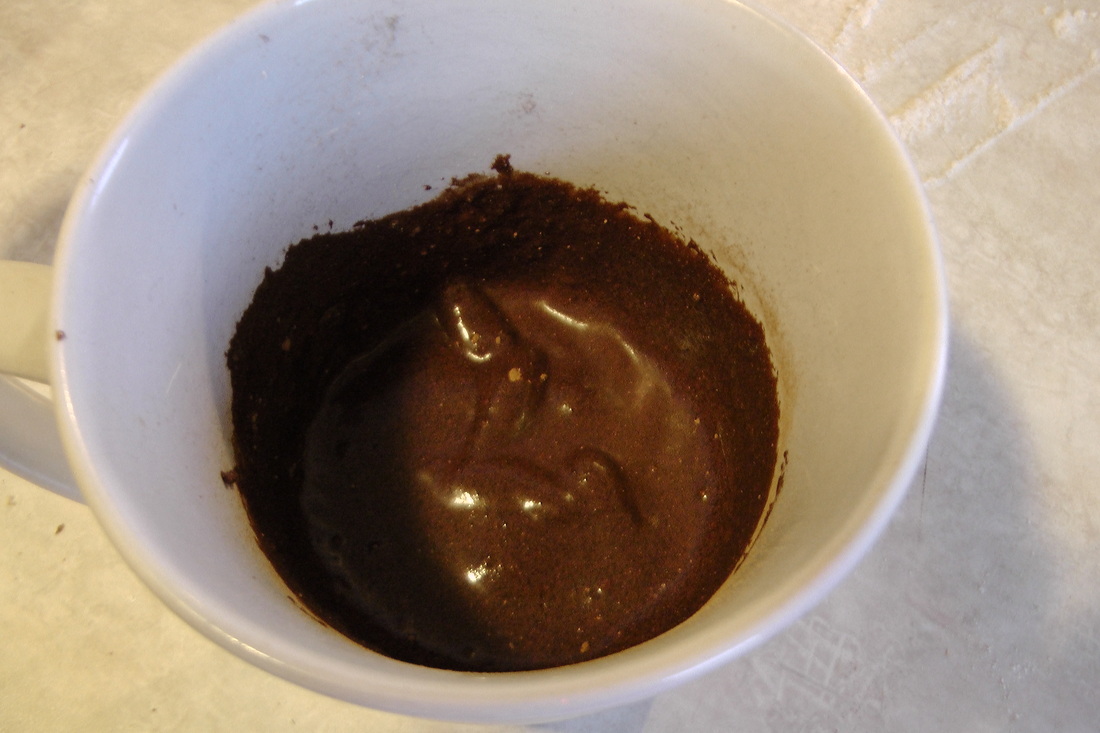
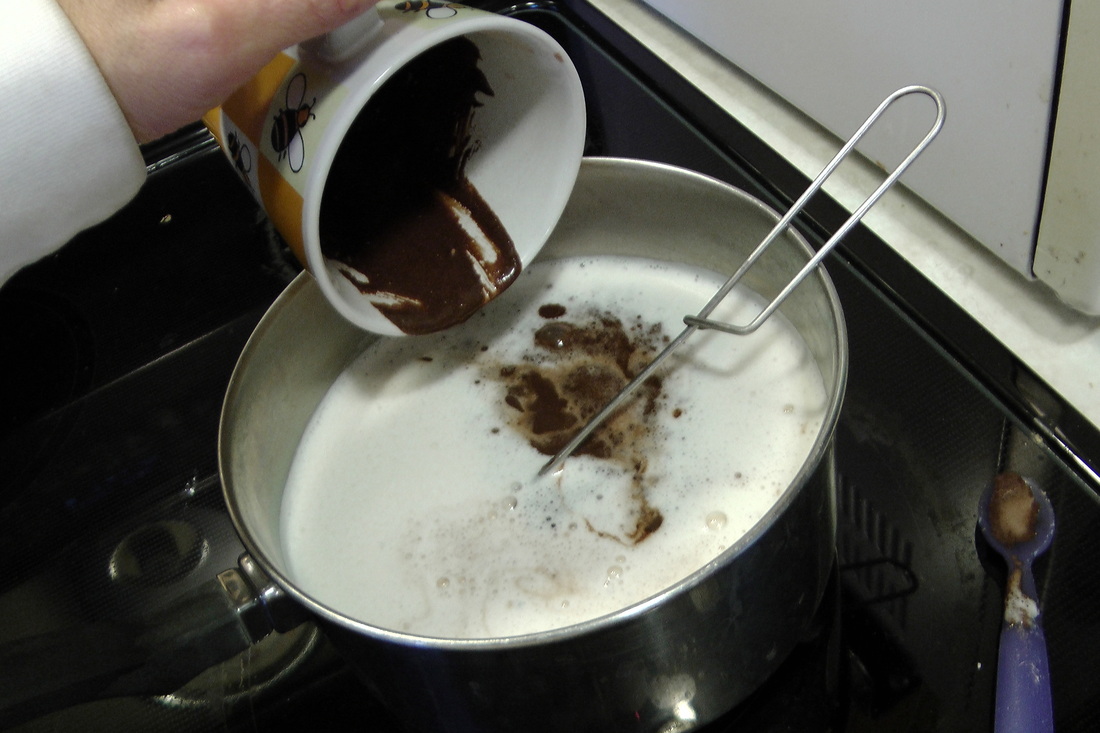
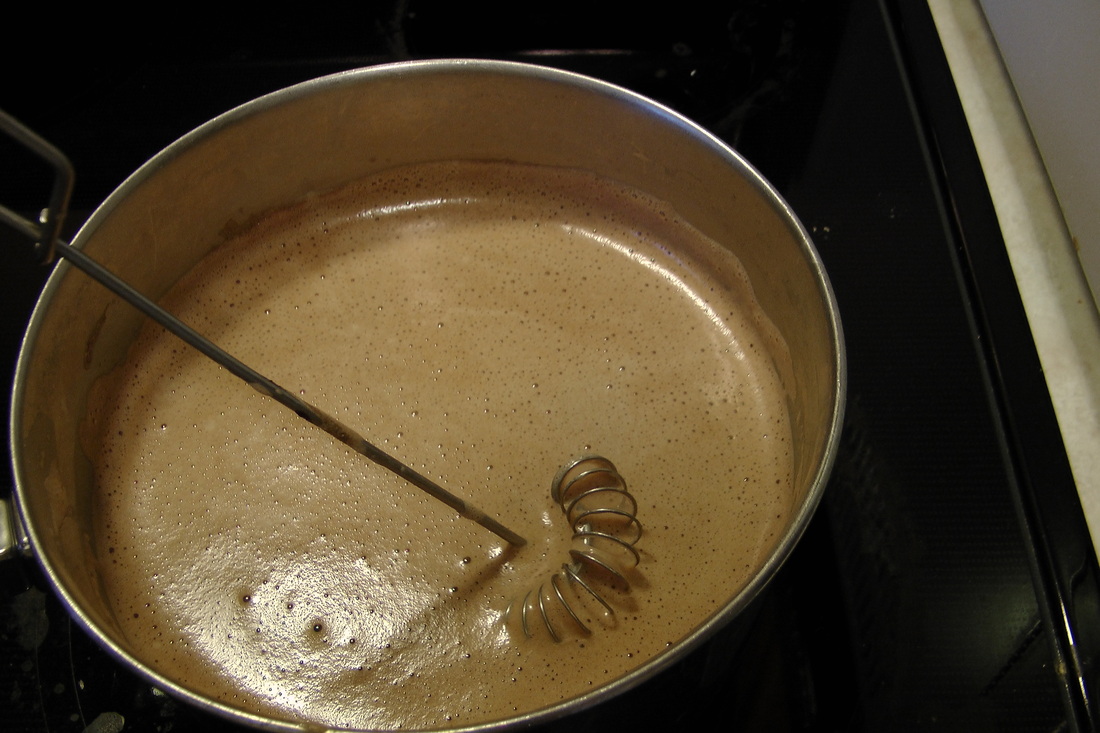
4 1/2 cups milk 1 can evaporated milk 3 tablespoons cocoa powder 6 tablespoons sugar 1 teaspoon vanilla Annie's Tweaked Version 4 1/2 cups milk 1 cup heavy cream 3 tablespoons cocoa powder 6 tablespoons pure maple syrup 1 teaspoon vanilla dash of salt Optional: 1/2 teaspoon golden goodness mix 1/2 teaspoon medicinal mushroom powder 1/2 teaspoon breakfast sprinkle or pumpkin pie spice Heat the milks in a pan over medium low heat. Mix together in a small bowl the cocoa (and optional powders if desiring an immunity and flavor boost) and syrup, stir vigorously to make a paste. Gradually add cocoa mixture into hot milk, whisking until well blended, stir in vanilla and a dash of salt. Chocolate Chip Hot Chocolate
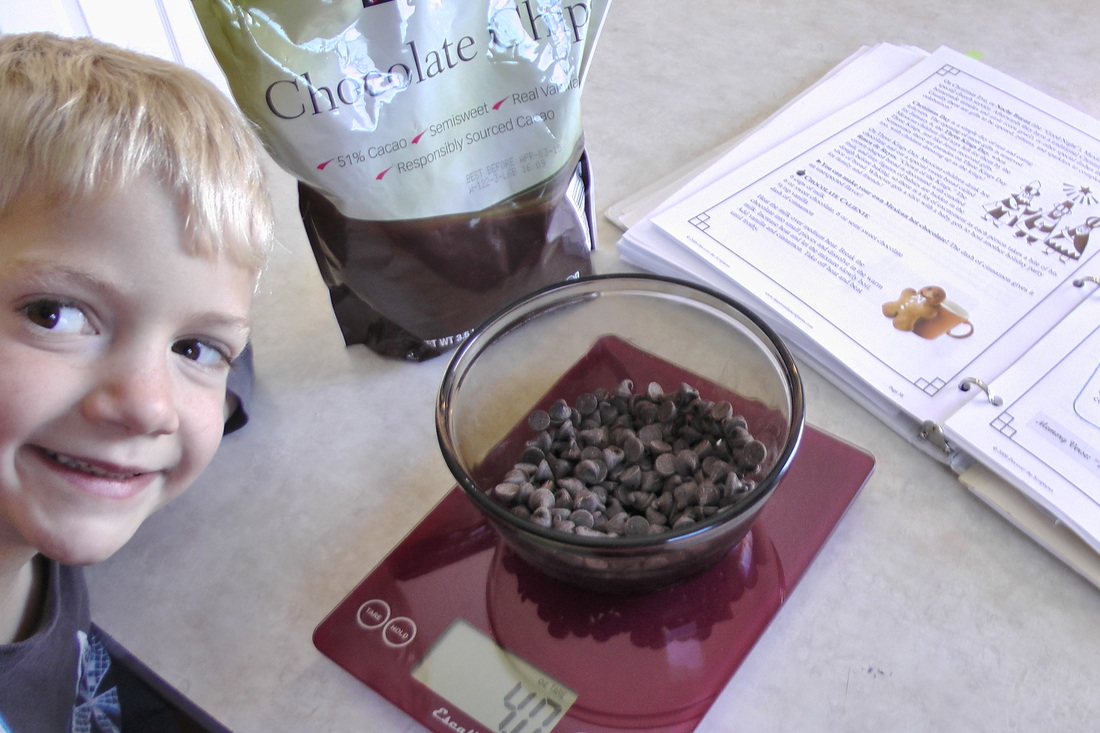
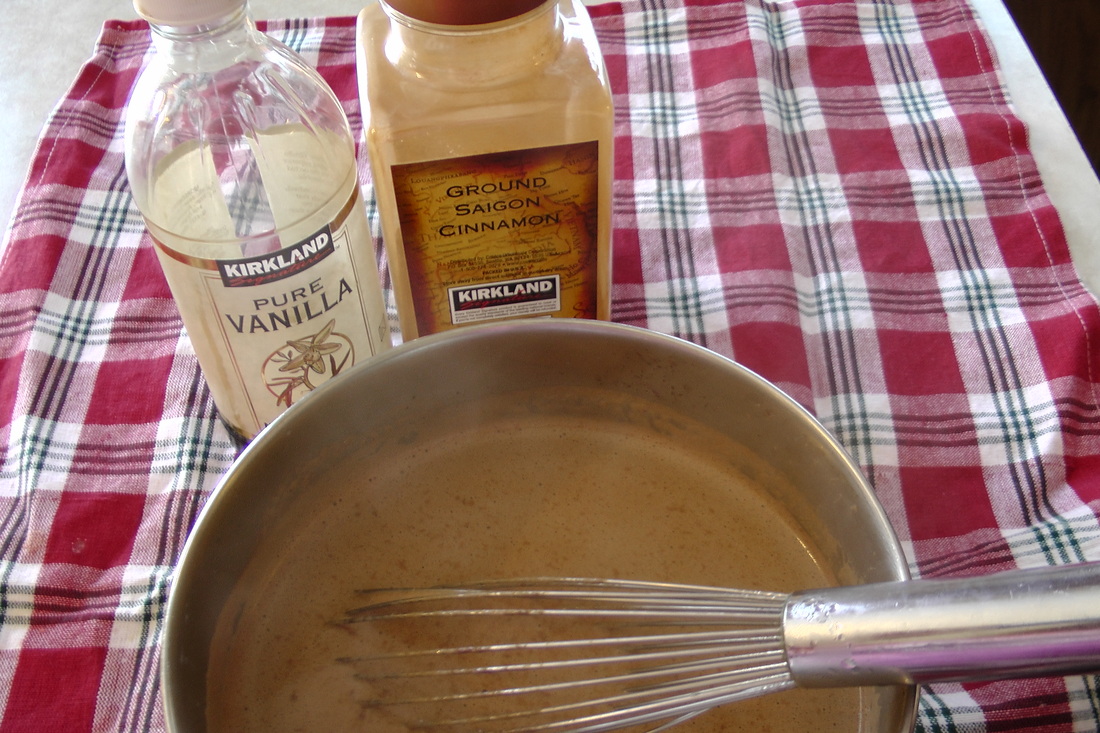
This recipe seems to be pretty common on the internet, it is also the version used to make Mexican Hot Chocolate in the Discover Christmas Day 11. This recipe wasn't our favorite because it was way too rich with all those melted chocolate chips. If you love milk chocolate though, this may be the version for you.
6 cups milk
6 oz. chocolate chips 1/2 teaspoon vanilla dash of cinnamon (for Mexican Hot Chocolate) Heat the milk over medium heat. Sprinkle the chocolate chips and slowly bring to a simmer, whisking in the chips until incorporated. Removed from heat and add vanilla and cinnamon, whisk until frothy. Ultimate Hot Chocolate
I found this recipe at Back to the Book Nutrition, where she also includes a white chocolate version and whipping cream in lieu of our marshmallows.
2 cups whole milk
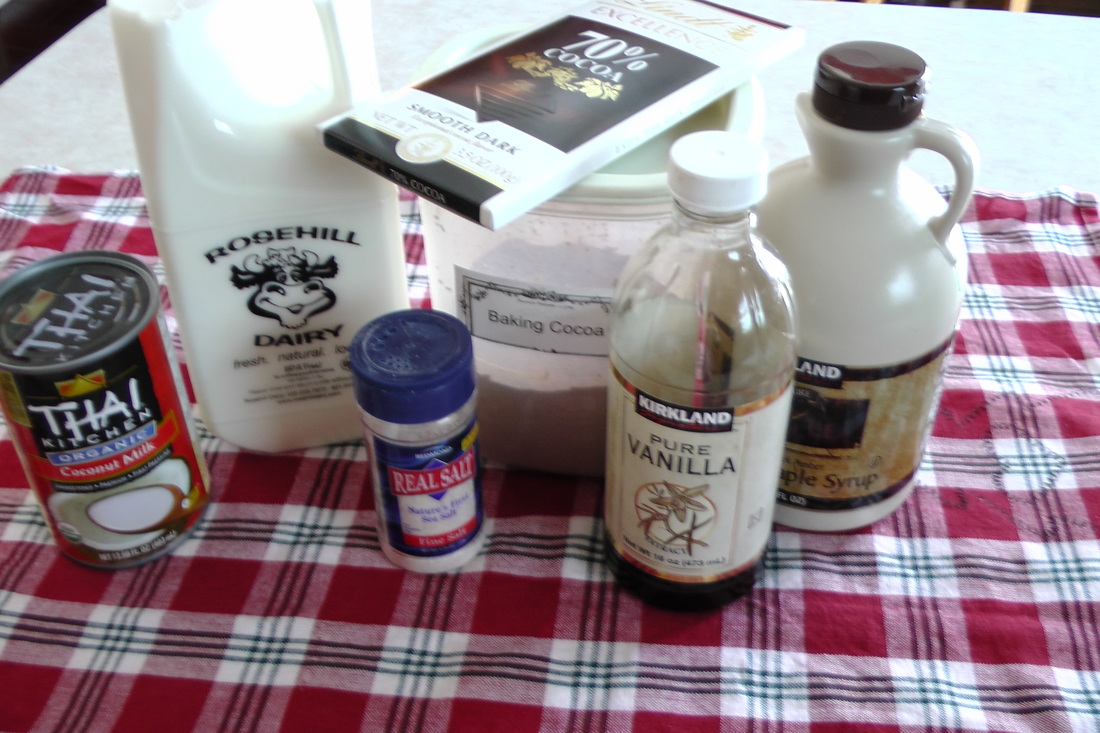
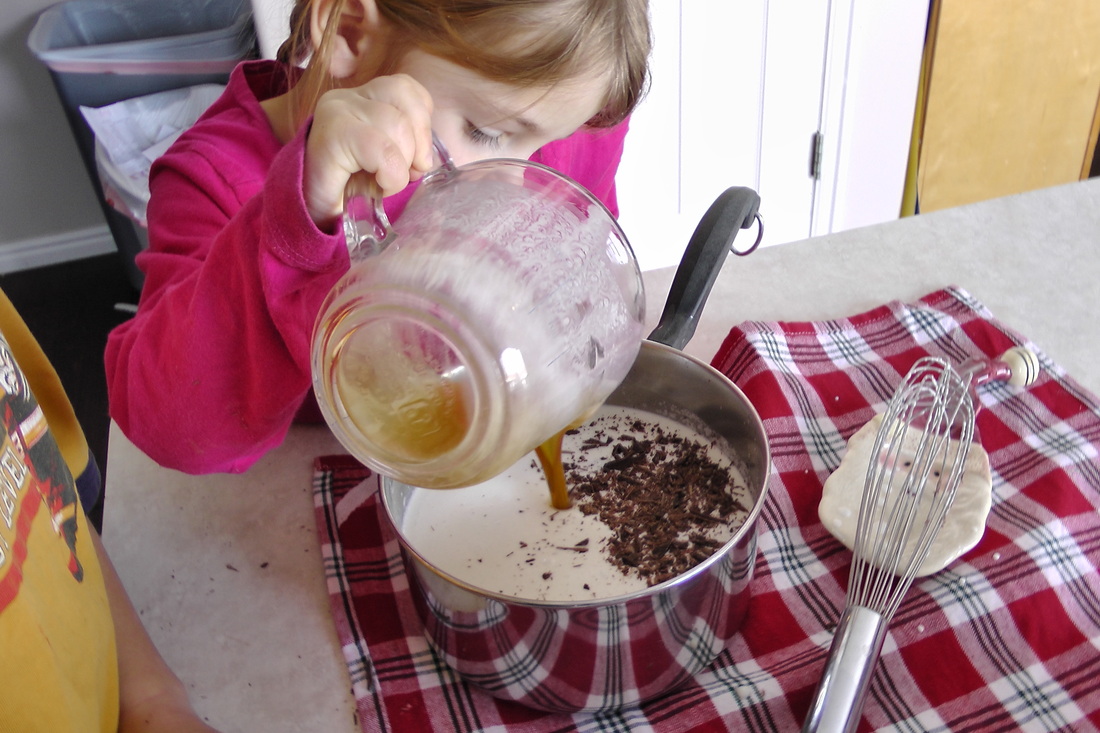
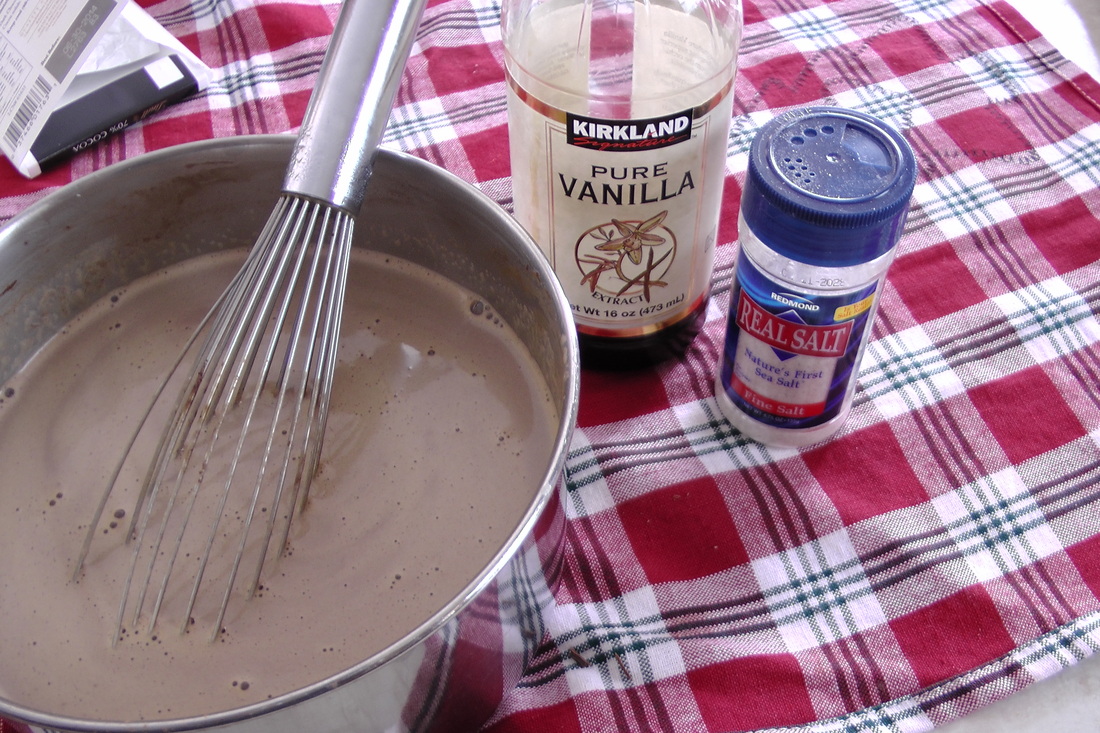
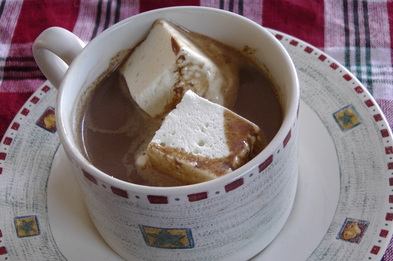
1 can coconut milk 2 Tbsp. cocoa powder 2/3 cup pure maple syrup 3. 5 oz. dark chocolate bar, chopped (I used a Lindt 70% dark chocolate bar and only used 1/2 of it) 1/8 tsp. Real salt 1/2 tsp. vanilla extract Place the milks, cocoa powder, syrup and chocolate bar in a saucepan and whisk constantly over medium heat until the mixture is smooth and steamy. Remove from heat and add in salt and vanilla. Don't forget those yummy marshmallows! Peppermint Hot Chocolate
Peppermint hot chocolate was an experiment within an experiment as I wanted to see which method of peppermint was more effective;extract or infusion. The infusion definitely gave a more pronounced peppermint flavor than the extract but I have included both options and you can decide.
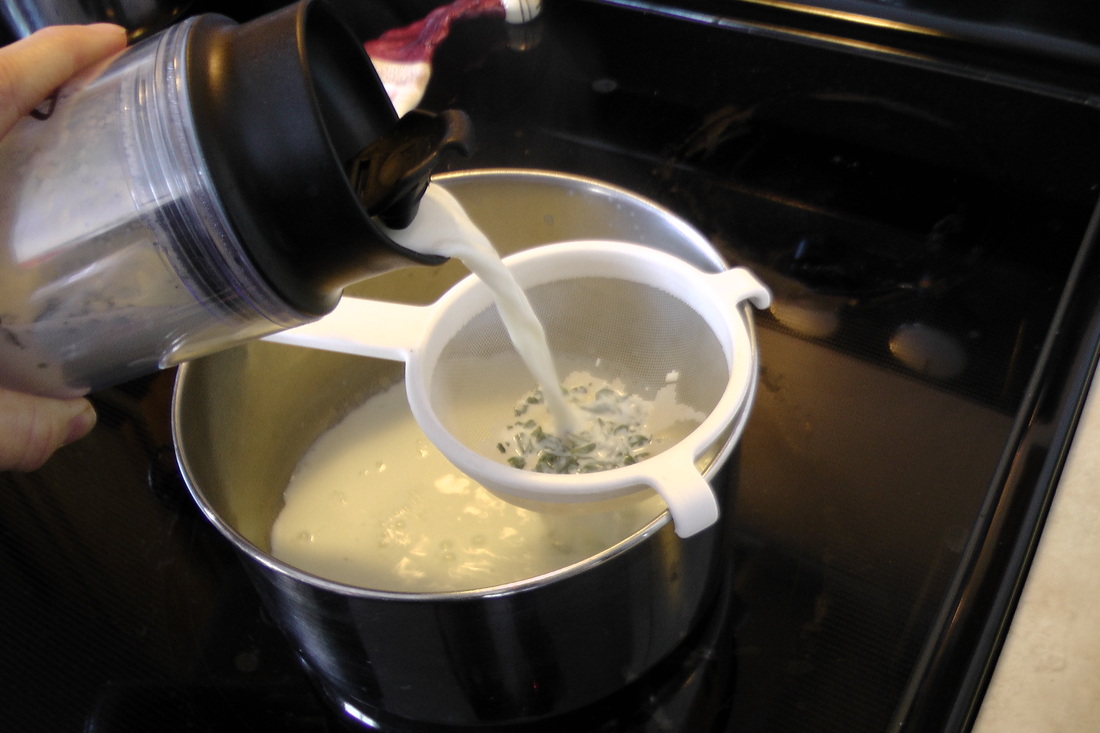
Infusion: Using one of the hot chocolate recipes above, heat the milk until steaming. Pour over 1 teaspoon of peppermint leaf per cup of milk and let steep for 10 minutes. Strain, then pour the milk into a saucepan and follow the instructions for your recipe of choice.
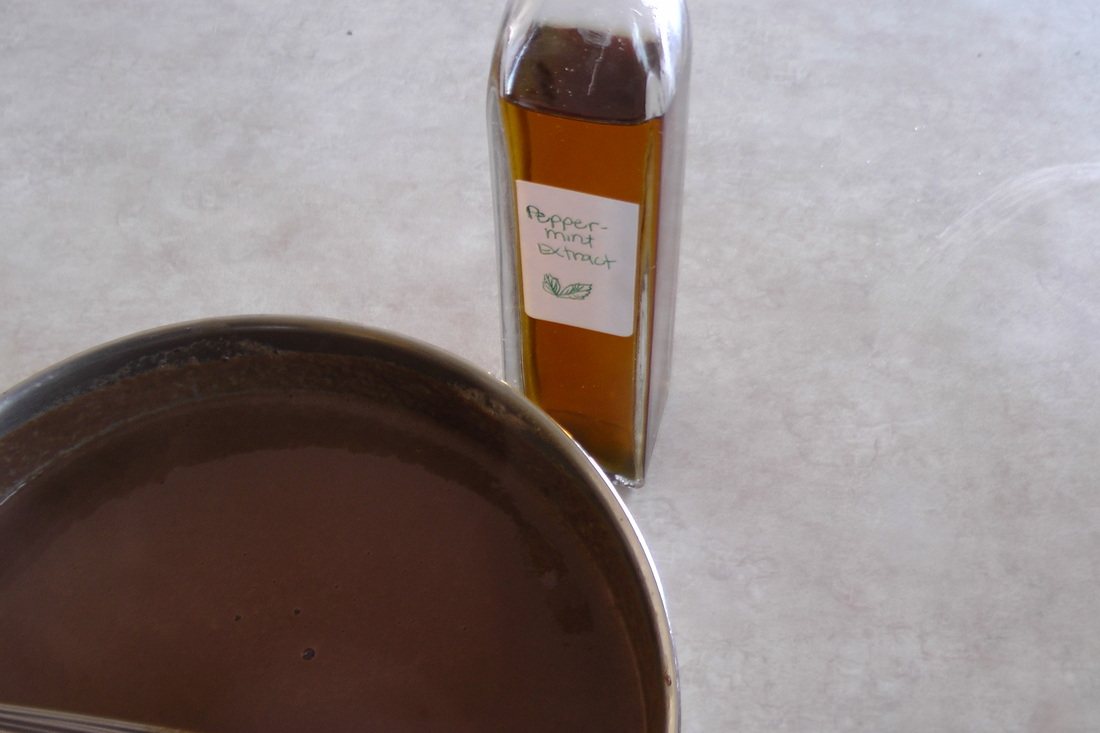
Extract version: Use 1 teaspoon of peppermint extract per cup of milk after the hot chocolate has been removed from the stove.
For any even easier and yummy option, add a drop or two of Peppermint essential oil to your cup of hot chocolate.
Crio Bru
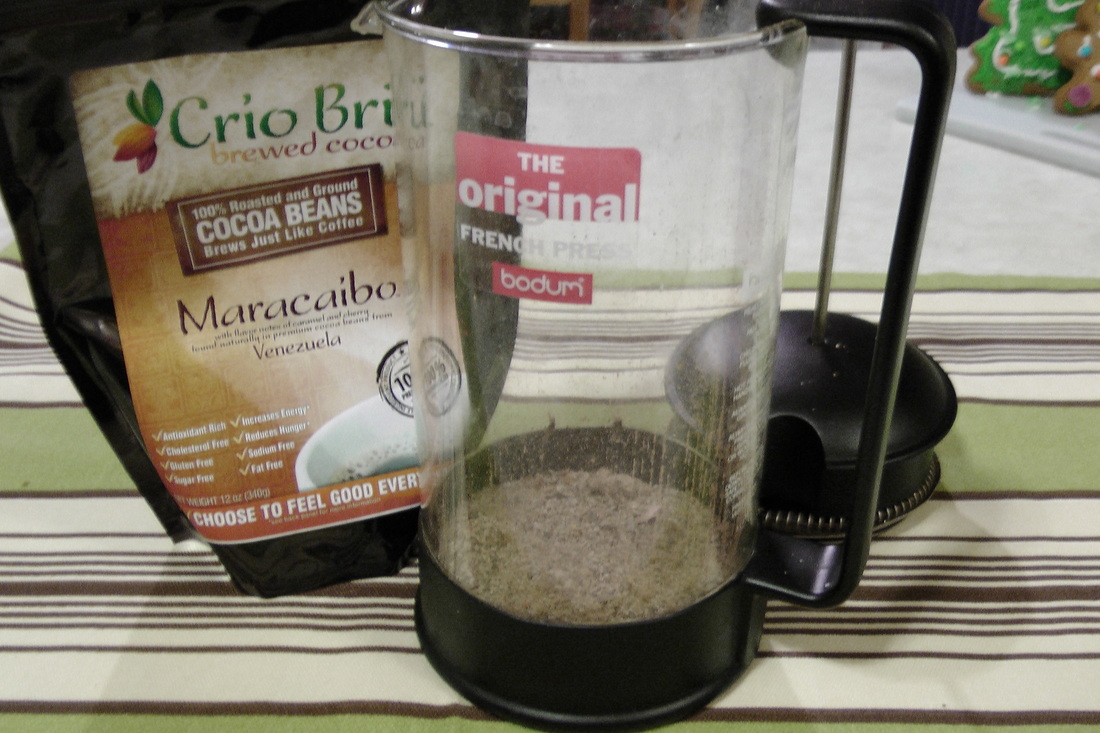
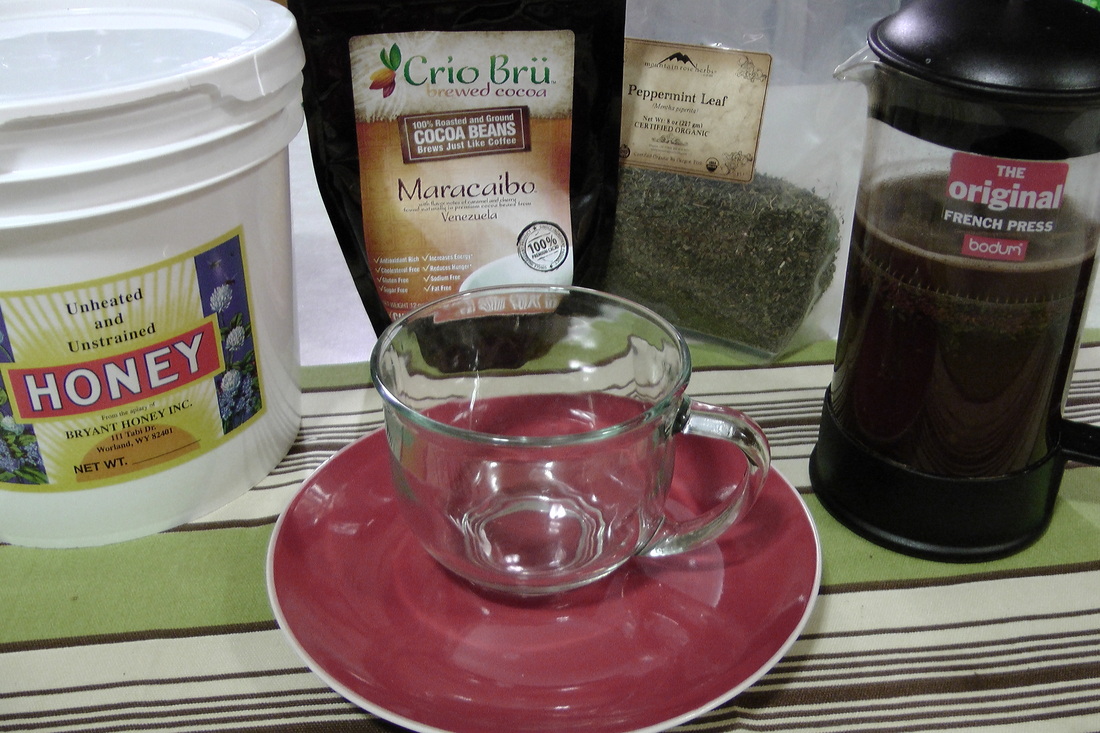
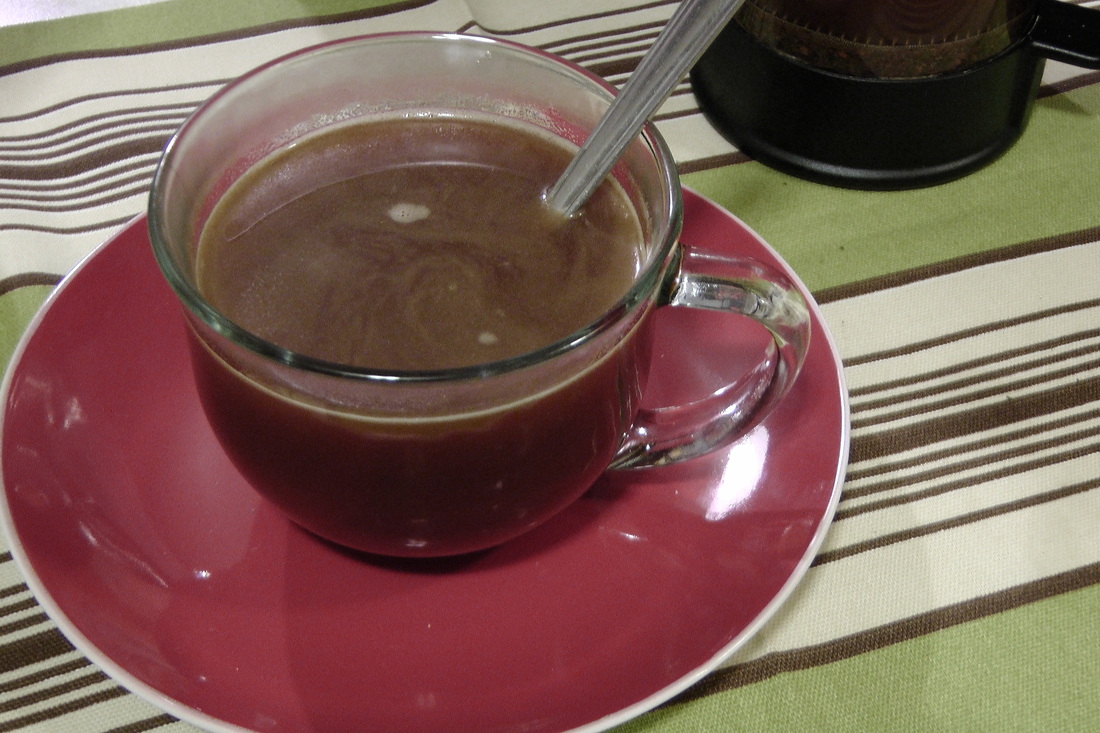
Last year for Mother's Day hubby got me a Crio Bru gift set that included my very loved and well used French Press, a package of Crio Bru (which I had never heard of) and some chocolate covered cocoa beans. It was the best gift ever! I have been enjoying Crio Bru every since and this cup of "cocoa" is just for Mama.
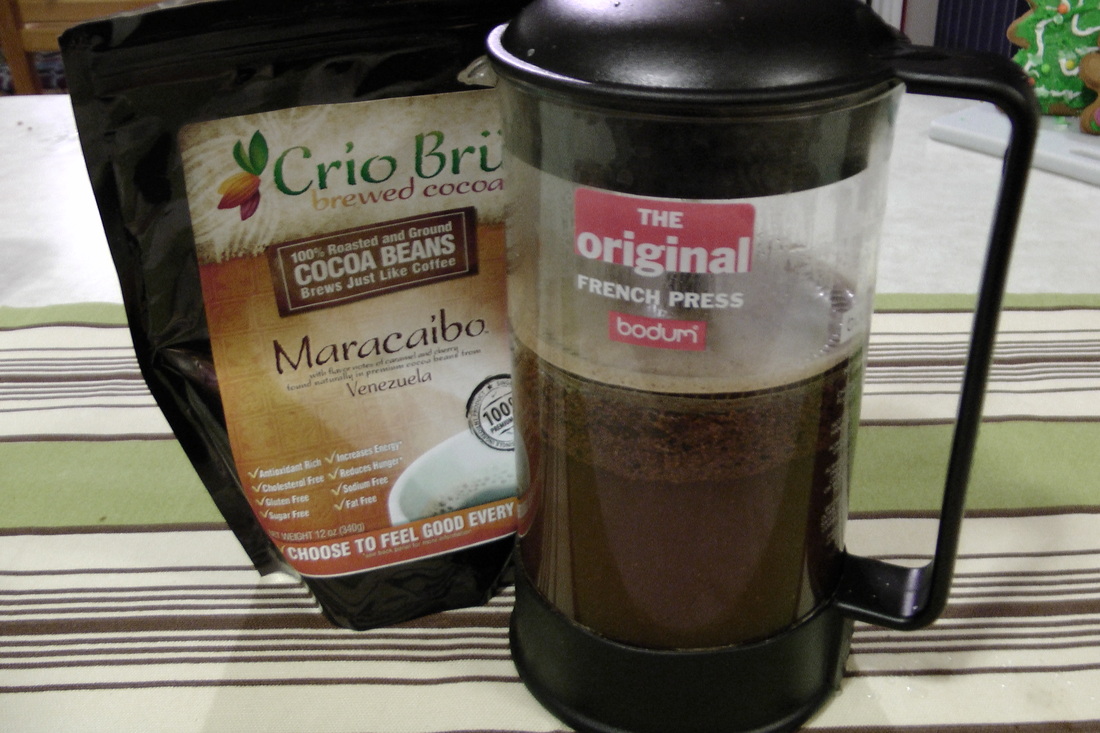
Crio Bru is just ground cocoa beans. You can make it up in either a coffee maker or a French Press. For a French Press use 2 Tbsp. of Crio Bru per 6 oz. of boiling water and then steep for 15 minutes. Press and pour. Hubby likes to put coffee creamer in his but I like a big scoop of raw honey and a little heavy cream. You can learn more about Crio Bru at their website here, I purchase mine from my local health food store.
For a great peppermint Crio Bru, I like to throw in a tablespoon or so of peppermint leaves to steep with the cocoa beans. This not only tastes amazing it also clears the sinuses and invigorates the mind!
Now get making some hot chocolate and don't forget the Marshmallows!
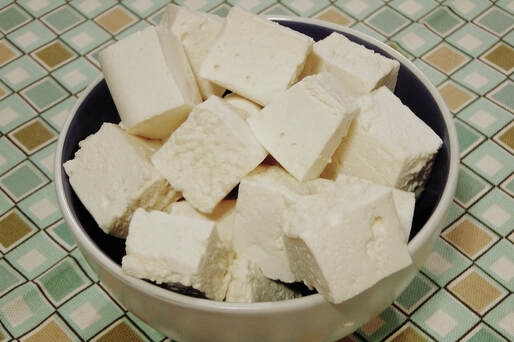
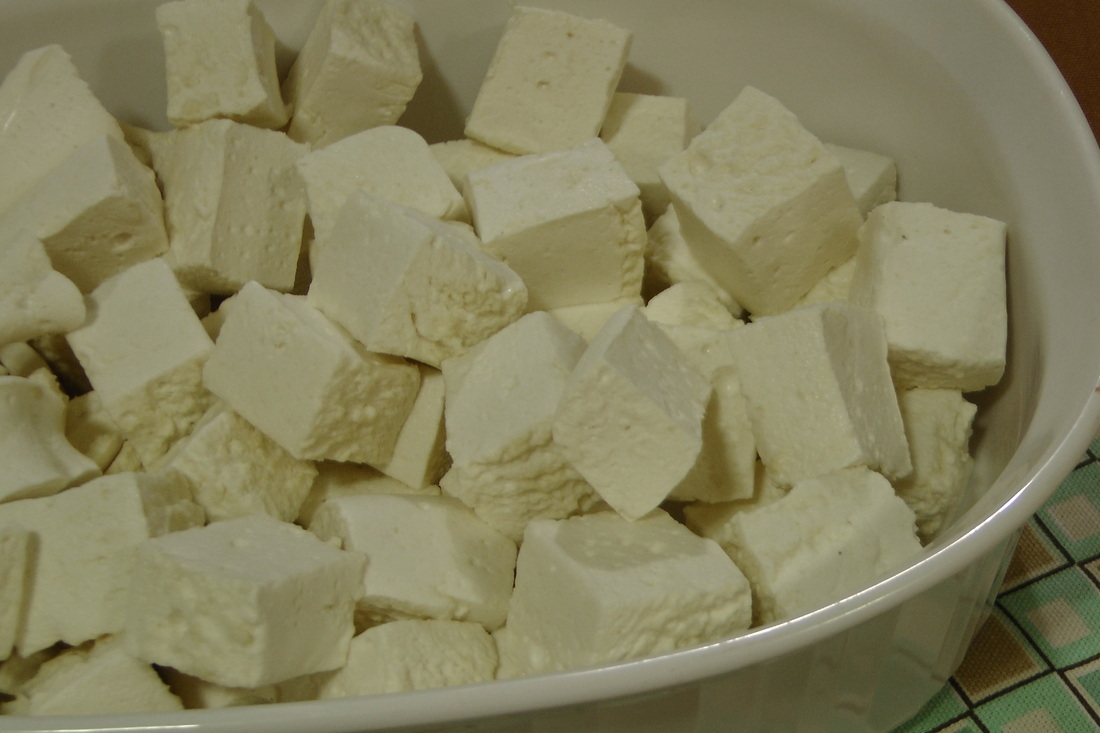
This week I have some great hot chocolate recipes to share and before we can even begin to talk about hot chocolate we need to make sure we have some marshmallows on hand. I'm not talking about the corn syrup, sugar, preservatives, artificial flavors and colorings (yes, marshmallows have blue 1 in them) marshmallows you purchase at the store. I'm talking about marsh mallow root, gelatin and honey mallows. The original marshmallow confection was actually made with marsh mallow root as a "candy" for soothing coughs and calming digestive upset in babies. Over time the plant extracts were replaced with corn syrup and gelatin. (see Rosemary Gladstar's Medicinal Herbs)
I have been searching for a great marshmallow recipe for a year now and felt they seemed complicated and time consuming. I finally found this great recipe from Sweet Roots, love this blog! I was surprised how quickly these made up and how easy the recipe was. These have be added to our favorites cookbook because we will be making them again and again.
The Recipe
1 cup water
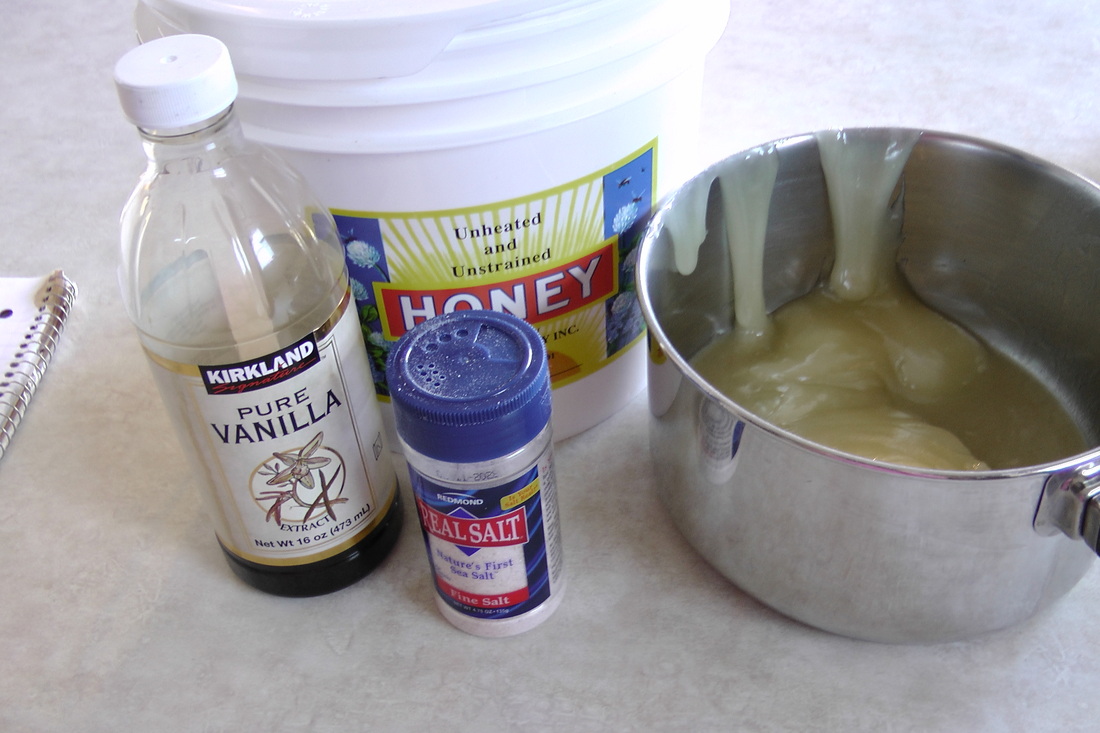
1 Tbsp. marsh mallow root powder 2 Tbsp. plus 1 tsp. gelatin 1 cup honey 1/2 tsp. vanilla extract pinch Real salt
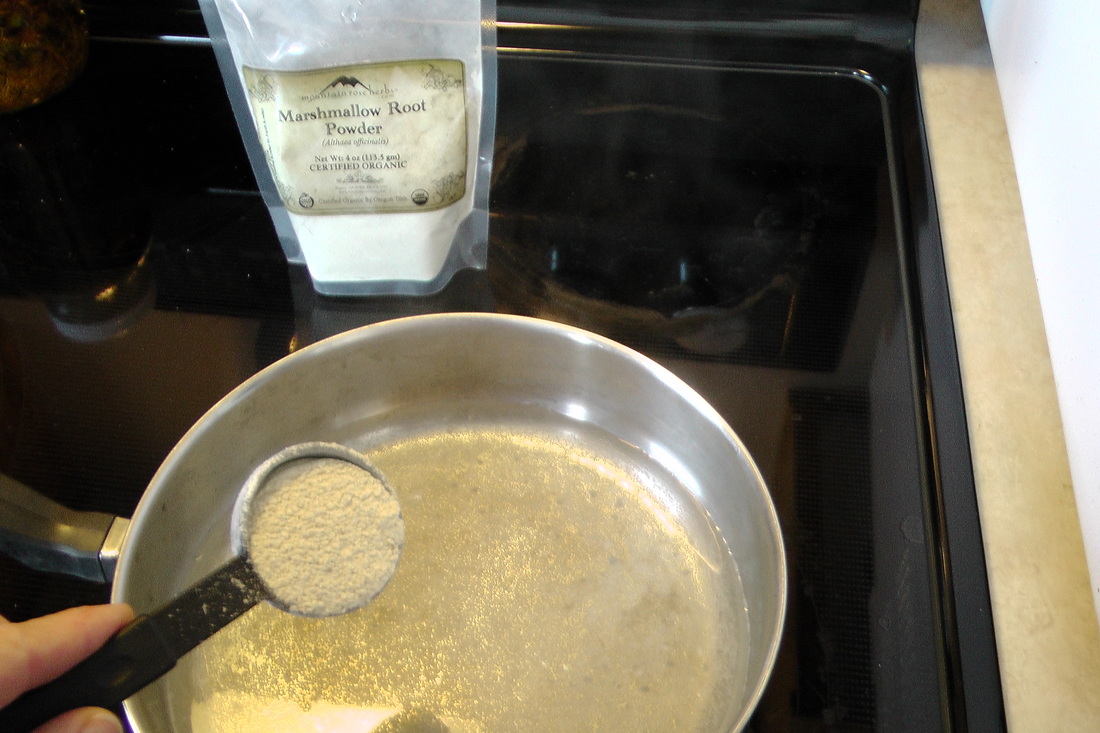
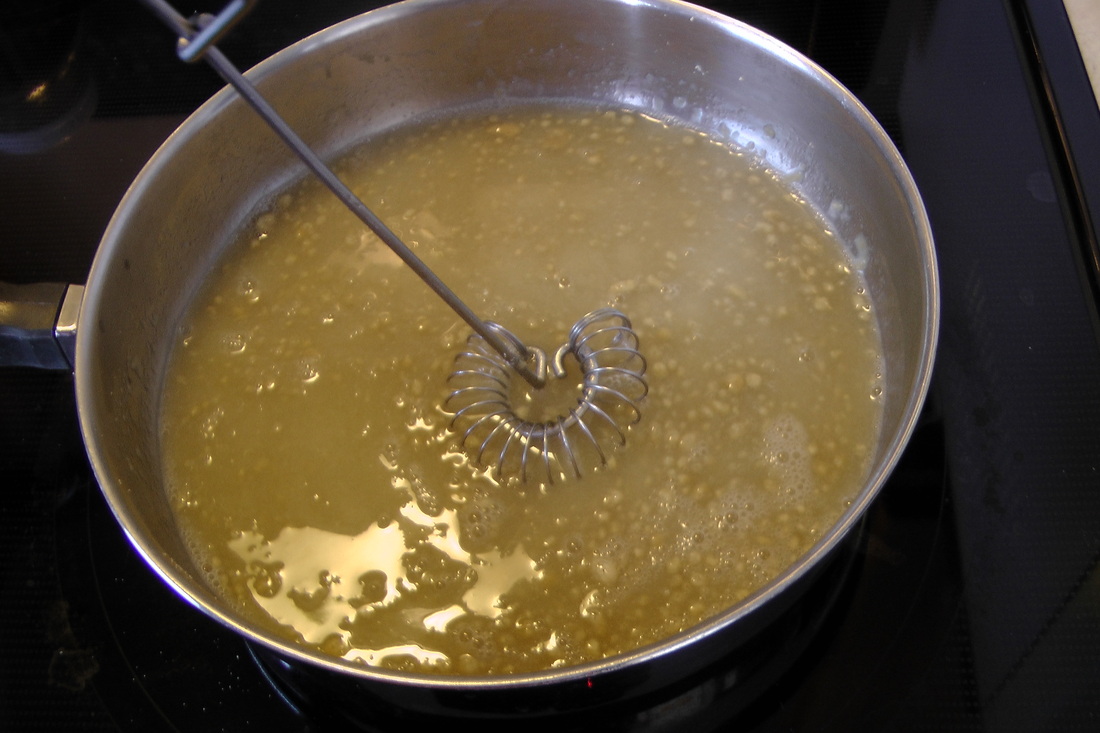
Simmer 1 cup of water and 1 tablespoon of marsh mallow root for 5 minutes. Let cool and strain to remove lumps then divide in half.
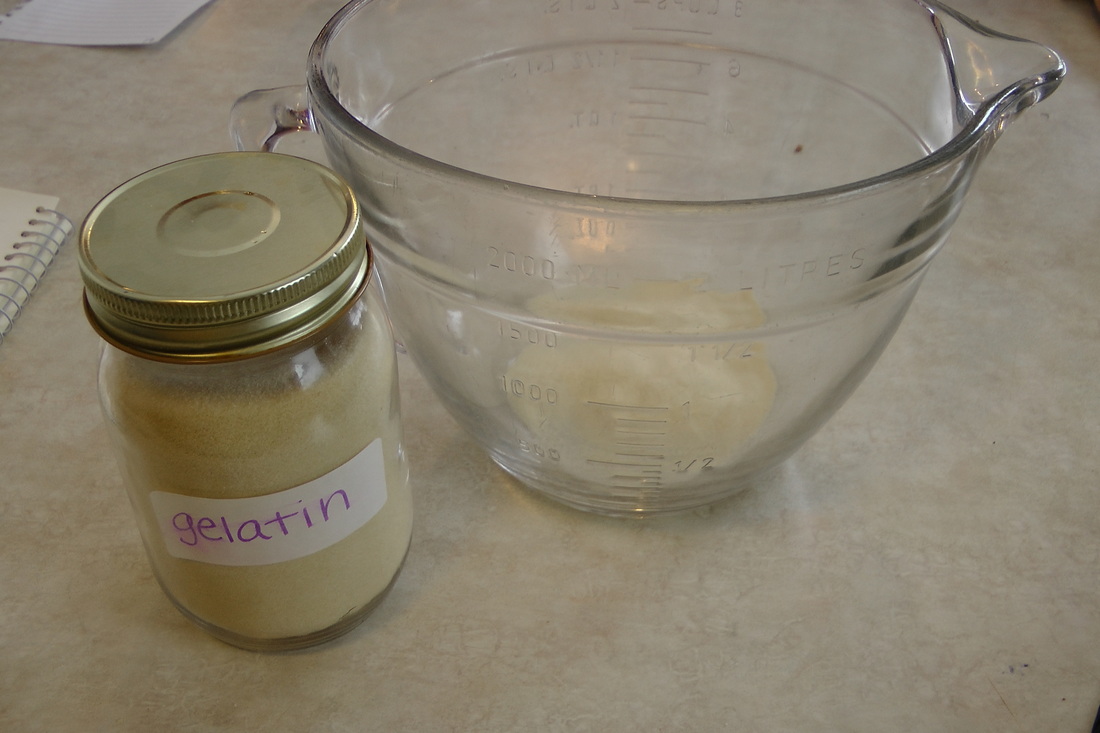
Pour half of the marsh mallow root "tea" over 2 tablespoons plus 1 teaspoon of gelatin and mix together.
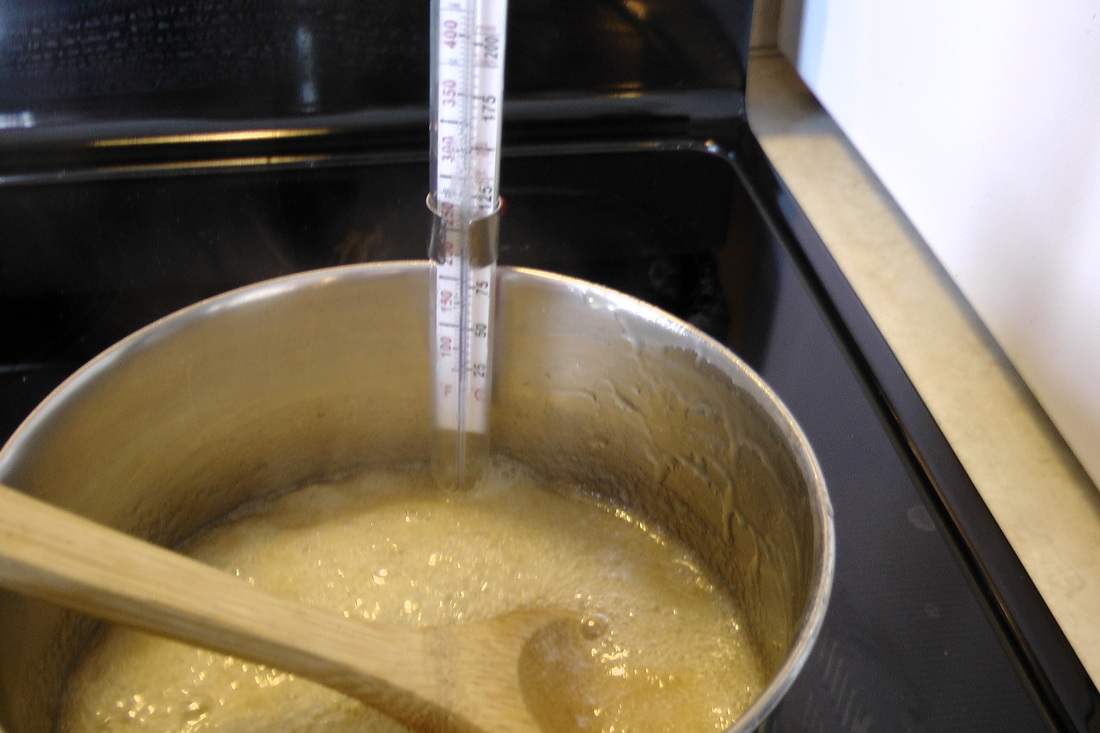
Pour the other half of the marsh mallow root "tea" in a saucepan with the honey, vanilla and salt. Bring to a boil on medium-high until the mixture is 240 degrees or soft ball stage.
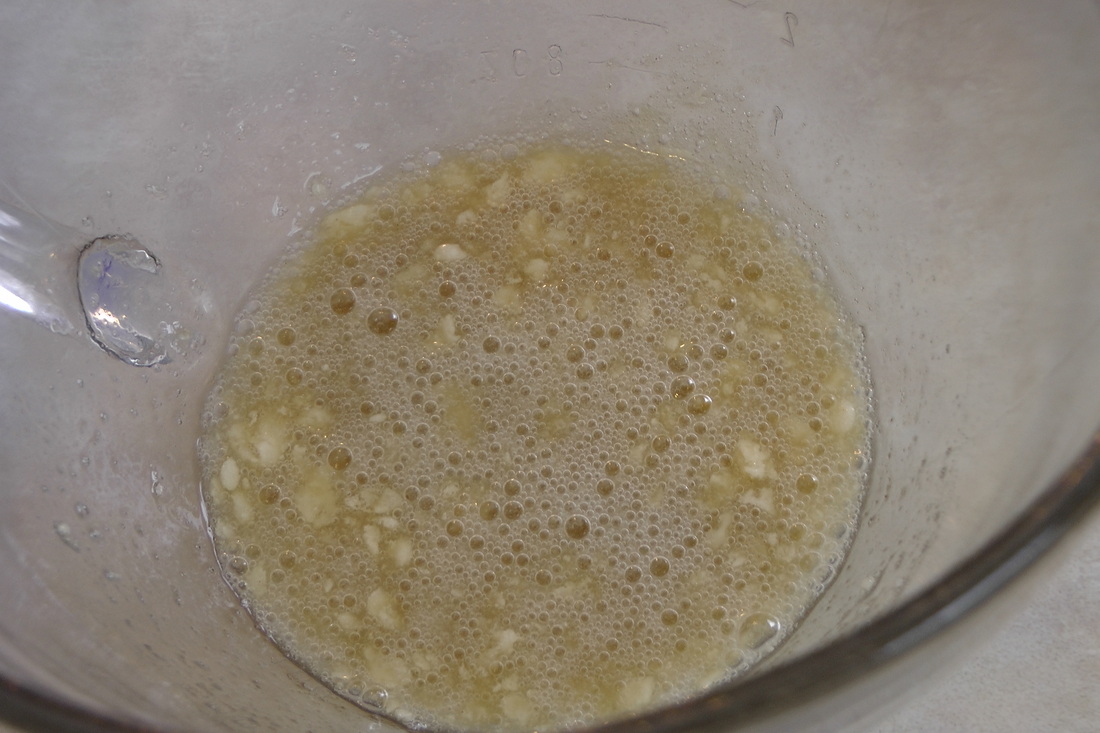
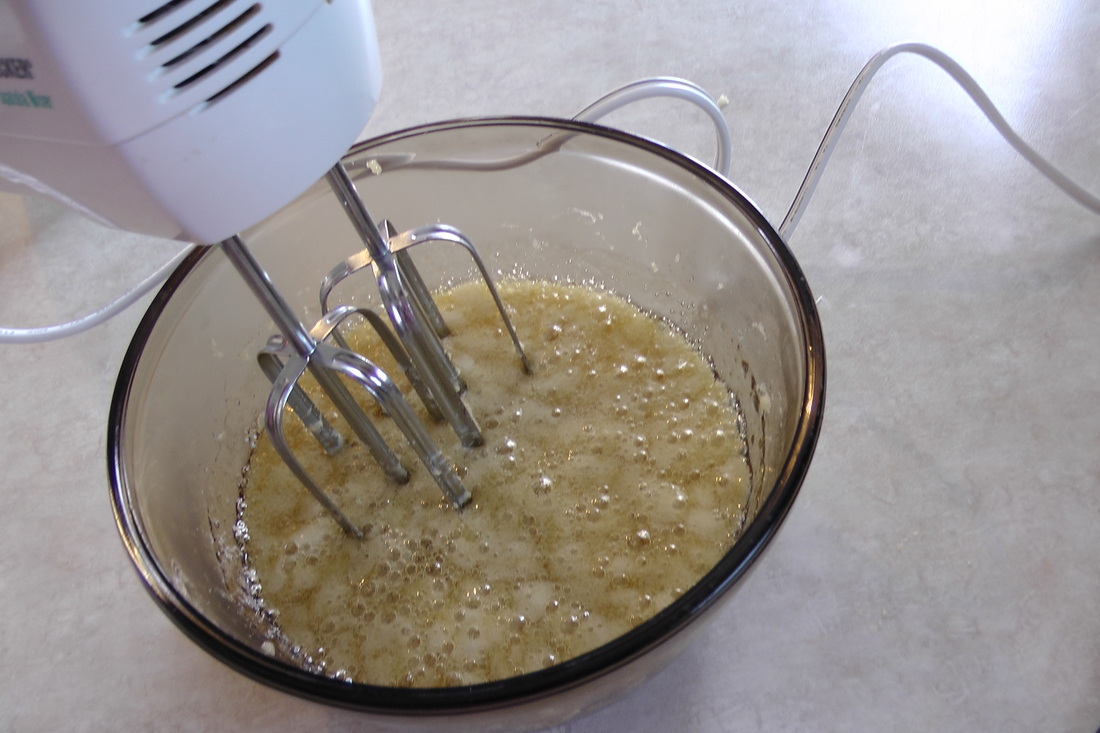
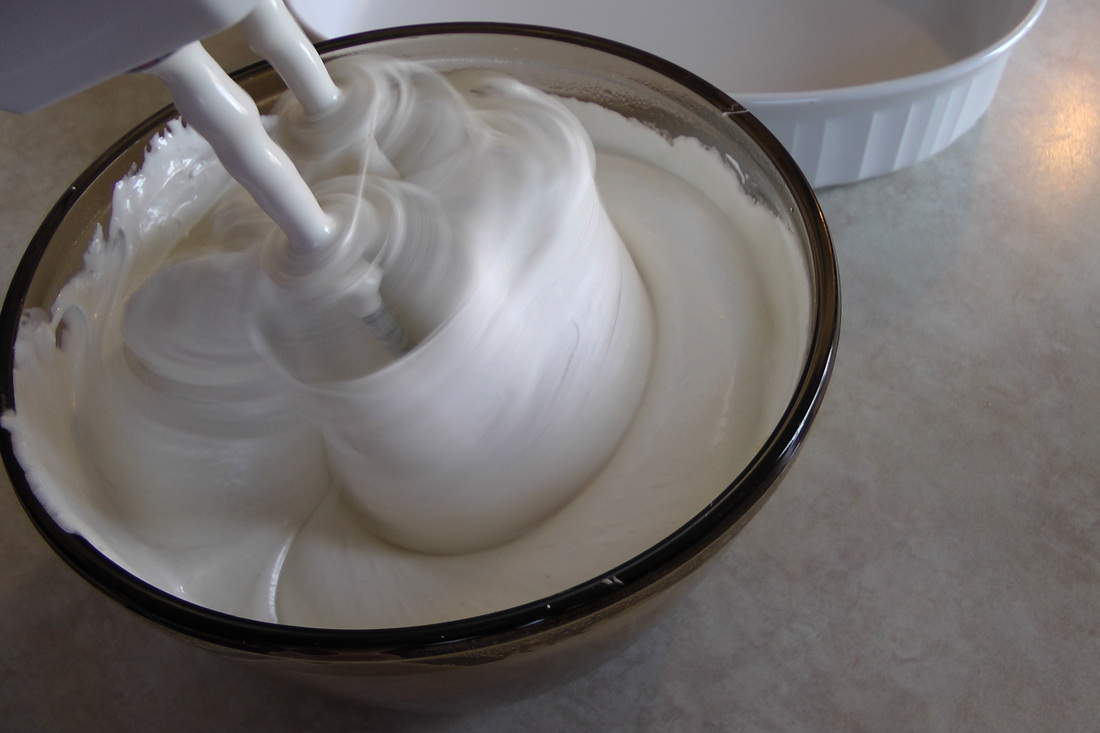
Pour hot mixture over the gelatin mix and start to blend with a hand mixer on low and work up to high. This is where I was a little iffy, thinking how on earth this was going to turn into marshmallows. Continue to blend that baby until it is light and fluffy, about 5-8 minutes. All of the sudden this mixture just transforms into this beautiful light fluffy marshmallow cream!
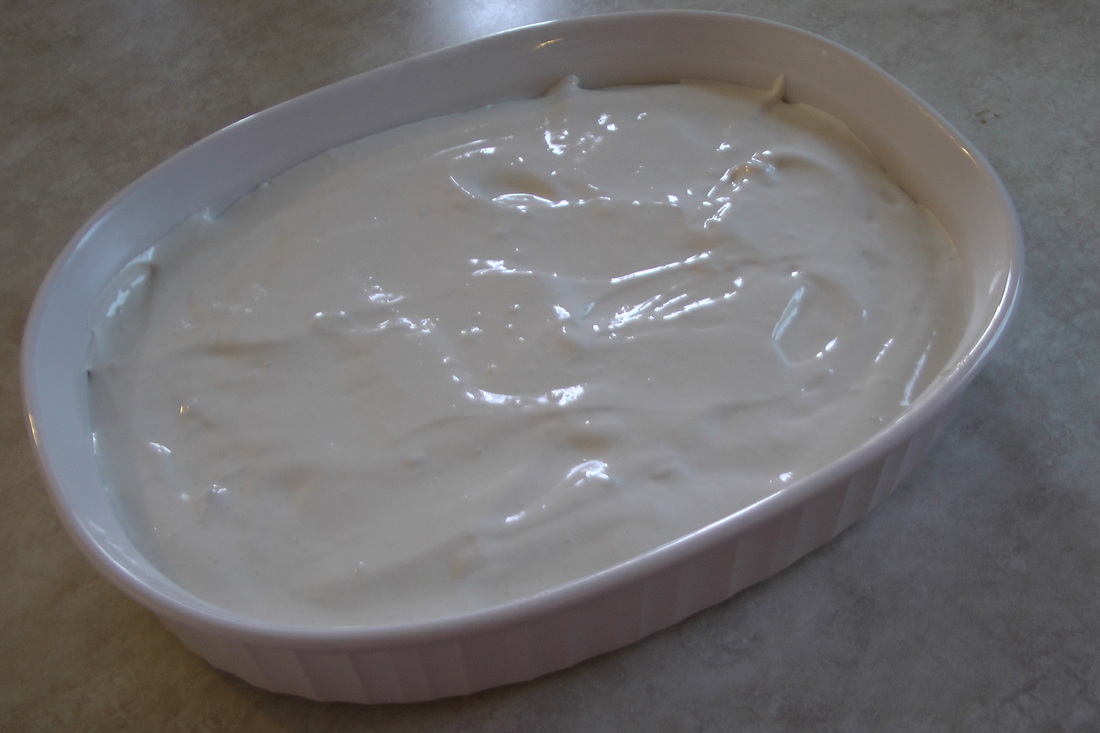
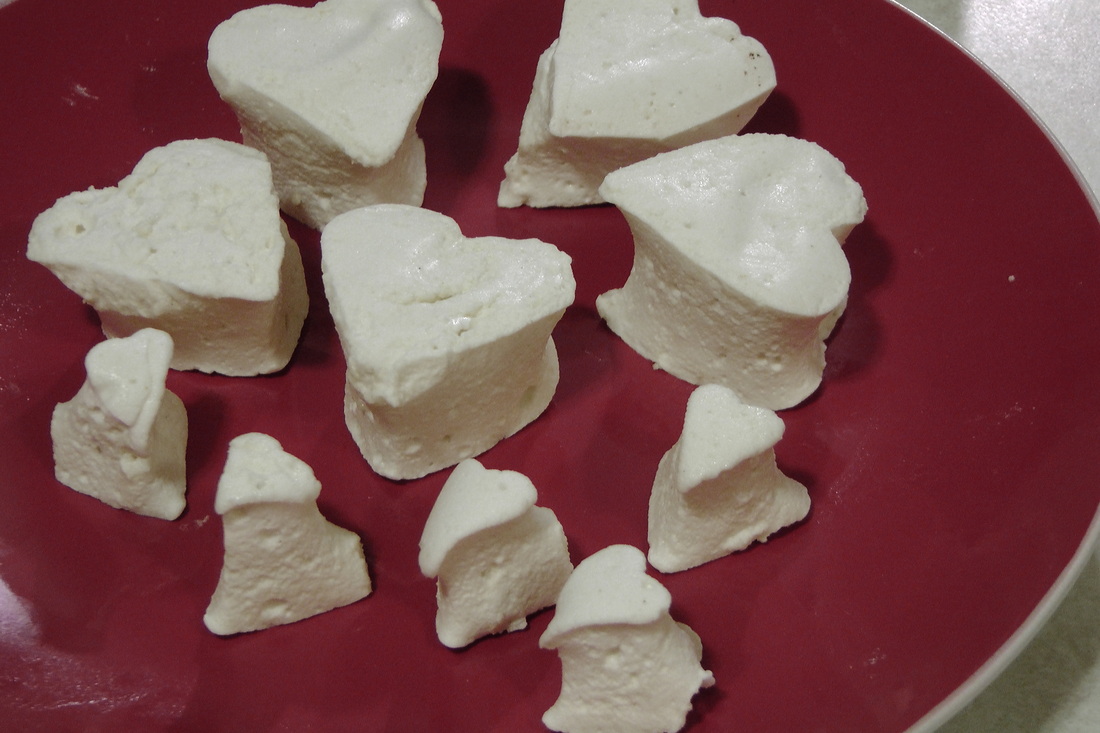
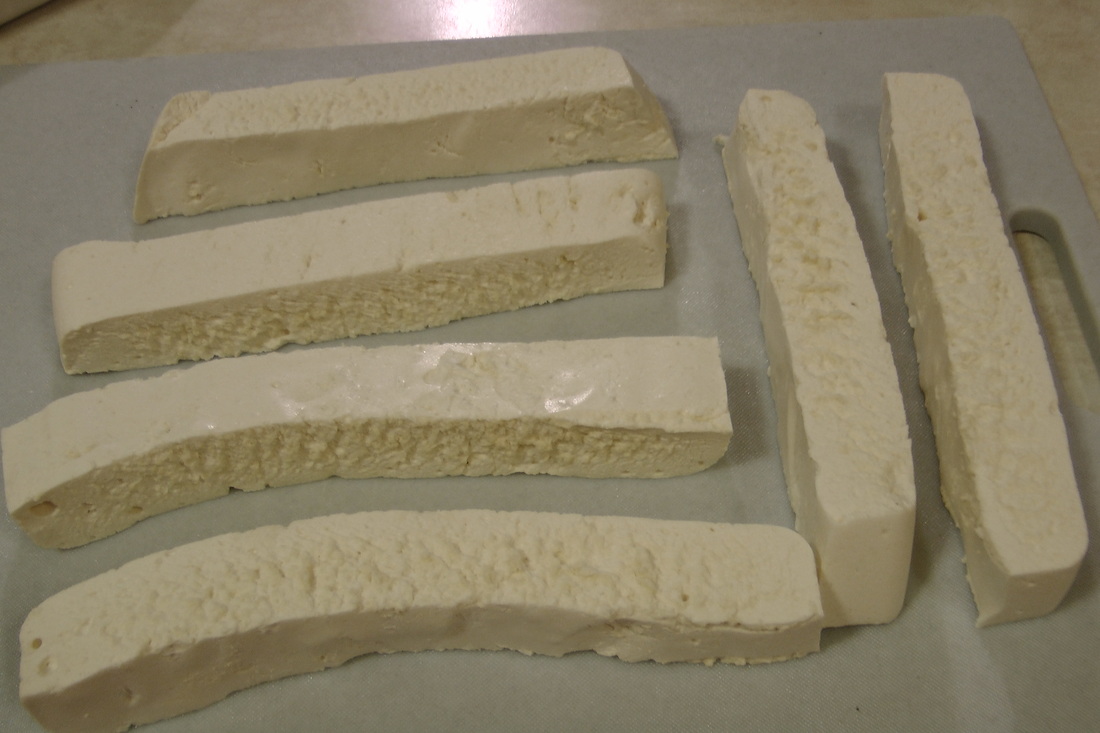
Pour into a buttered 8x8 pan for the big marshmallows or a 9x13 pan for the small ones. When they are ready, use a knife dipped in hot water to cut into strips and then into squares. We tried to be creative and use small cookie cutters for shapes but the mallows were so bouncy it didn't work out so well, we contented ourselves with the squares after all.
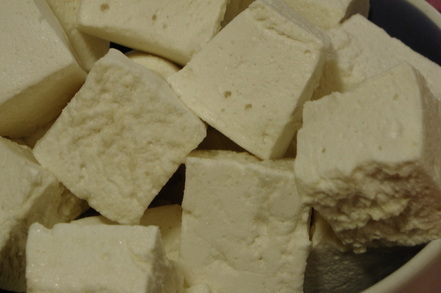
I was quite impressed with the texture, they are seriously just like marshmallows from the store. Just a warning they are pretty sticky, so I just buttered my cutting board and rolled the mallow "sticks" around it before cutting them. This coated the edges and they were no longer sticky, store in an airtight container in your cupboard.
A Quick Note About Marsh Mallow Root
I love marsh mallow root for its soothing, demulcent (softens, relieves and protects irritated or inflamed tissue) and emollient properties. These properties make this herb great for treating the respiratory system, digestive system, including heart burn, skin (using it topically) and for kidney and bladder infections. I will be going into more detail in a future post on thehealing benefits of Marsh Mallow Root.
You can purchase marsh mallow root from Mountain Rose Herbs or the Bulk Herb Store. Now Bring on the Hot Chocolate!
Body washes are a lot like our bath salts, you can customize them to fit your needs. This was one product Big Woman and I tried many recipes for and will probably still continue to experiment with, but for the time being this is the recipe of choice. Keep in mind that you can customize this recipe by using herbs and essential oils of choice. We were using a 4 oz. squeeze bottle so if you want to make more than 4 oz. adjust the increments accordingly.
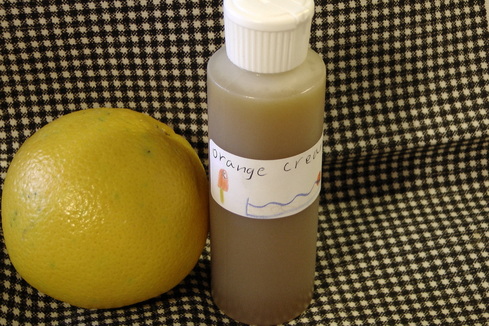
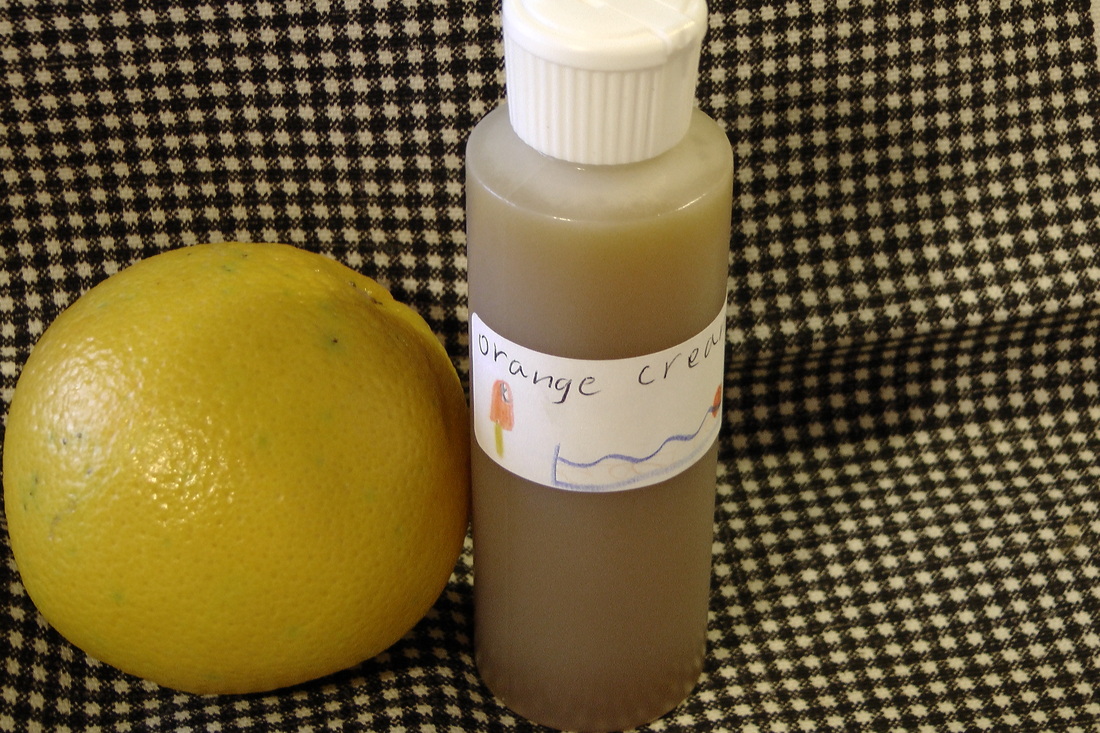
Orange Cream Body Wash Recipe
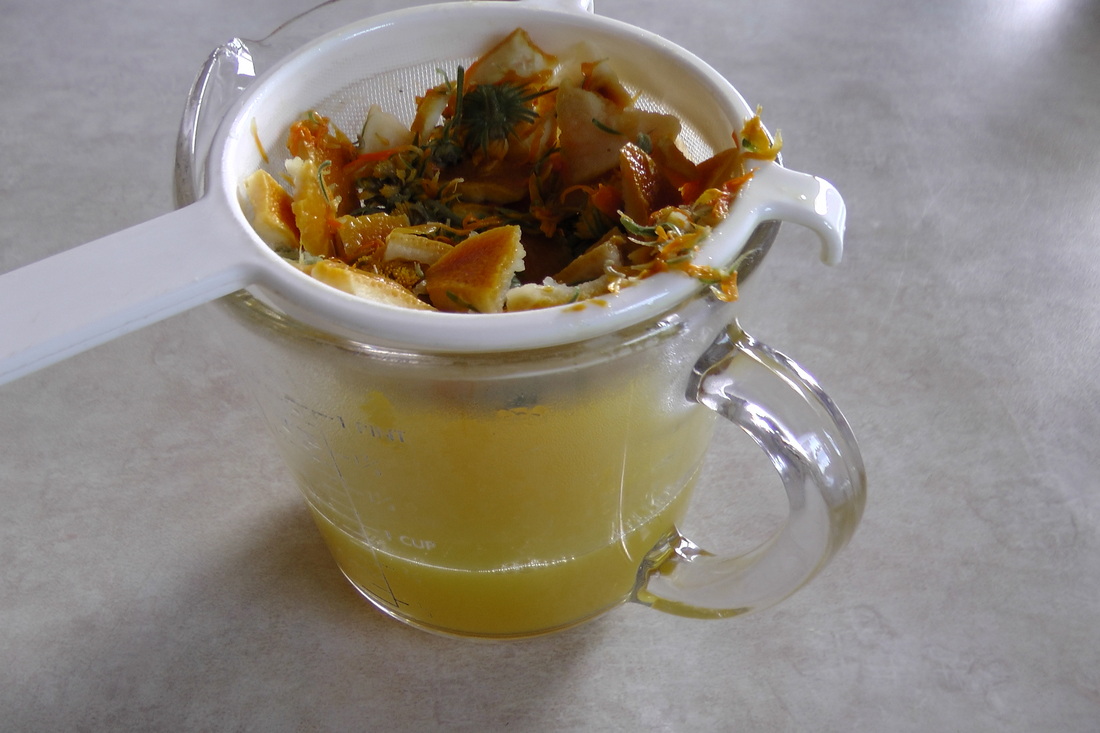
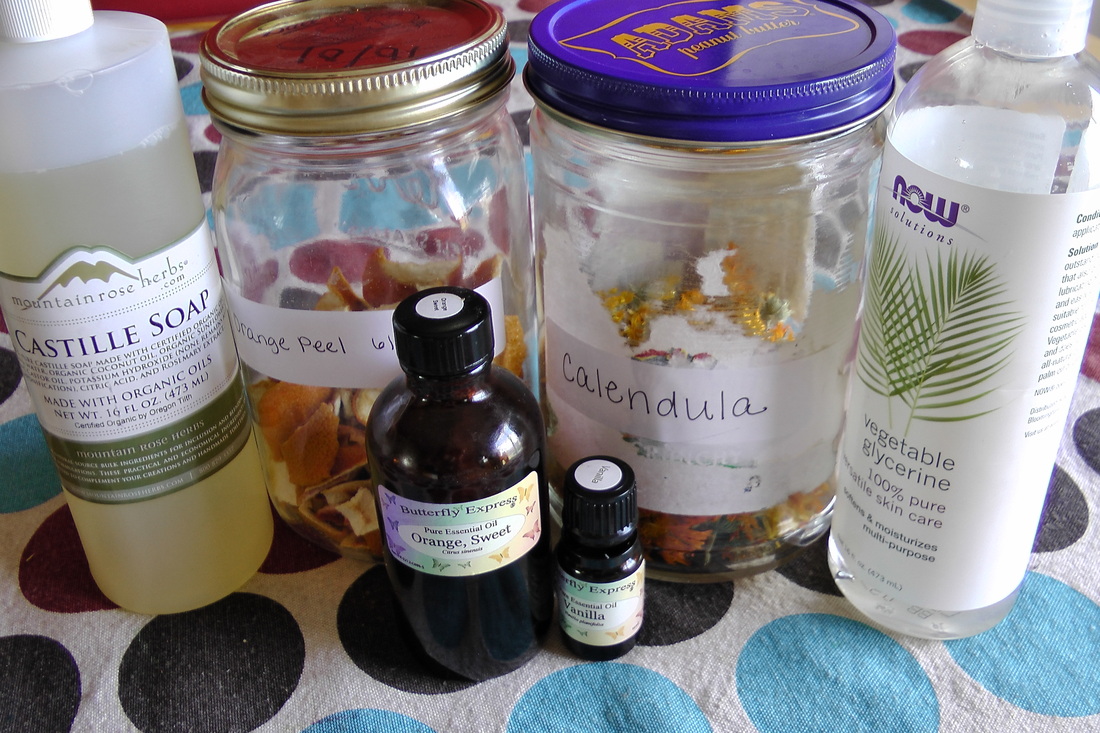
1/2 cup Orange Peel and Calendula infusion (these both have great skin conditioning properties)
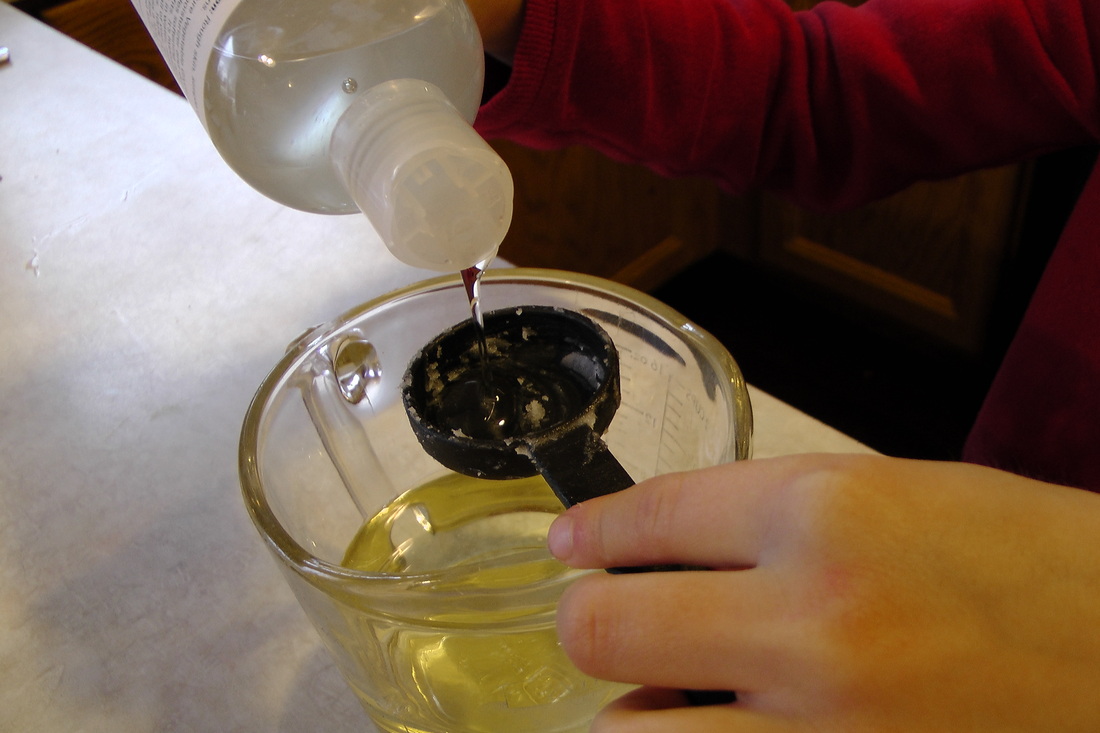
1/2 cup liquid castile soap 2 Tbsp. vegetable glycerine 2 Tbsp. oil (we used Avocado for its skin nourishing properties) 35 drops orange essential oil 25 drops vanilla essential oil (if using another essential oil shoot for 40-50 drops, I just had to use more to get the right scent)
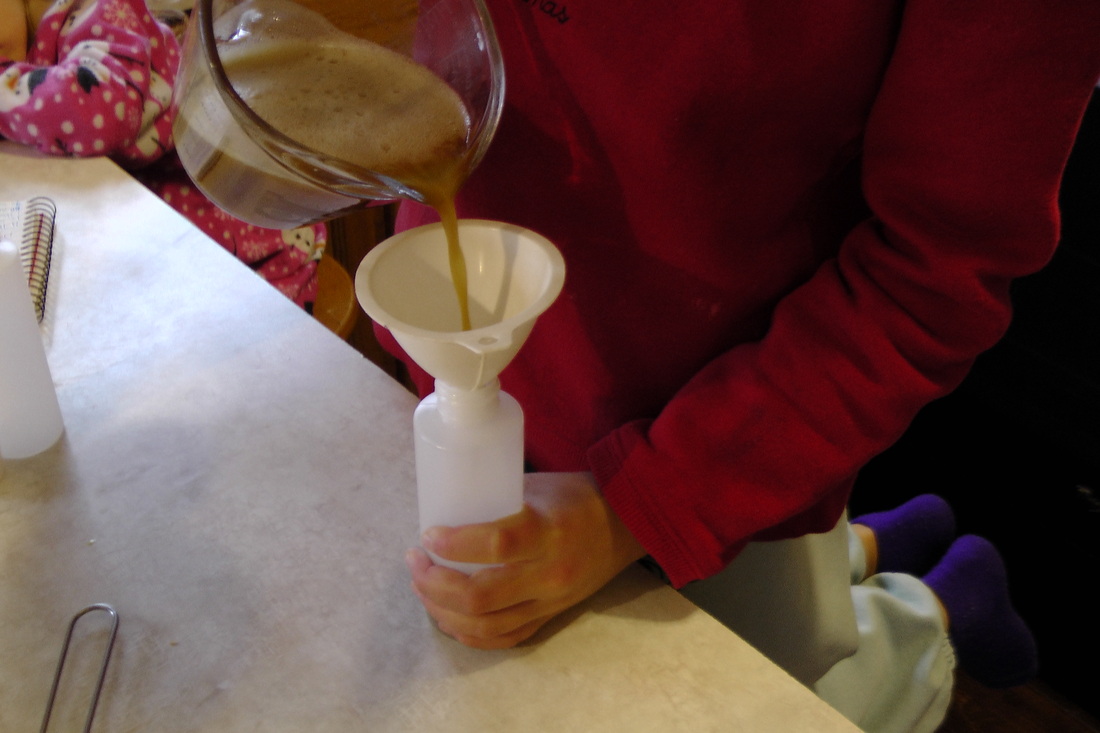
Infuse the orange peel and calendula flowers in 1/2 cup water following the instructions here. Strain and cool, then add all other ingredients. Stir gently, but thoroughly and pour into a squeeze top bottle.
Shake well before each use to mix the oil back in with the other ingredients. Use with a mesh bath sponge or loofah to work up and lather and then cleanse away!
Ingredients for this project can be purchased at Mountain Rose Herbs or Bulk Herb Store.
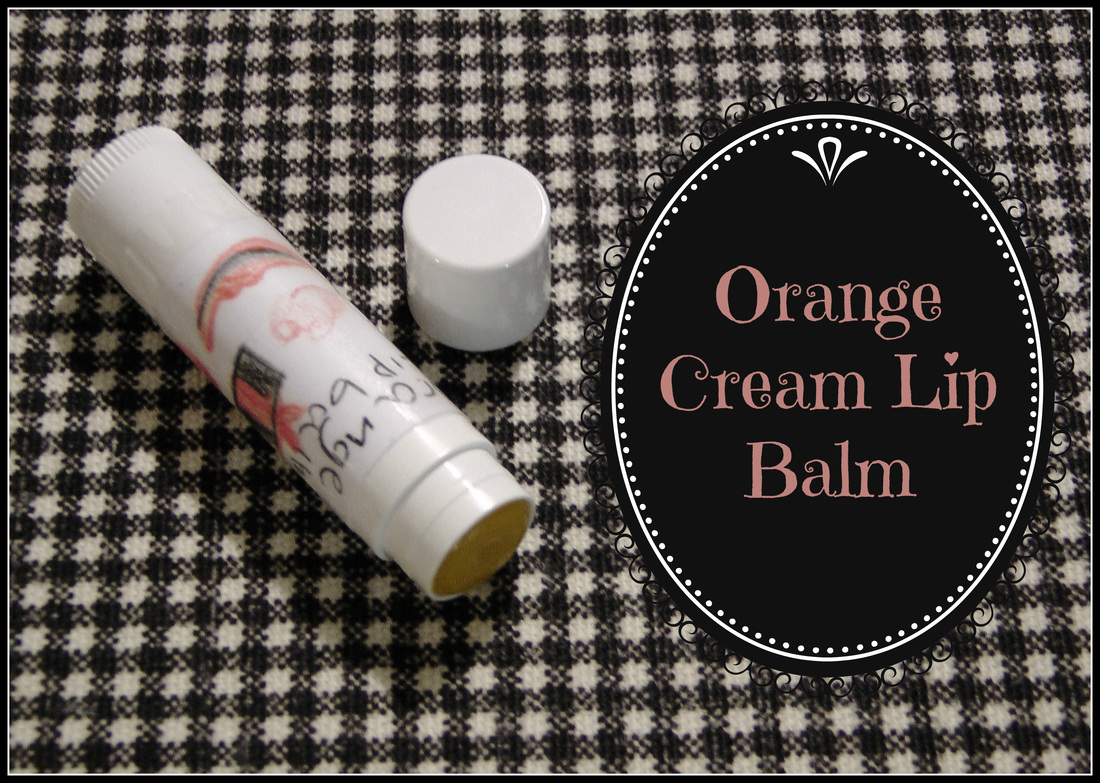
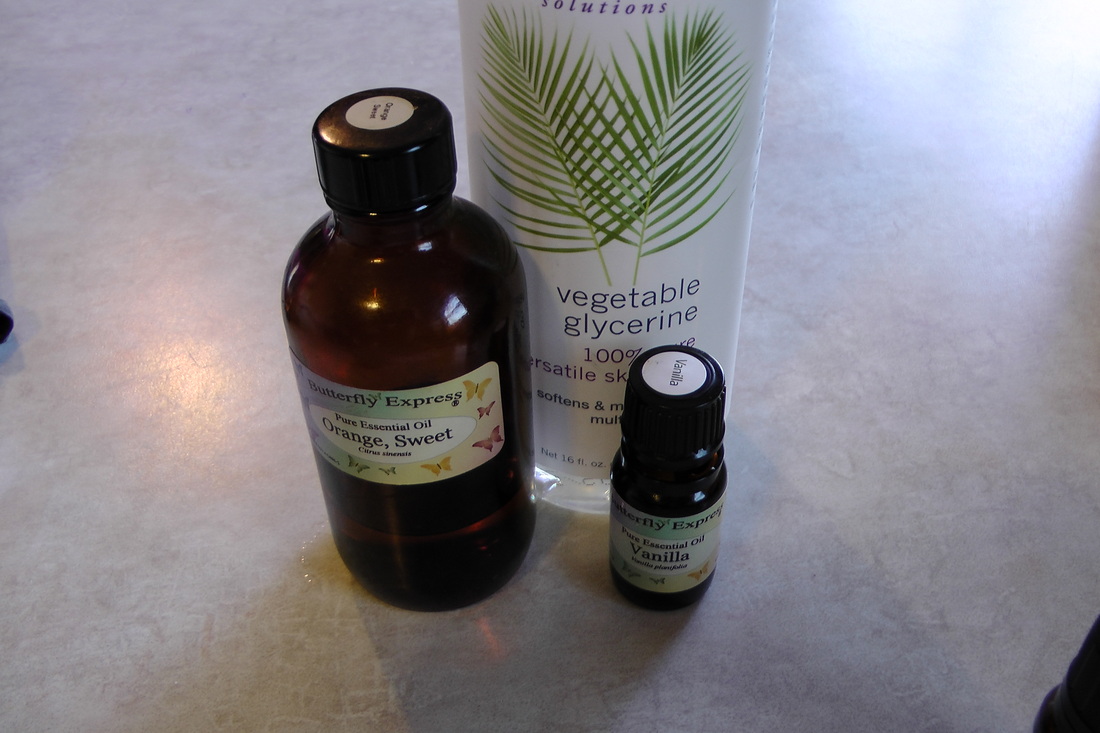
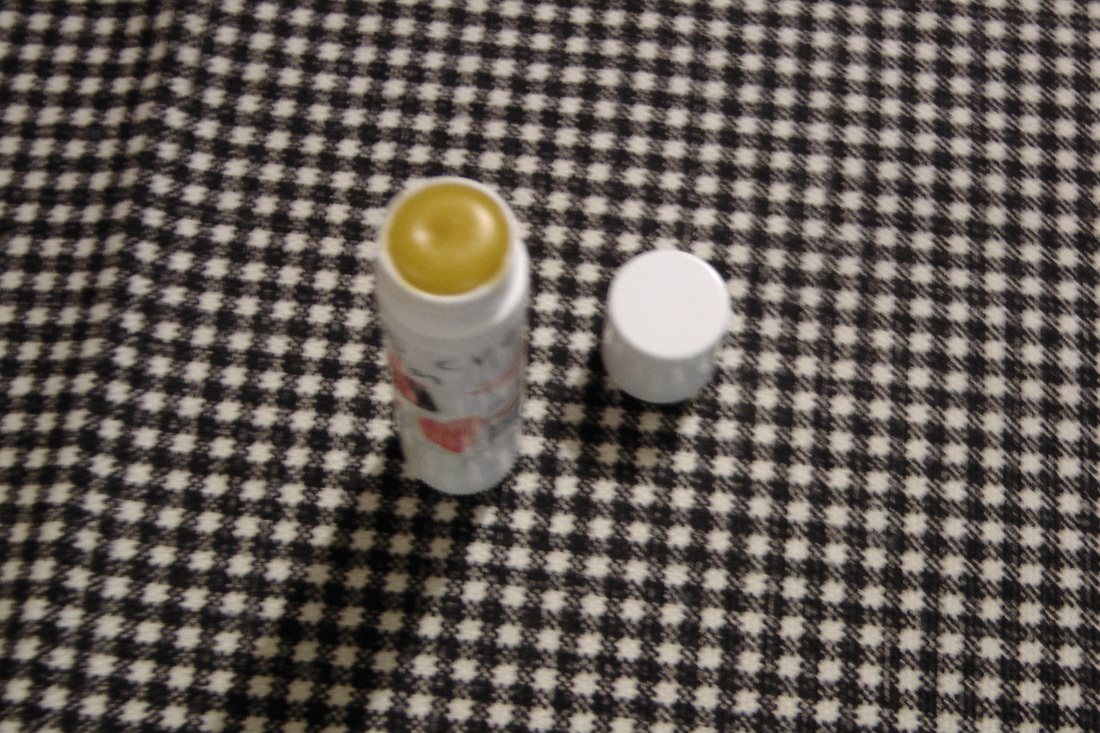
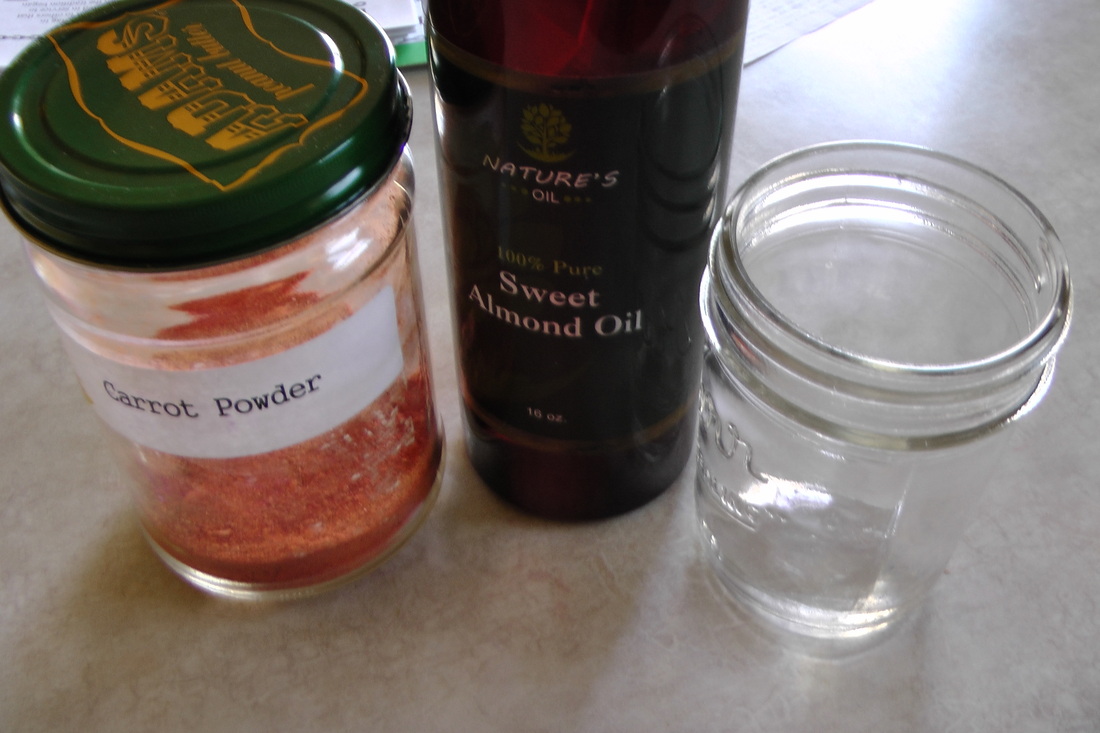
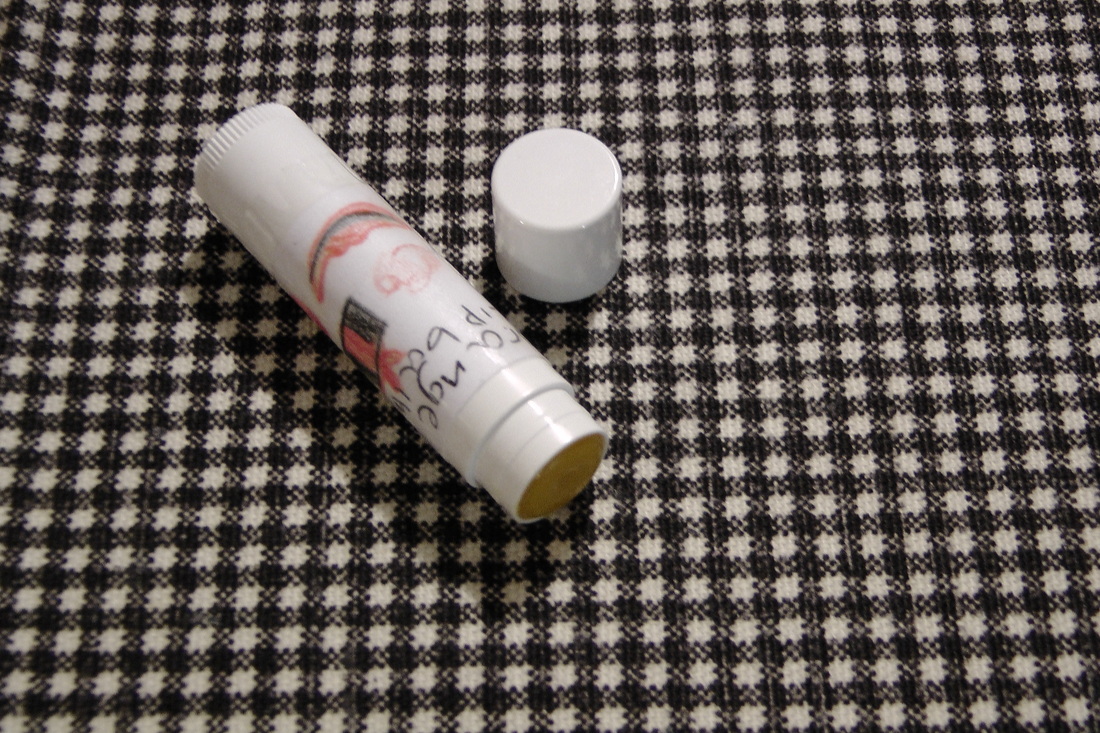
Big Woman and I love to make lip balm and when she decided to do an Orange Cream Spa Basket, we knew we needed an orange colored lip balm. We haven't made orange before and so I got to thinking when I cut up all those carrots to make carrot powder that my fingers turned orange. What the heck, lets give a try! So I infused my carrot powder into the almond oil. Well, it worked and not only does it give a great color to the lip balm, carrot oil is very nourishing for the skin and hair. Here is a great post on making carrot oil and all the healing benefits it has.
The Recipe
1 Tbsp. coconut oil
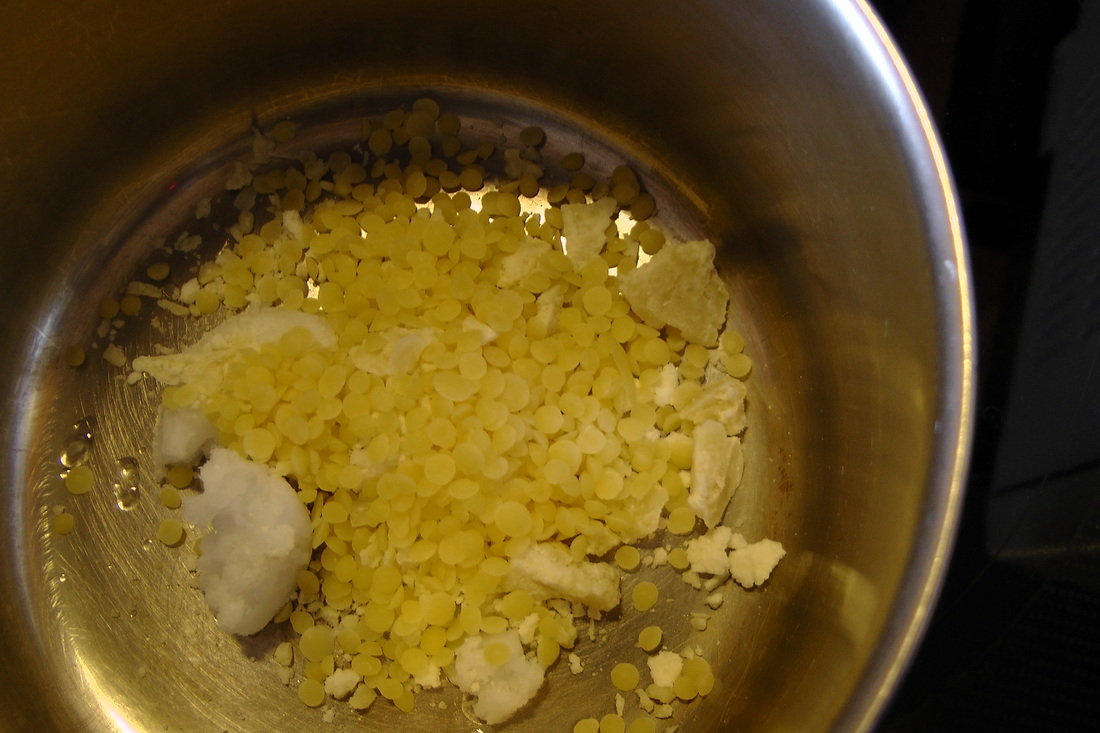
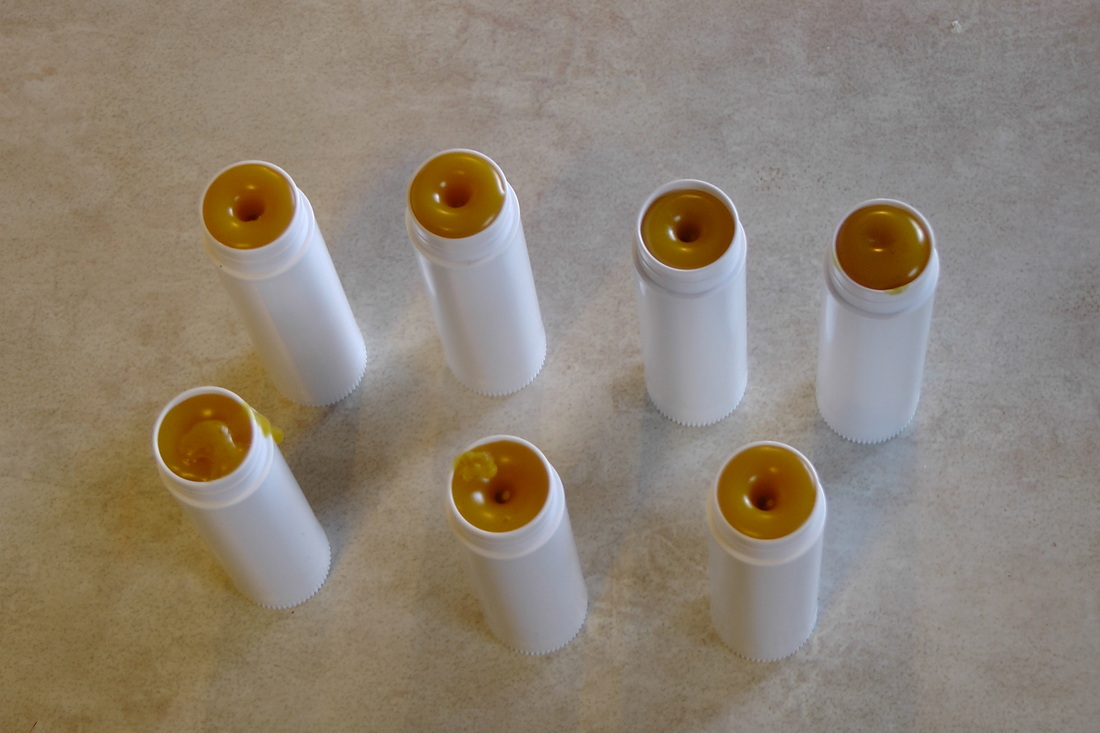
1 Tbsp (.25 oz.) cocoa butter 1 Tbsp. beeswax 1 Tbsp. carrot infused almond oil (could also use grape seed, apricot, avocado, etc.) 1 tsp. vegetable glycerine 20 drops orange essential oil 15 drops vanilla essential oil This recipe will fill about 7 lip balm containers.
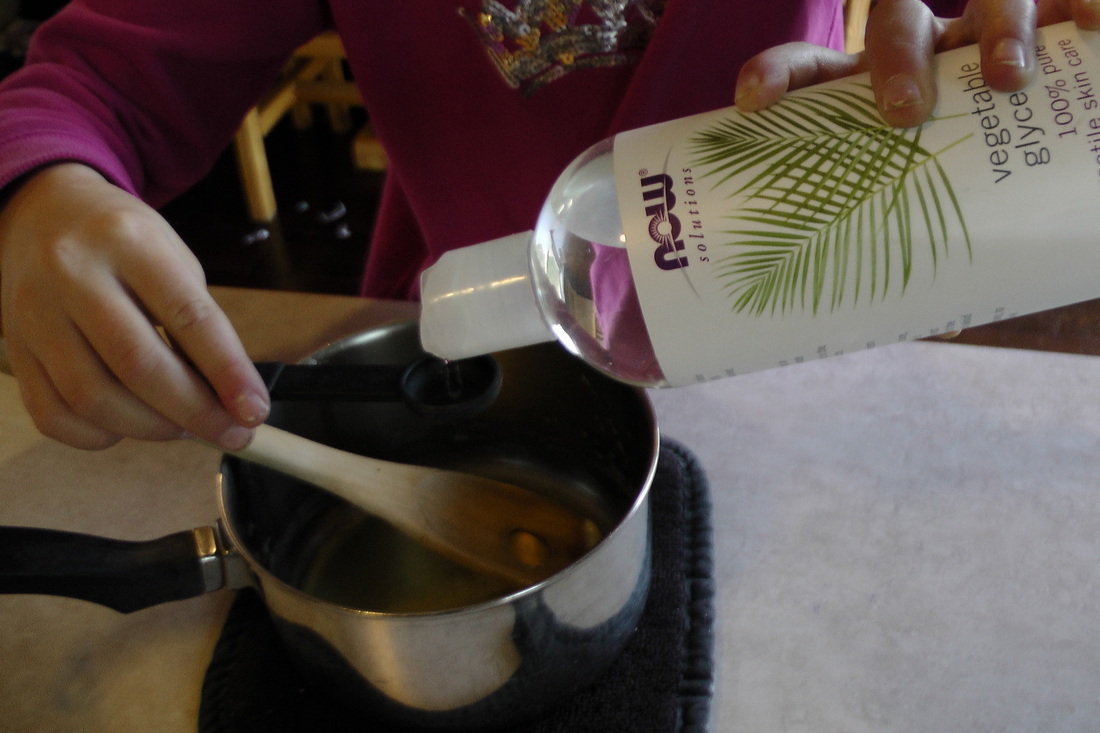
Melt the coconut oil, cocoa butter, beeswax and carrot infused oil. Remove from the heat and add the glycerine and essential oils. Pour into lip balm containers and let cool before capping and labeling.
Carrot Infused Oil
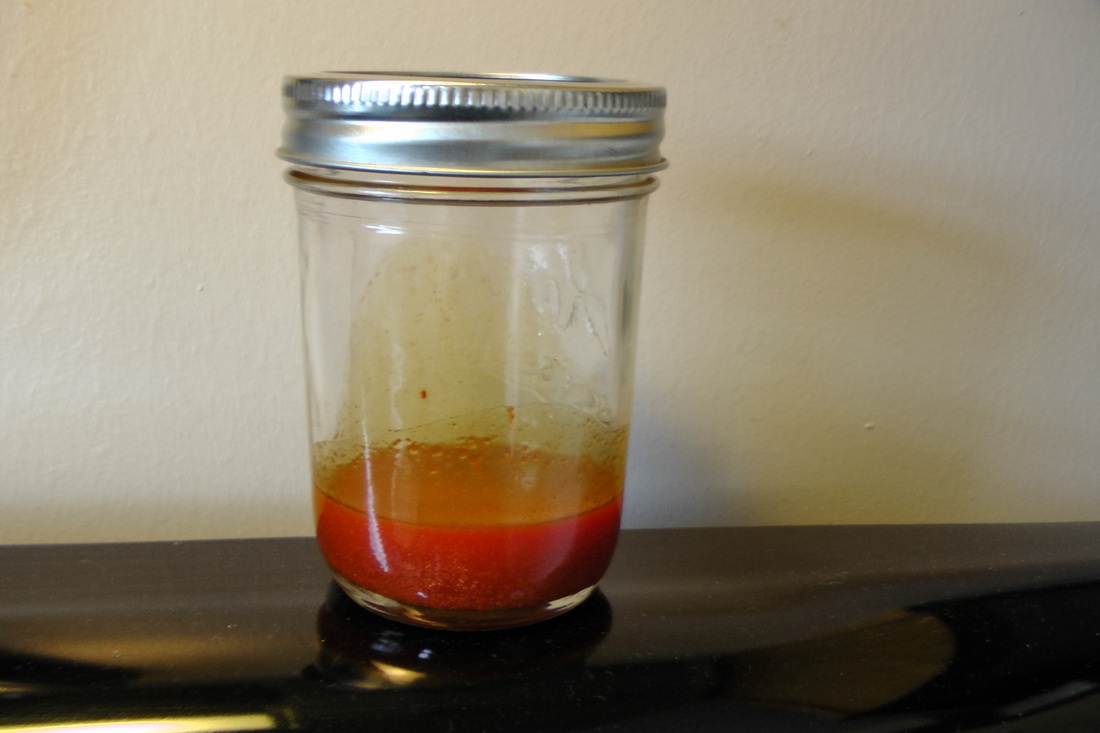
When infusing powdered herbs, or in this case carrots, use one part powder to two parts oil. Mix together and then let sit in a warm spot for 2 weeks or place in a pan of water on low heat for several hours. I started my oil in the morning so it would be ready in the afternoon when we made our lip balm.
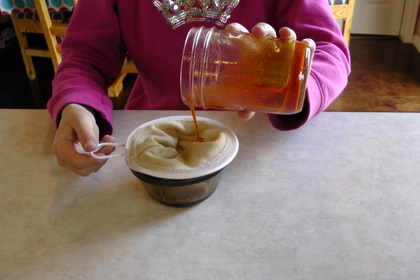
When straining powder infused oil, you want to use either cheese cloth or a clean cotton cloth. I purchased this strainer from Mountain Rose Herbs that is made with cotton and I have LOVED it! Pour the infused oil into the cloth and squeeze to get all that nutrient rich oil out. Store in a cool, dark place.
You can purchase the ingredients to make this lip balm, along with the cotton strainer and lip balm containers from Mountain Rose Herbs.
Shared on: Wildcrafting Wednesday Hygiene Edition
One day I awoke to not only a horrible headache, but a horrible, perfume like smell, permeating my home. I could not figure out where it came from and why it was in my chemical free house. I finally tracked it to the bathroom and found a container of bath beads next to the bath tub. Immediately I knew who the culprit was since Hubby is notorious for his hour long morning baths (and equally notorious for not caring about toxic chemicals in or around his body). Apparently, he liked the moisturizing effect they had on his very dry skin, so I tossed the beads and got to work on a natural alternative. This recipe was the end result and we have loved using them ever since.
Bath Melts Recipe
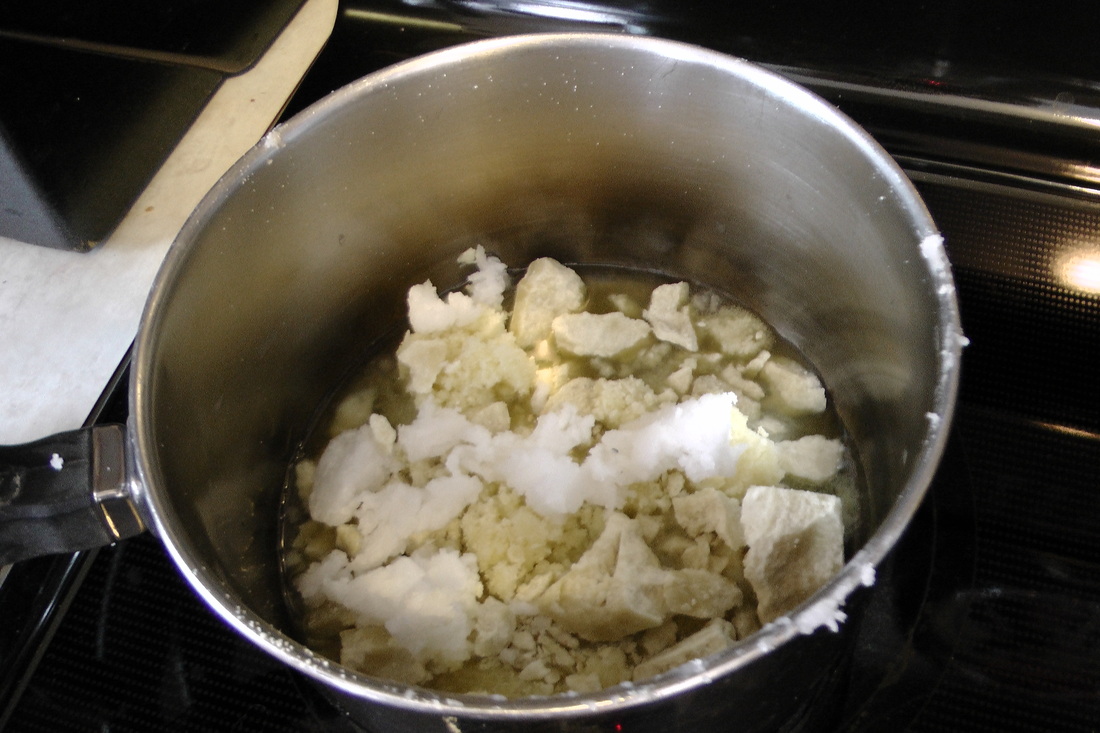
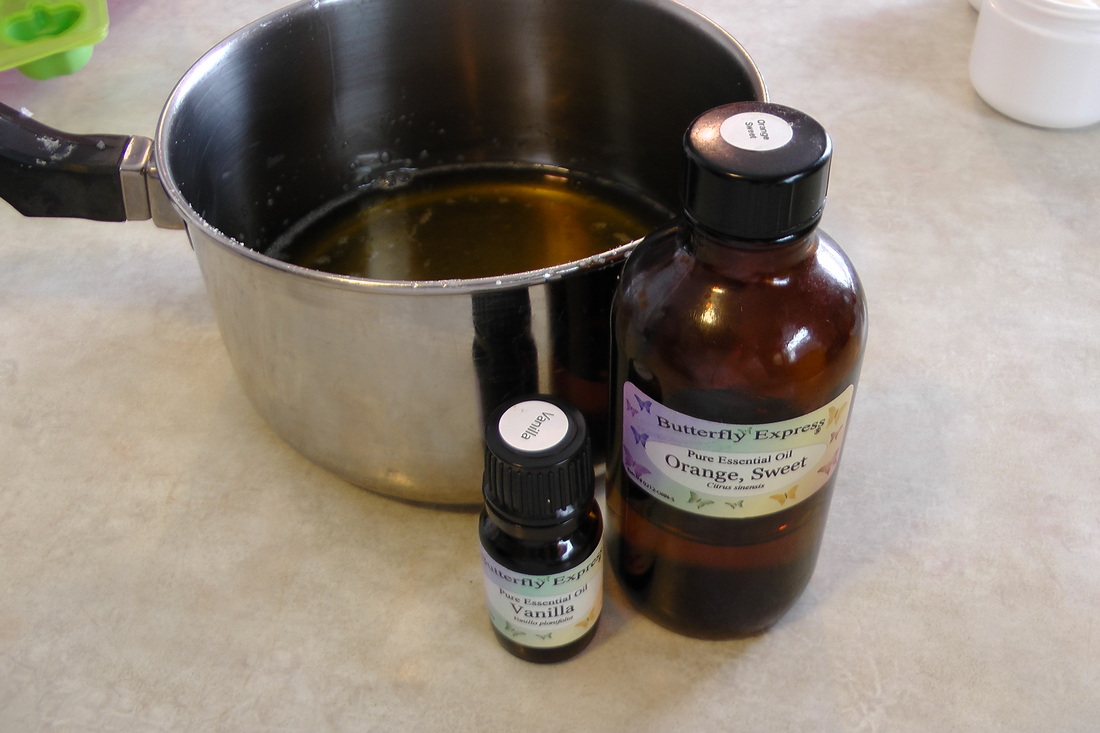
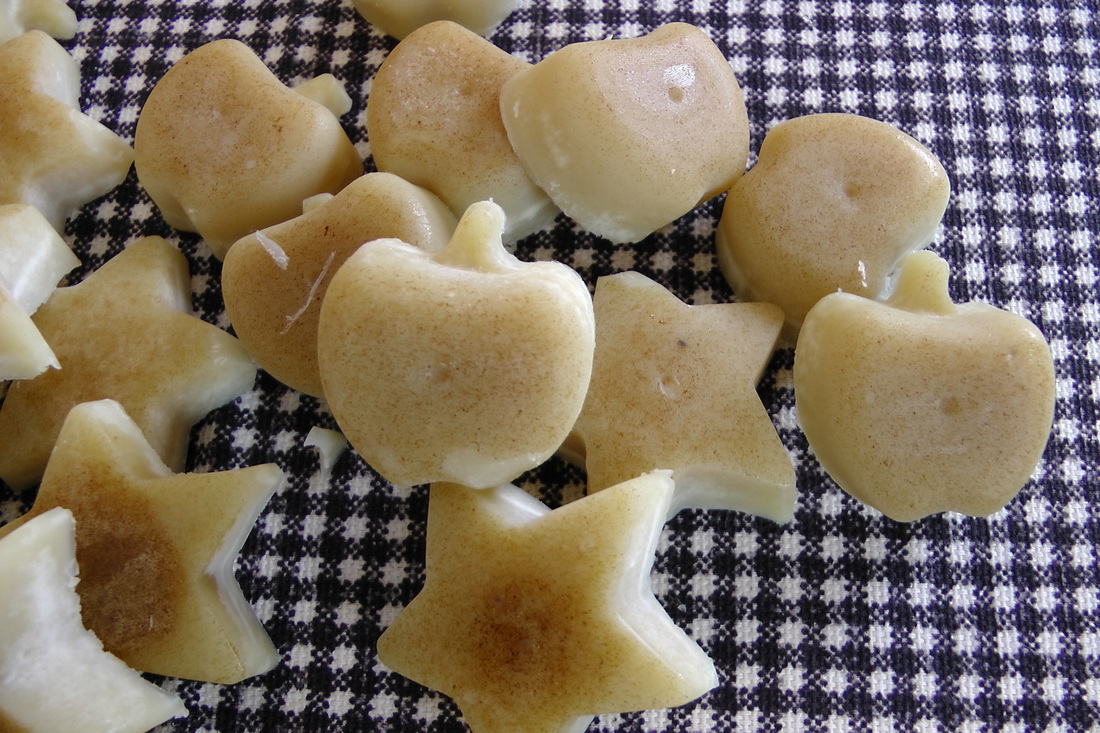
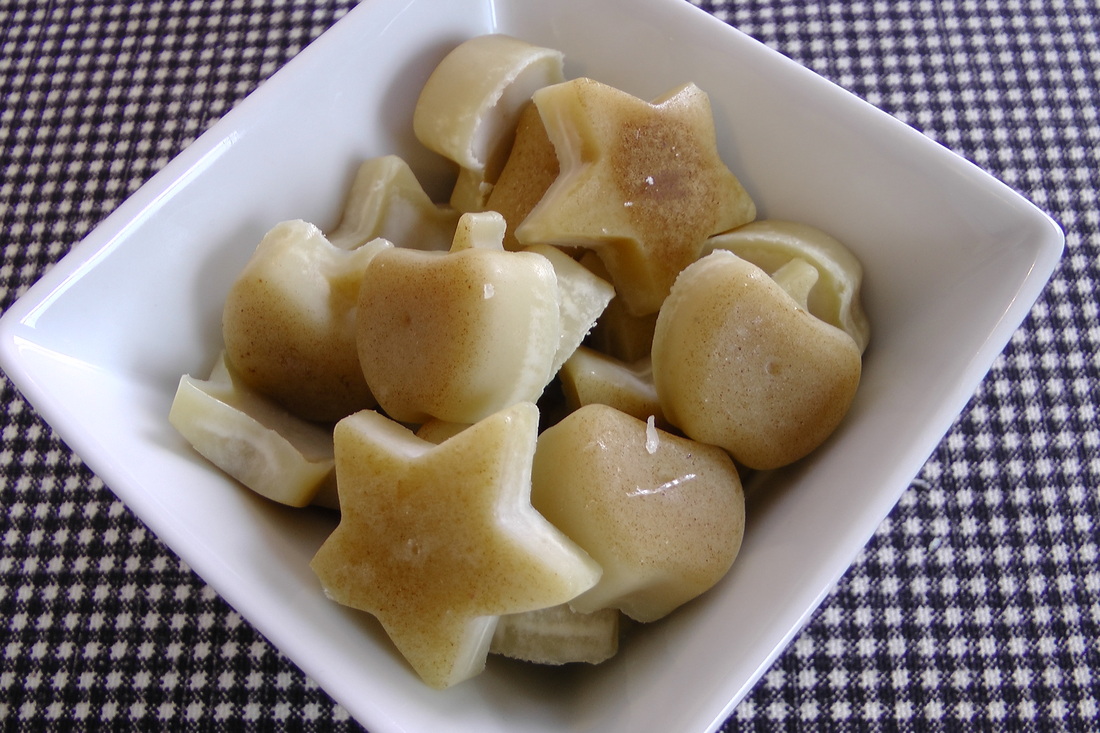
Melt the shea butter, cocoa butter and coconut oil over very low heat until melted. Remove from heat and add the essential oil. We are making an orange cream scent for the Orange Cream Spa Basket, so I added 35 drops of vanilla essential oil or extract and 45 drops of orange essential oil. I usually don't need to add this much essential oil but I needed to keep adding more to get the right scent. Stir well to incorporate the vanilla essential oil, it likes to bead up.
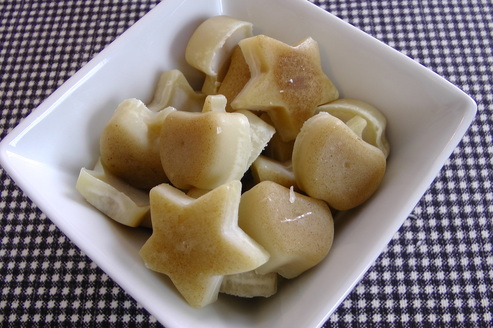
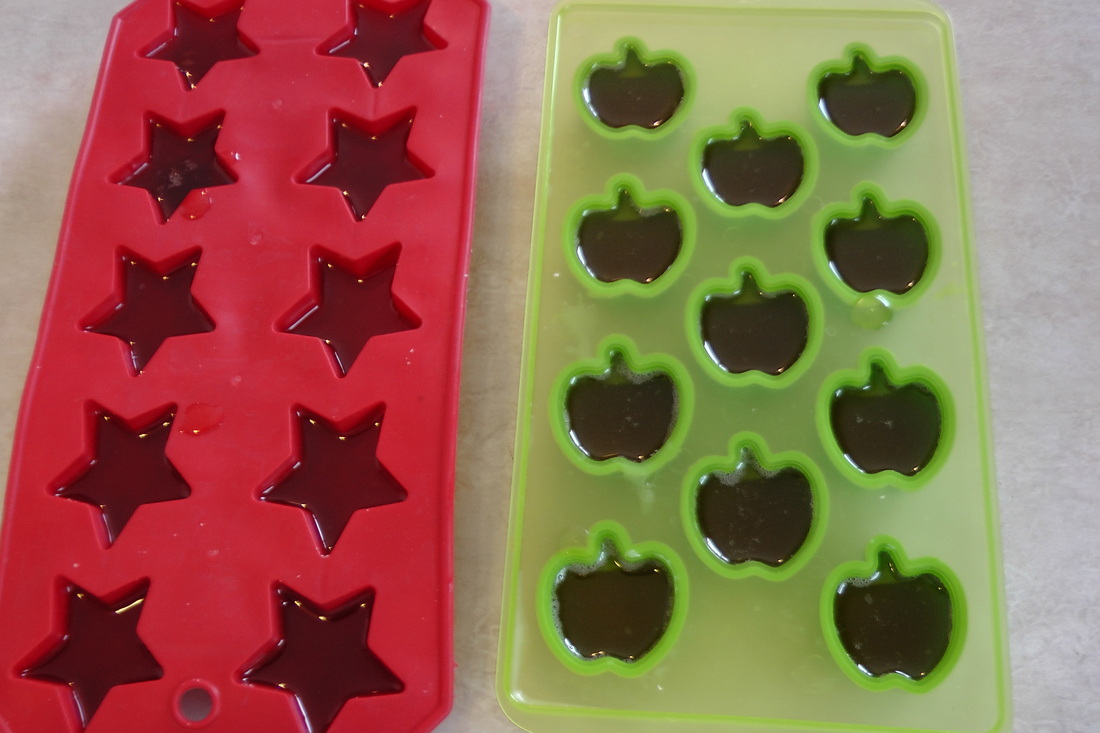
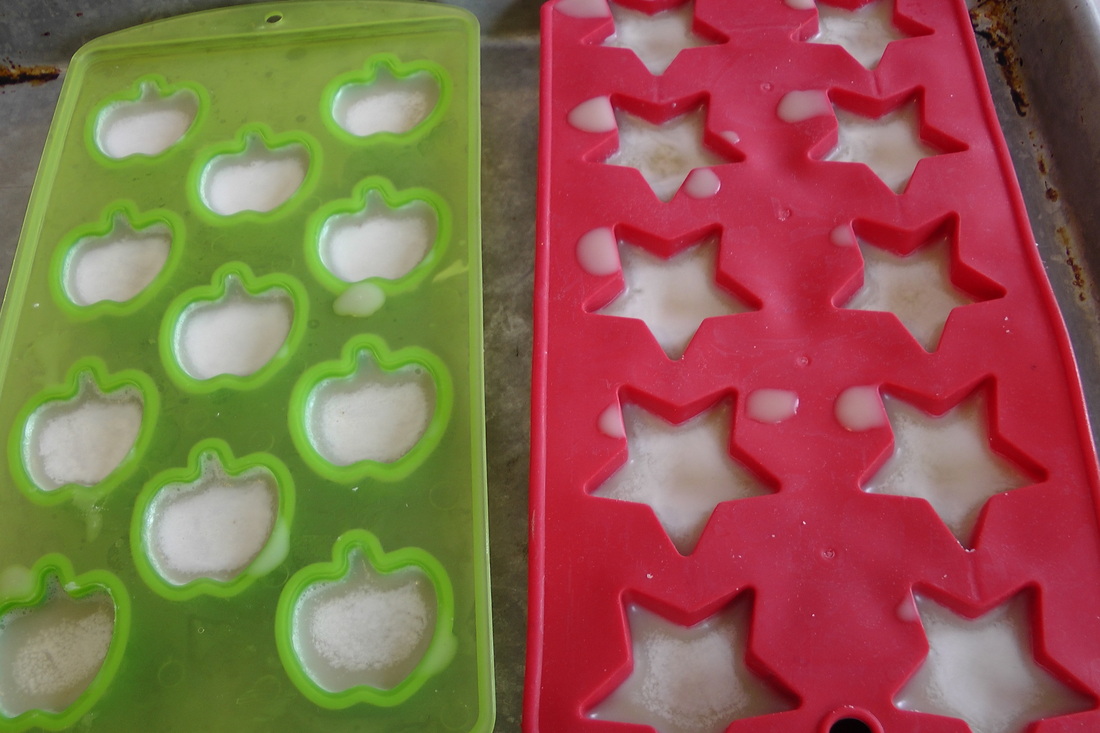
Pour into ice cube tray molds until solid. I like to use the small,decorative ice cube trays because they make the perfect amount of bath "bead" per bath and they are so cute. I found these at the dollar section at Target, so keep your eyes peeled when you are out and about.
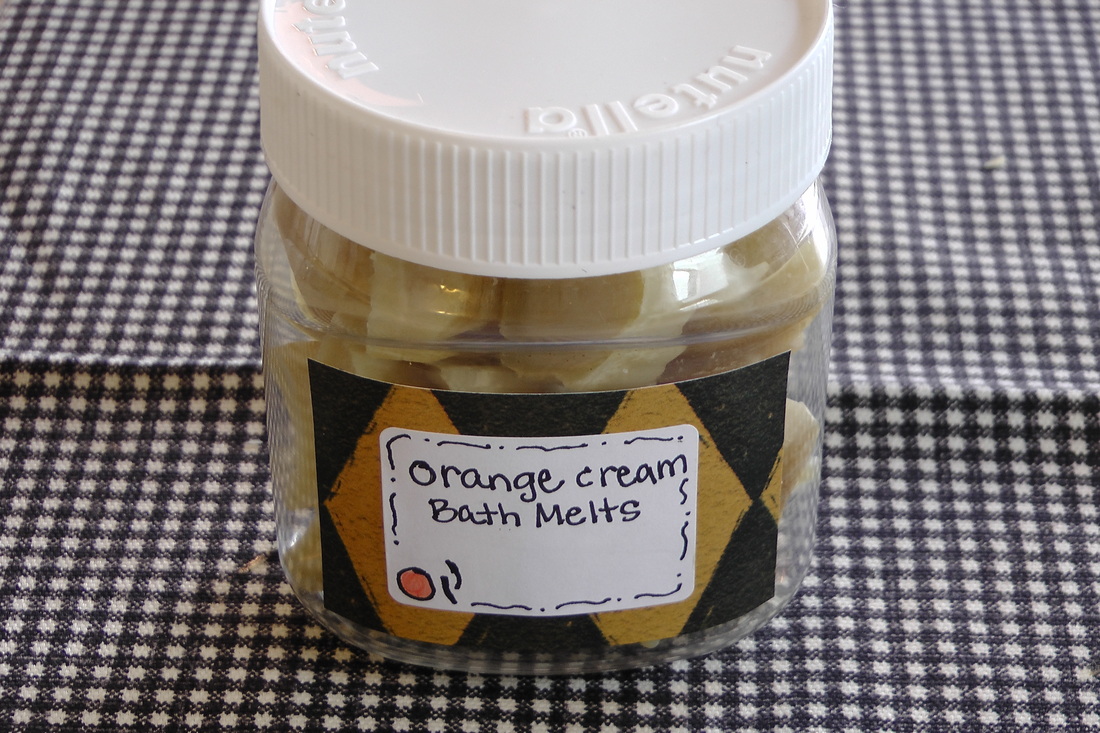
Once solid, pop out of the molds and store in an air tight container. Make sure you keep them stored in a cool place so they don't melt before you want them to. Use one melt per bath and enjoy the soft, silky, moisturized skin afterwards.
About the Ingredients
Shea Butter - Soothes and softens dry, chapped skin, while nourishing all skin types.
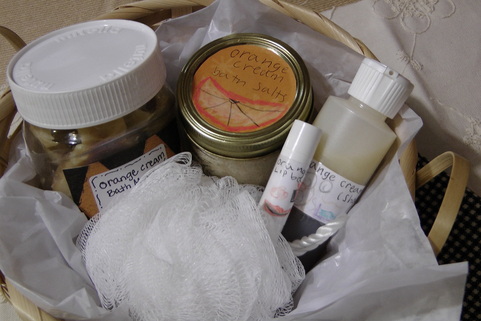
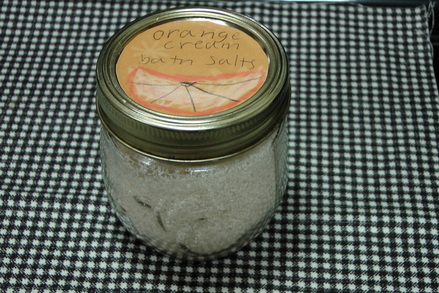
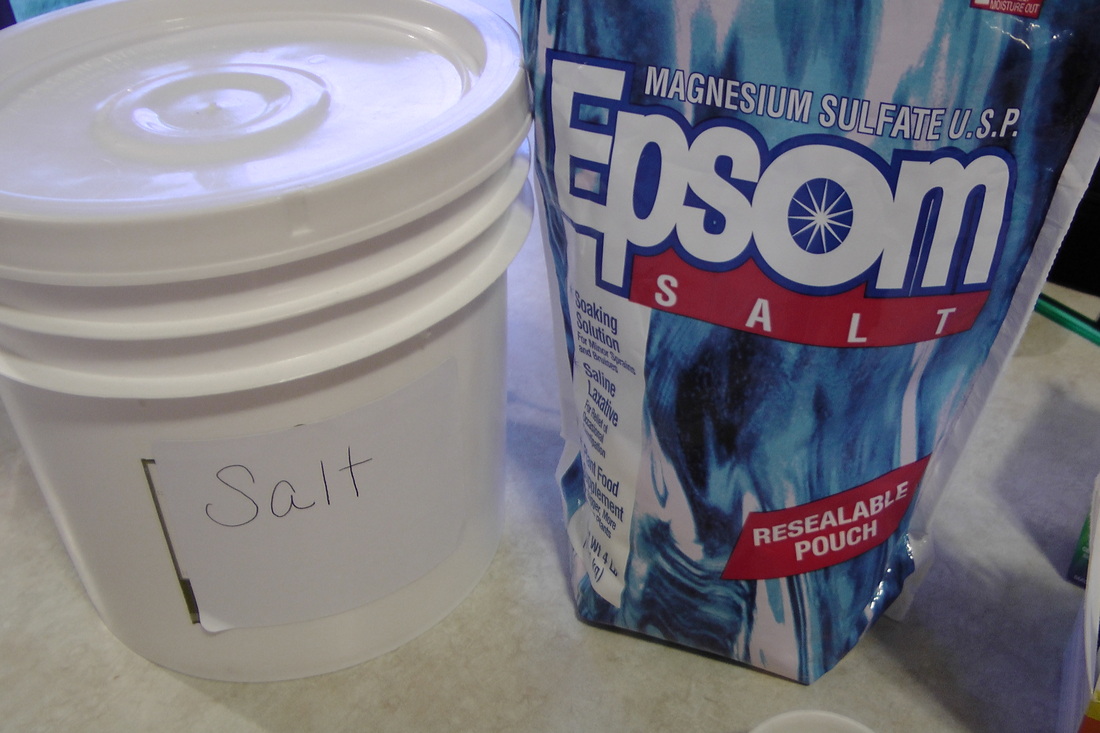
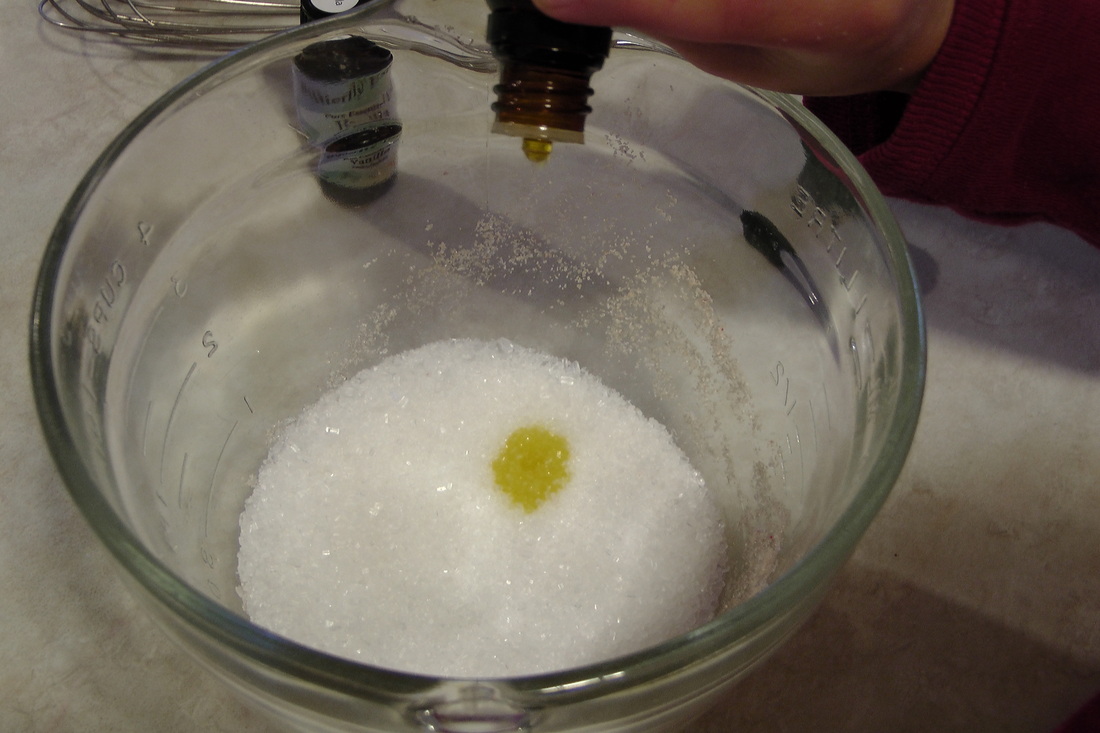
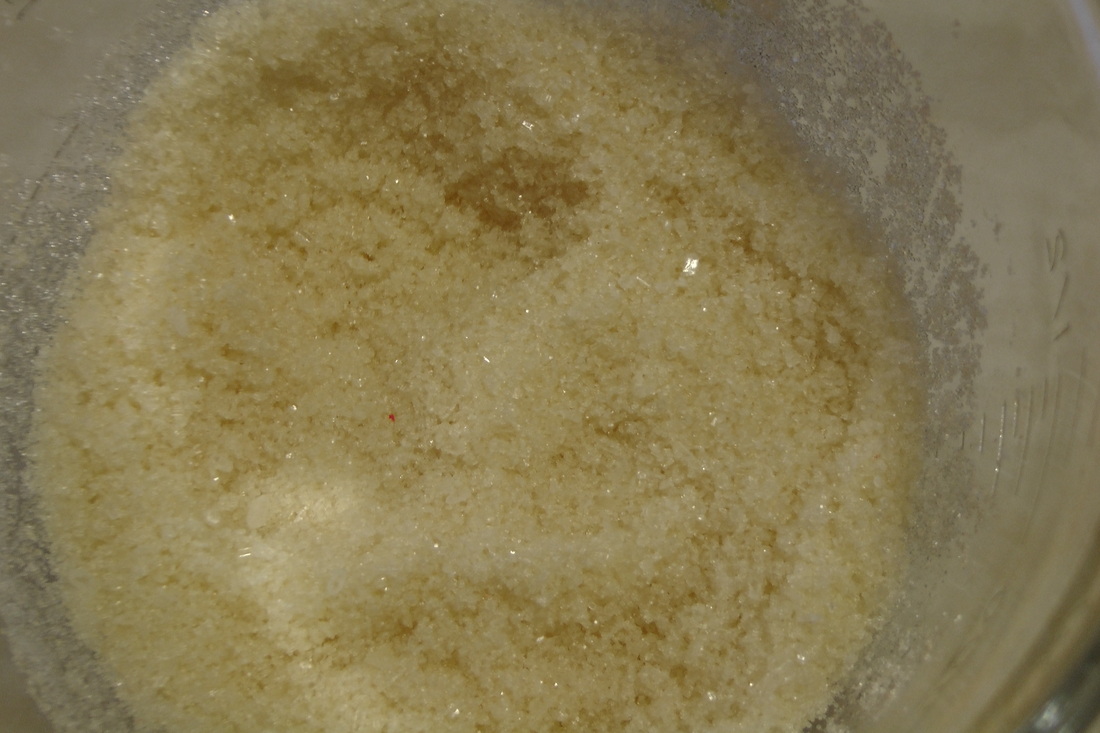
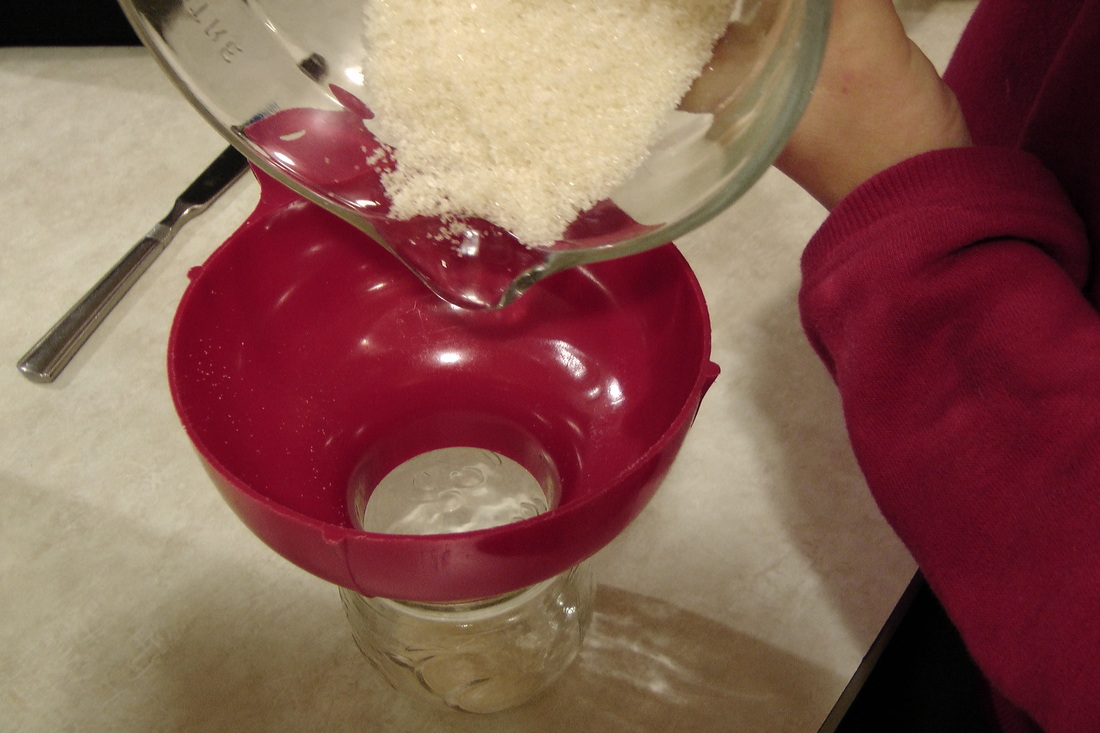
Cocoa Butter - Extremely moisturizing and easily absorbed into the skin. Known for its skin softening abilities as well as easing stretch marks and other skin blemishes. Coconut Oil - Antibacterial, antifungal and moisturizing (among many benefits). Orange Essential Oil - Hydrates and strengthens the cells of the epidermis as well as improving dull oily complexion. Vanilla essential oil - smells so yummy! The butters in this recipe can be purchased from Mountain Rose Herbs. I have found the best price for coconut oil at Costco. Big Woman loves making herbal crafts as much as her mama and when she was assigned to make a homemade gift for a gift exchange in her Liberty Girls homeschool group, she knew exactly what she wanted to make - a spa basket! We had a few recipes up our sleeves, experimented with a few others and had a couple tried and trues. The end products she decided on were bath salts, lip balm, body wash and bath melts. The next step was coming up with a great scent for our recipes - enter the Orange Cream or Dreamsicle or Orange Creamsicle, whatever you may want to call it, a simple mix of orange and vanilla, giving our products a heavenly scent. This week will be all about our spa basket recipes and today we will start with the bath salts. Orange Cream Bath Salts Bath salts are so fun because you can customize them to fit your needs just by changing the essential oils you add or coloring them. I have made many bath salt recipes but always come back to this very simple and effective mix of equal parts sea salt and epsom salts. For our little jar we used 1/4 cup Epsom salts and 1/4 cup sea salt. When scenting bath salts, you want them to smell slightly stronger than you would like them to be in the bath. We used 20 drops of orange essential oil and 10 drops of vanilla essential oil or extract. We had planned to add an orange coloring to the salt but after mixing the essential oils into them, they became a creamy color that we loved, so we decided to keep them as is. Let the salts sit for about an hour to let the liquid evaporate out, otherwise your salts will be hard. Pour into a jar and label, I loved all the labels Big Woman made for her products, she is so creative! Bath Salt Variations If you would like to customize your own bath salts, here are a few tips.
Other Spa Basket Recipes
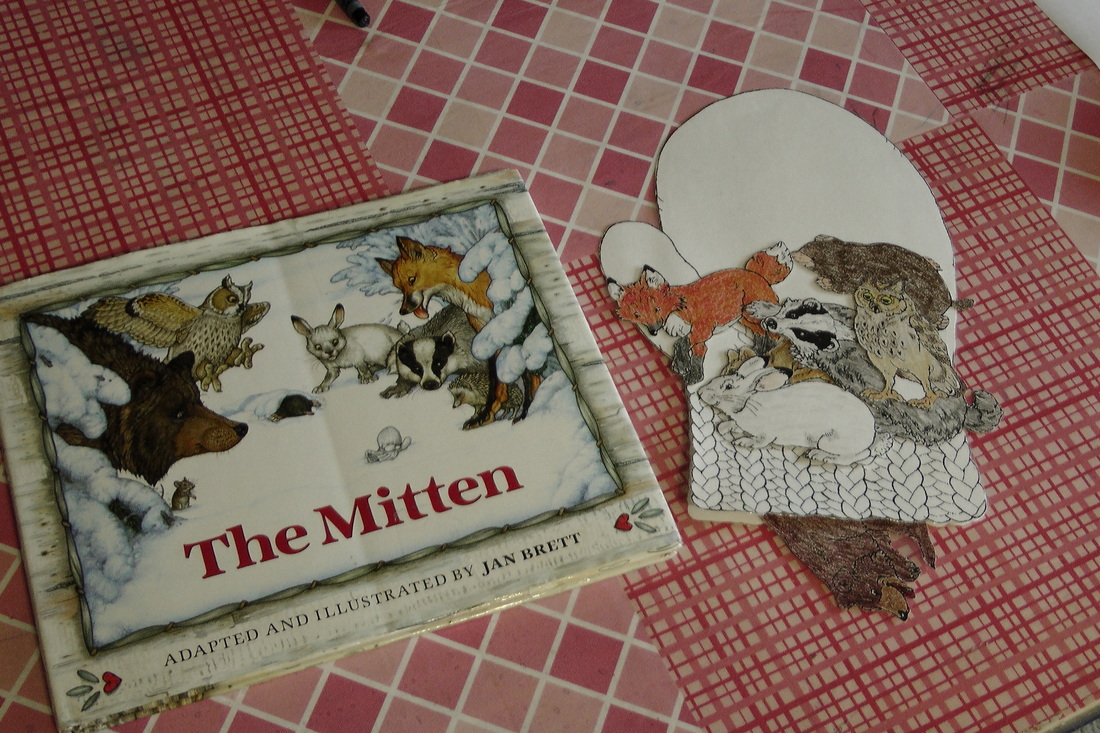
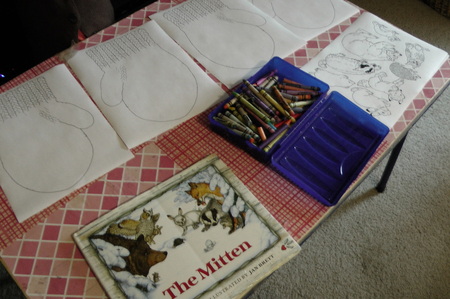
I have my list of favorite winter books that come out each season to be poured over time and time again until the spring time rolls around and they go back to their cozy spot in the basement. The Mitten always seems to be the book everyone wants to read first. I love Jan Brett books, her illustration style is nostalgic for me and fun for the children. I also love that her website has a huge activity section full of free printables to accompany her books.
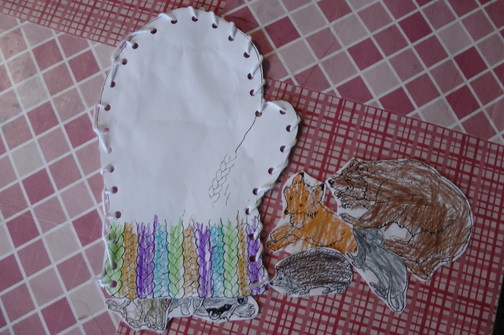
After reading the story to the children, I tell it again using my own mitten and animals. I let the children put the animals in the mitten as we talk about them squeezing into it, at the end I make a big sneezing sound and shake them out all over. The children love it and I then let them make their own mitten and animals.
Mitten Story Activity
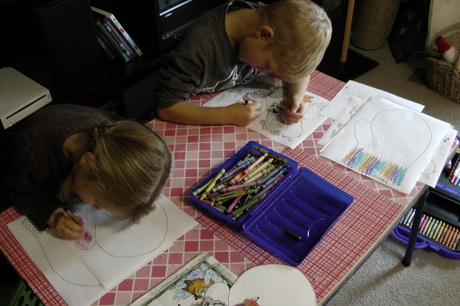
Print out the two mittens (a front and a back) along with the animals, get the PDF file here. Color and cut them out.
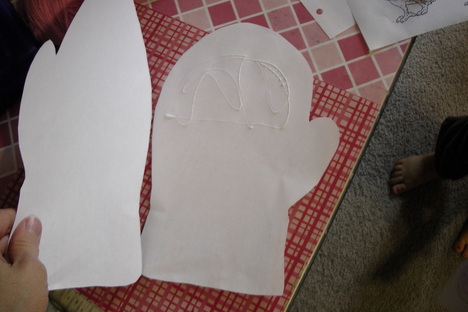
I like to glue the top half of the mitten together so when the children insert the animals, they don't get stuck at the end of the mitten. This also keeps the mitten together while they are trying to "knit" them.
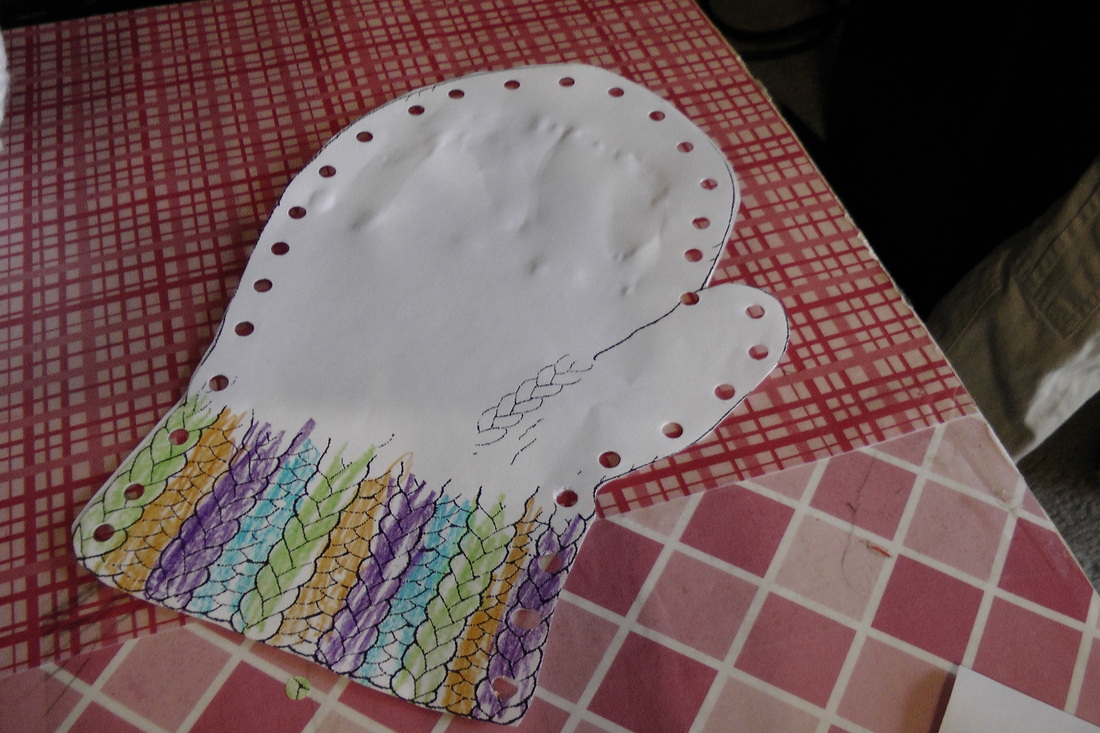
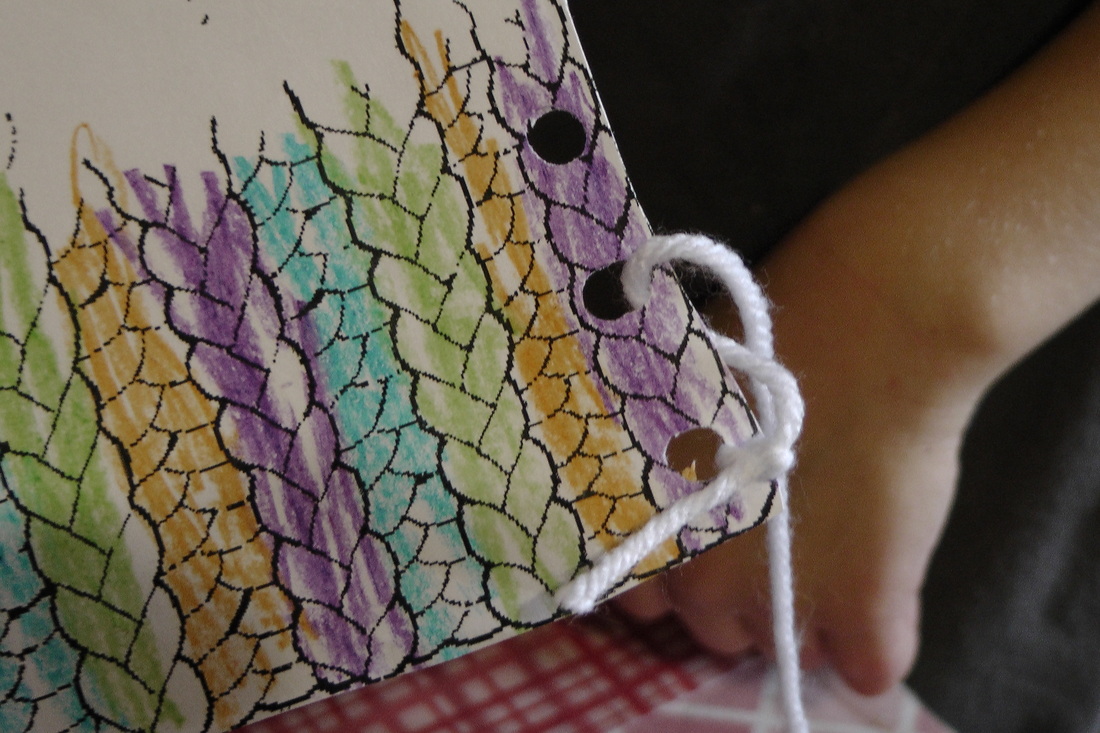
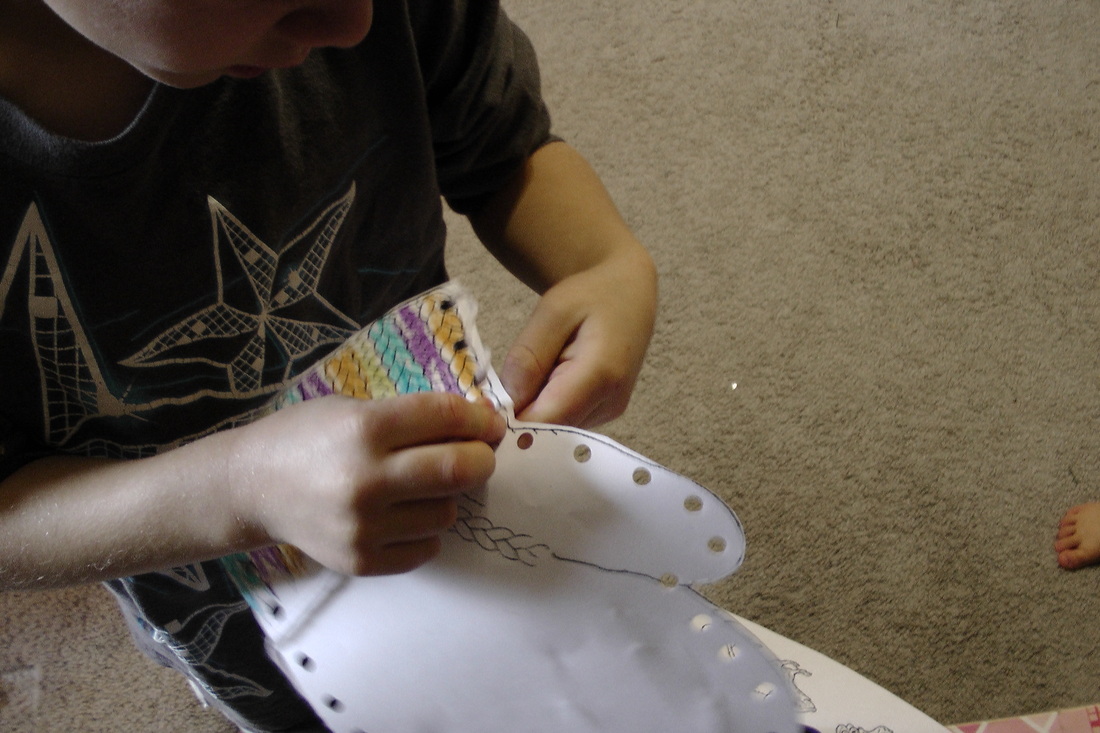
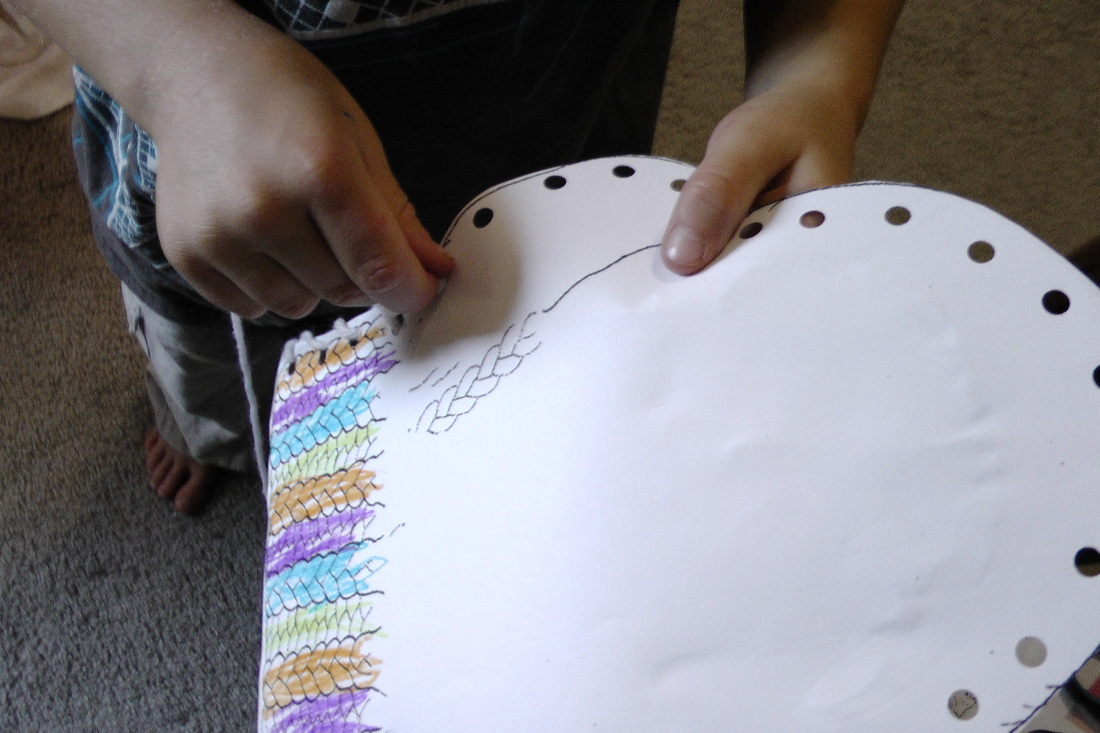
Next, take a hole punch and make holes all around the mitten to string yarn through.
It is now time for the children to "knit" their own mittens just like Baba did for Nikki. I tied a stretch of yarn at one end and put a piece of tape at the other to make it easier to insert in each hole.
I showed them how they can string the yarn through, but Little Man came up with his own "stitch" half way through that looked pretty impressive to Mama.
Now, I let the Little Ones have fun telling me the story with their own mitten and animals. They will use these all season and they love to show them off to everyone!
Shared on: Home Acre Hop.
|

Hi, I’m Annie, a child of God, Mother of Influence and Herbalist. Welcome to my place where I share what I have learned of natural and frugal living, healthy eating and living, gardening, homeschooling, herbal crafting, preparing temporally and spiritually, and love for God and Country.
LearningLivingArchives
January 2023
|

