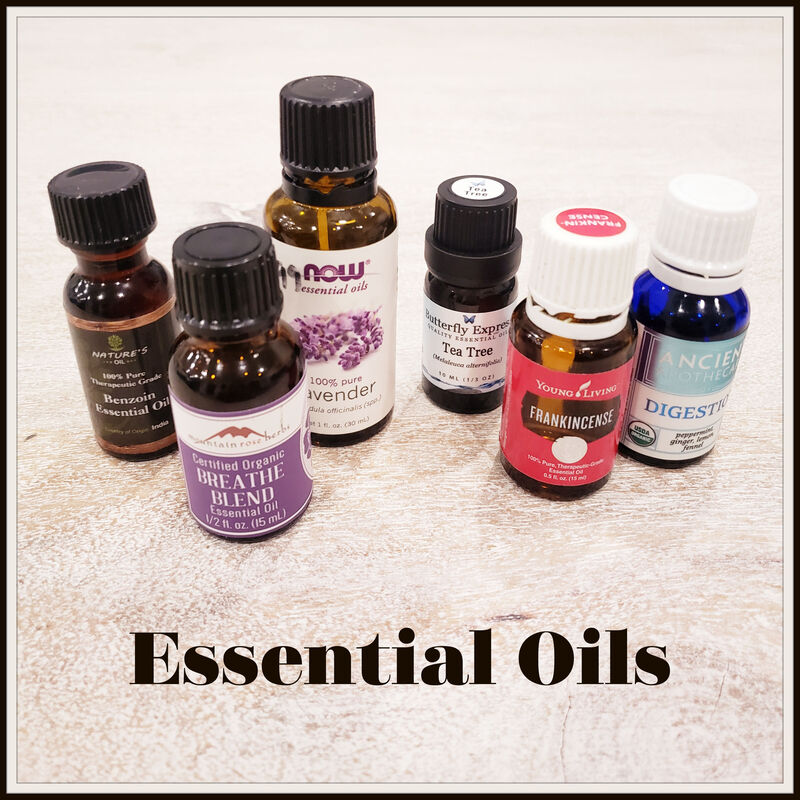
Fast forward to today and there is so much information available on what essential oils are, how to use them, and where you can purchase them. I love to see how they are becoming well known and used in many households around the world. For those that are not as familiar with essential oils or for those that need a refresher I am excited to bring you this essential oil series that will begin with a brief history of aromatics and essential oils. My purpose in doing this is to educate others on how important these oils should be to have in your home, using them daily especially in the world we live in where the healthcare and economy are not very stable. The information contained in this series is a combination of a dozen different essential oils books, scientific studies, classes I have attended and most importantly many years of experience in using essential oils.
|
I have been using essential oils now for over 13 years. Ironically, my very first experience with essential oils was through my husband. I used to suffer from severe migraines at least once a month and during one particular bout he handed me an amber glass bottle with German writing on it that happened to be peppermint essential oil. He told me when he was serving in Germany (as a missionary for our church) a German woman had given it to him when he had a headache. I always kid him that he was the one who turned me into the "weirdo" he thinks I am by introducing me to essential oils. I soon began my study and love for essential oils. Fast forward to today and there is so much information available on what essential oils are, how to use them, and where you can purchase them. I love to see how they are becoming well known and used in many households around the world. For those that are not as familiar with essential oils or for those that need a refresher I am excited to bring you this essential oil series that will begin with a brief history of aromatics and essential oils. My purpose in doing this is to educate others on how important these oils should be to have in your home, using them daily especially in the world we live in where the healthcare and economy are not very stable. The information contained in this series is a combination of a dozen different essential oils books, scientific studies, classes I have attended and most importantly many years of experience in using essential oils. I would like to begin the first part of this series at the beginning with a brief history of aromatics and essential oils through time. Virtually all of the ancient cultures utilized the healing and rejuvenating properties of aromatics and essential oils. Cultures such as Egypt, Rome and Greece used botanicals daily for body care, medicine and religious purposes. The Egyptians bathed frequently and anointed their bodies daily with botanicals to keep their skin healthy and radiant and also as a natural means of sunblock as well as using these ointments as medicine. Rome had it's public bath houses where people would bathe in aromatic waters, followed by a "perfumed" massage. Other cultures also revolved their daily lives around botanicals; Ayurvedic medicine is the oldest known form of medicine that was developed in India, China and Japan both used aromatics for religious rituals, funerals, hygiene, beauty and medicine. Africans even joined in by anointing their bodies with oils to soften the skin, protect it from the suns rays and in preparation for marriage. We all know the story of the Three Wise Men bearing gifts of frankincense and myrrh to the Christ child. These were not only the most valuable of commodities they were also highly medicinal and used for spiritual purposes as well. The bible also mentions many other essences such as cedarwood, cinnamon, coriander, cypress, hyssop, juniper, mint, myrtle, pine, rose and spikenard. There are in fact over 180 references to essential oils in the Bible. Once Rome fell so did their influence in Europe and pretty soon the daily use of aromatics and botanicals all but disappeared. Only a select few still used and valued these treasures, like the apothecaries (physicians), alchemists, glove makers (who scented their gloves) and other artisans that would use botanicals as aromatics to scent their wares. One thing that is interesting to note is when the plagues came through Europe these are the only set of people that seemed "immune" to the effects of the plague. The crusades brought a new light to aromatics, oils and ointments as the Middle Eastern countries had continued to explore them. Soon trade was established and Europe was soon using essential oils for beauty, health, hygiene and medicine. In the 16th century religion was shaping the climate of Europe and the rise of Puritanism saw the use of aromatics as vanity and even witchcraft. The use and knowledge of essential oils (and herbs for that matter) soon fell out of favor and use. In the 1920's a French chemist by the name of Rene-Maurice Gattefosse was experimenting with perfumery in his laboratory when he was burned very badly. He thrust his hand in the nearest liquid which happened to be a vat of lavender essential oil and was surprised to find the pain had subsided and his hand healed very quickly with no scarring. From then on he spent his life researching the therapeutic side of essential oils and actually termed the phrase "aromatherapy". Europe once again began using essential oils for beauty, hygiene, health and medicine and America soon followed in the 1980's. Since then you can find hundreds of books on aromatherapy and essential oils as well as schools, classes and essential oil retailers. Knowledge on the therapeutic properties of essential oils is available at the click of a button and companies to purchase them from are just as numerous. Ever since I began my use of essential oils, the knowledge and use has seemed to flourish and grow as many people are finding that these simple essences have very powerful properties.
1 Comment
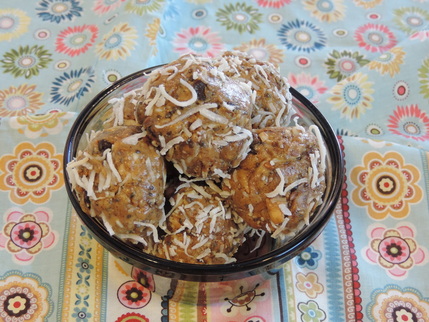
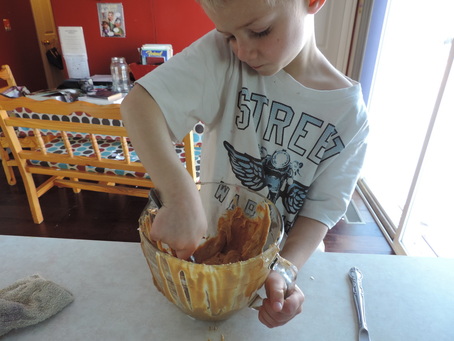
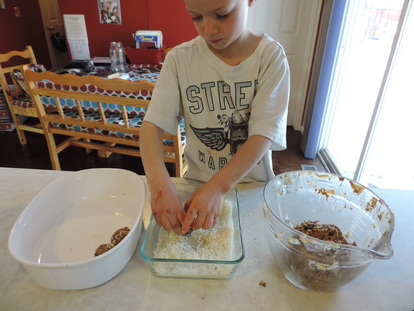
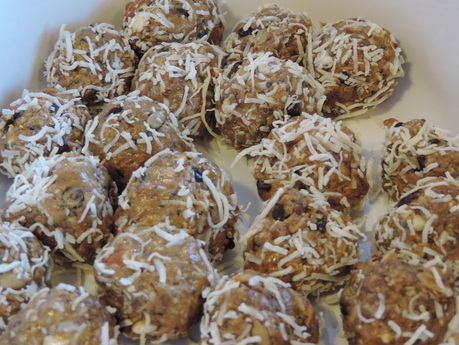
My Little Man loves to help in the kitchen and one of his favorite things to make are what we call Nutty Balls and when rolled in coconut we called them Snow Balls. Not only are they delicious, they are packed with protein and nutrients which make them a perfect snack, sweetened with honey (and sometimes mini chocolate chips) they make a great healthy treat option. They are also very versatile, using a nut butter and honey as the base you can add whatever ingredients you may have on hand or want to "sneak" in.
The Recipe
Mix the following ingredients into a large bowl with a hand mixer, spoon or your hands.
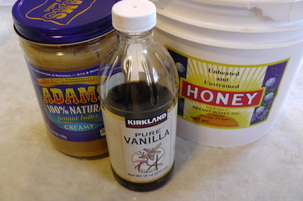
1 cup nut butter of choice 1/2 cup softened raw honey 1/2 tsp. Real salt 1 tsp. vanilla
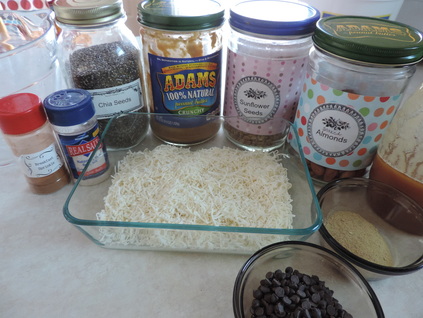
Next add the goodies - this is what we used today:
1 cup coconut 1 1/2 cups sprouted almonds 1/2 cup wheat germ 1/4 cup sunflower seeds 1/4 cup mini chocolate chips 2 Tbsp. chia seeds 1 Tbsp. flax seeds 1 Tbsp. Breakfast Sprinkle or you could use Cold Remedy Sprinkle 1 Tbsp. eleuthero powder (for brain and energy boosting properties)
Other goody ideas:
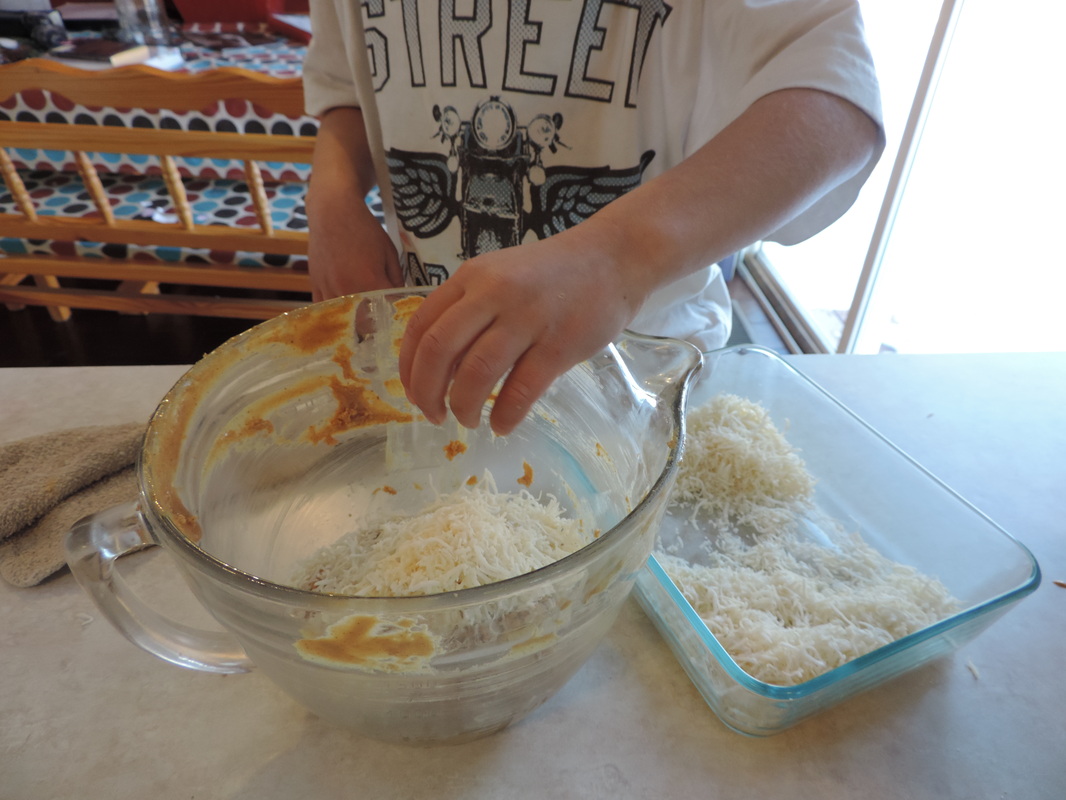
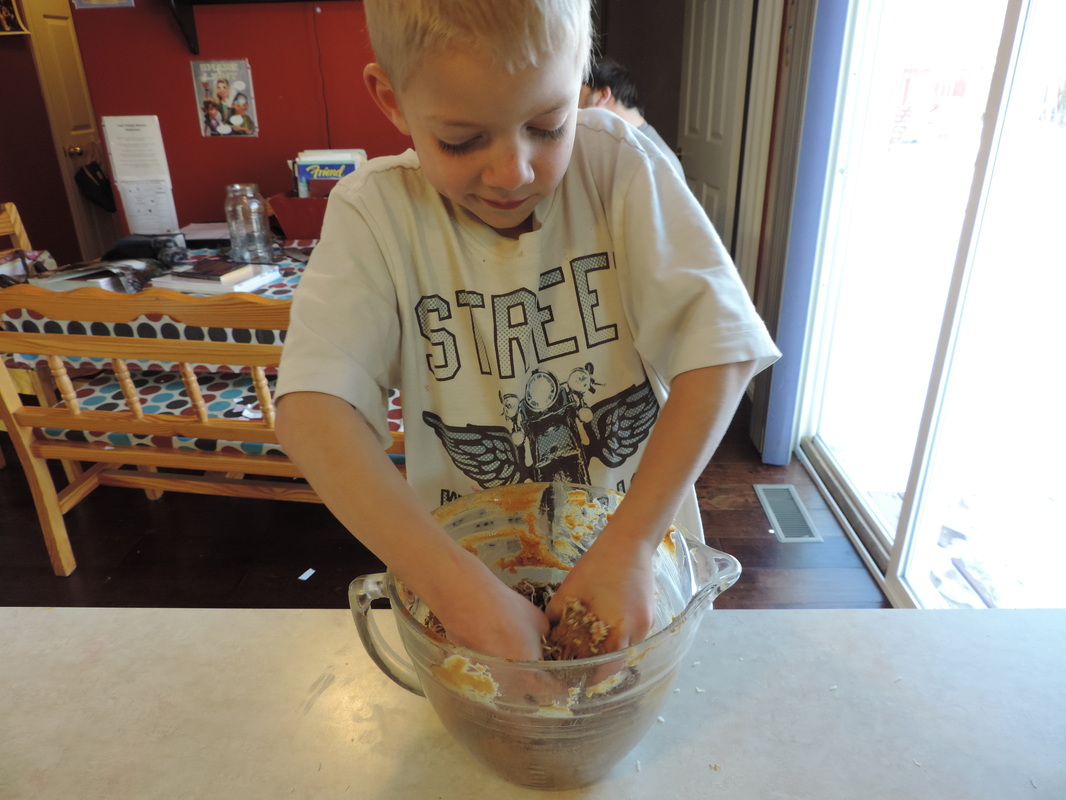
Now comes the fun part, get those hands in there and smush and mush until everything is well incorporated and you can form a ball. Roll all of the "batter" into balls then roll in coconut, chopped nuts, almond flour, or just keep them plain. Store in an airtight container in the fridge until ready to eat.
Where to Get Some of These Ingredients
Costco is my favorite place to check for good quality ingredients, many of which are organic. I have gotten almond butter, peanut butter, and all kinds of nuts and seeds including chia seeds. Bulk Herb Store and Mountain Rose Herbs will carry the bilberries, goji berries, raw honey, and elethero powder along with other herbal powders.
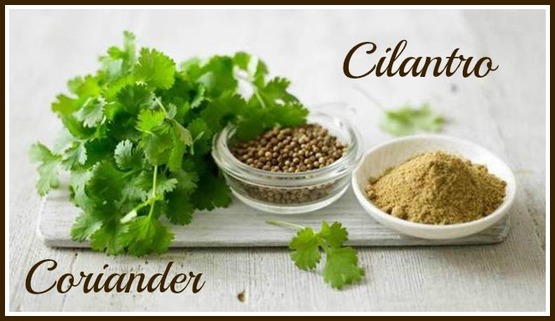
Cilantro is one of my favorite herbs to add to any dish and I always double it in my recipes for pico de gallo, salsa and soups. If you, like me, notice a craving for this refreshing herb during the warmer months it may be because of its cooling properties, another reason why it pairs so well with salsa and spicy foods. I have always struggled to grow a good crop of cilantro but "If at first (and second, and third...) you don't succeed, try, try again!"
Seed Starting and Propagation
Start seeds outdoors after the last frost date, cilantro does not transplant well. Plant 6” apart or 1 per square foot in part shade, poke a hole in the soil about ½ “ and place in seed. Plant every two weeks for a continuous harvest into summer.
Care
Cilantro likes moist soil so water weekly or more if needed, it will bolt when the temperatures get too high. You can try planting it in the shade during the summer months and see what happens!
Companion Planting
Repels aphids so planting next to aphid problem plants will help keep them at bay.
Harvesting and Preserving
Start picking outer leaves any time after the plant is 6” tall.. The more you cut the more new growth you will have and less likely chance of it bolting. This is one plant that is best fresh, it does not preserve well, except maybe freezing.
Seed Saving
This is a two for one plant, giving you yummy cilantro in spring and early summer and coriander seeds once the plant has bolted. Let the plant bolt, turn brown and produce the coriander seeds, cut off heads and place in a paper bag to finish drying, then shake out. You can also leave them on the plant to drop seed for a fall harvest.
Nutrients and Healing Properties
Cooling plant that aids digestion, relieves nausea, gas, bloating, and upset stomach. Coriander is high in carotene, calcium, protein, vitamin B1, niacin and minerals.
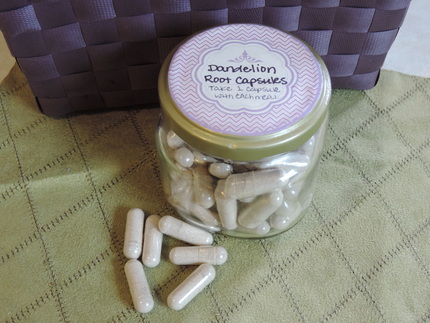
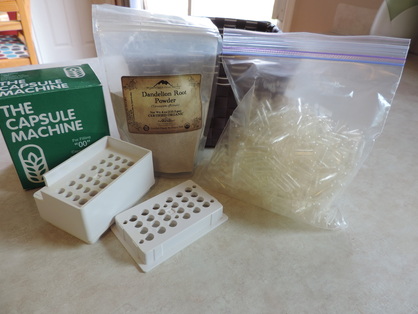
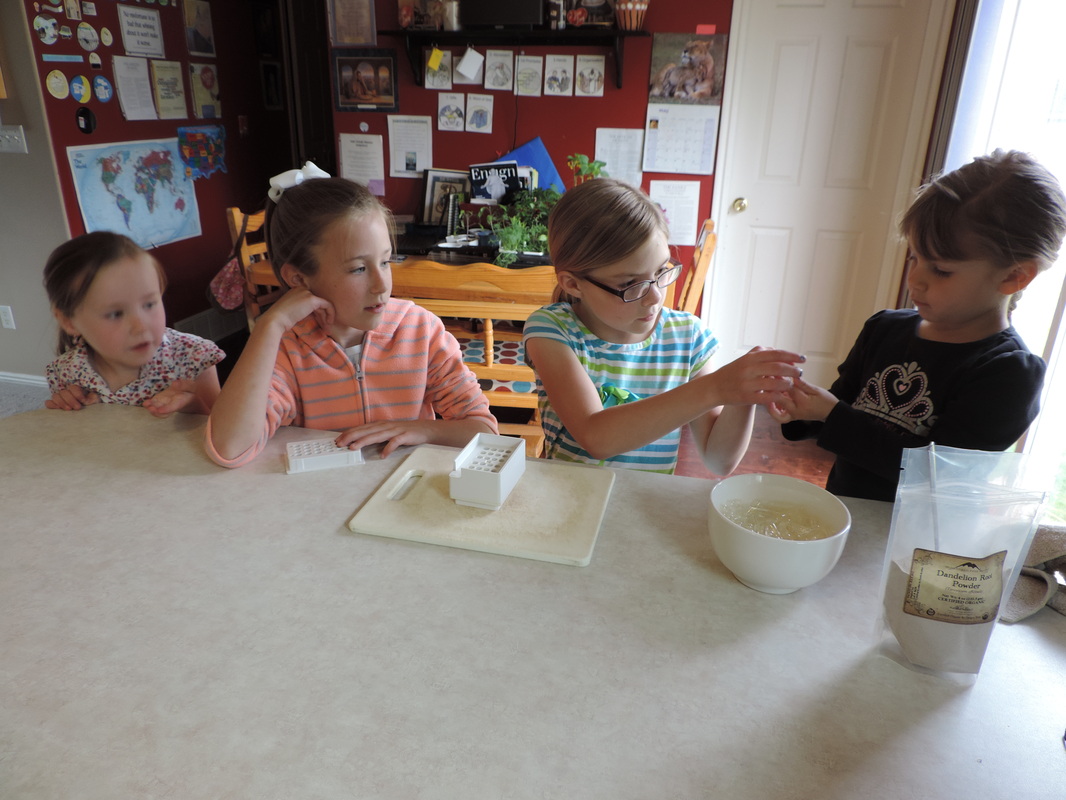
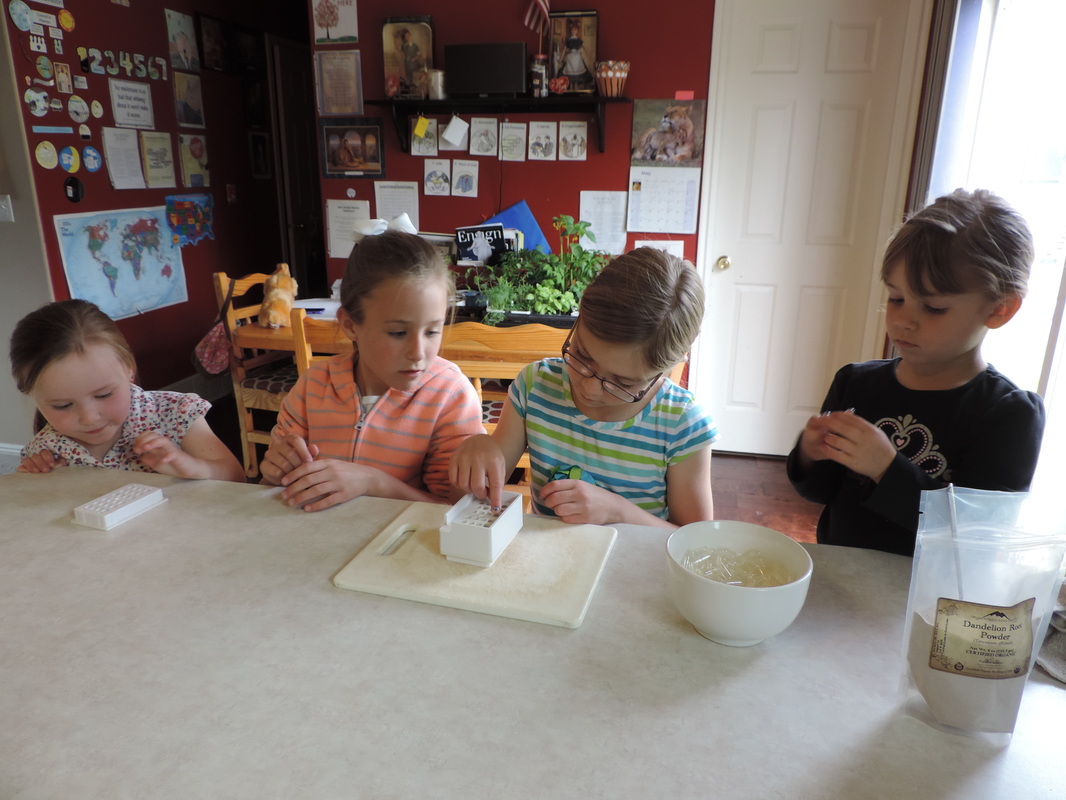
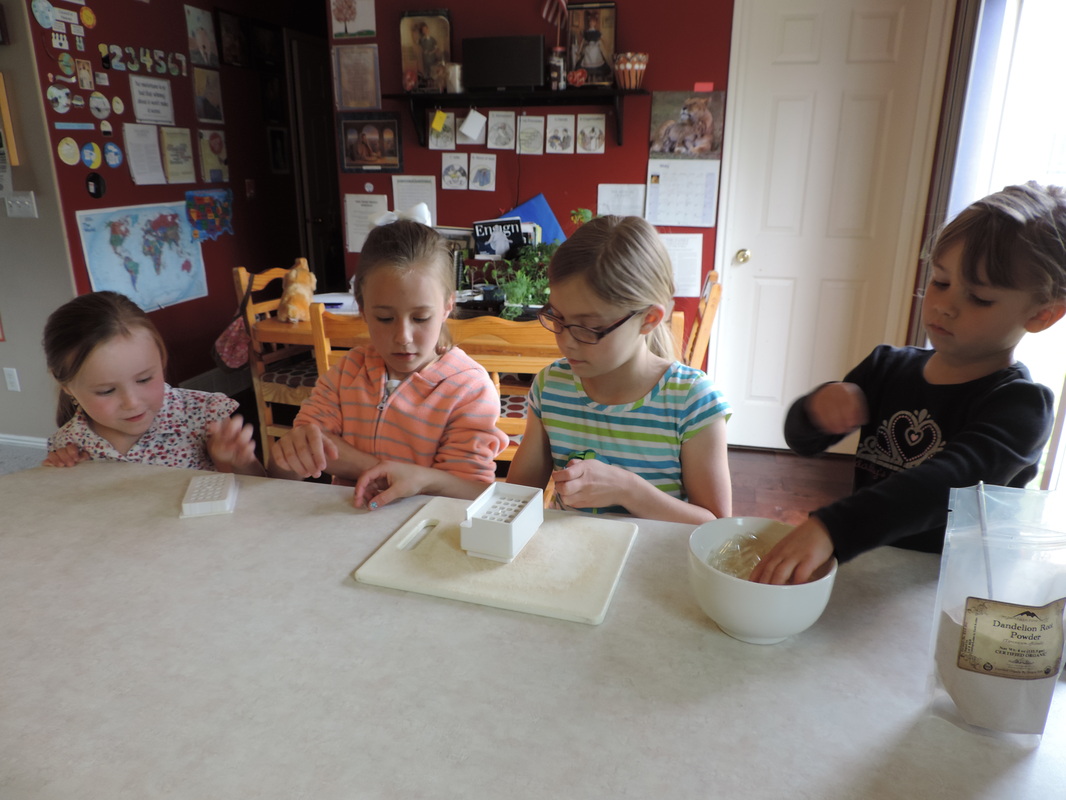
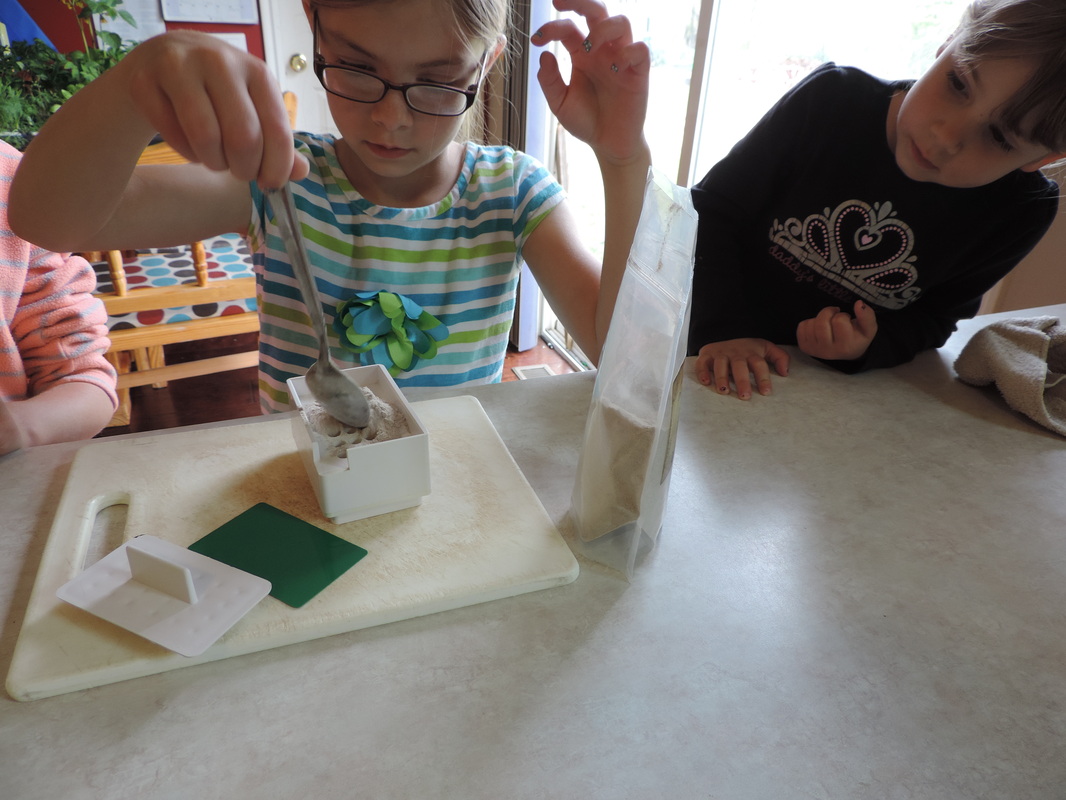
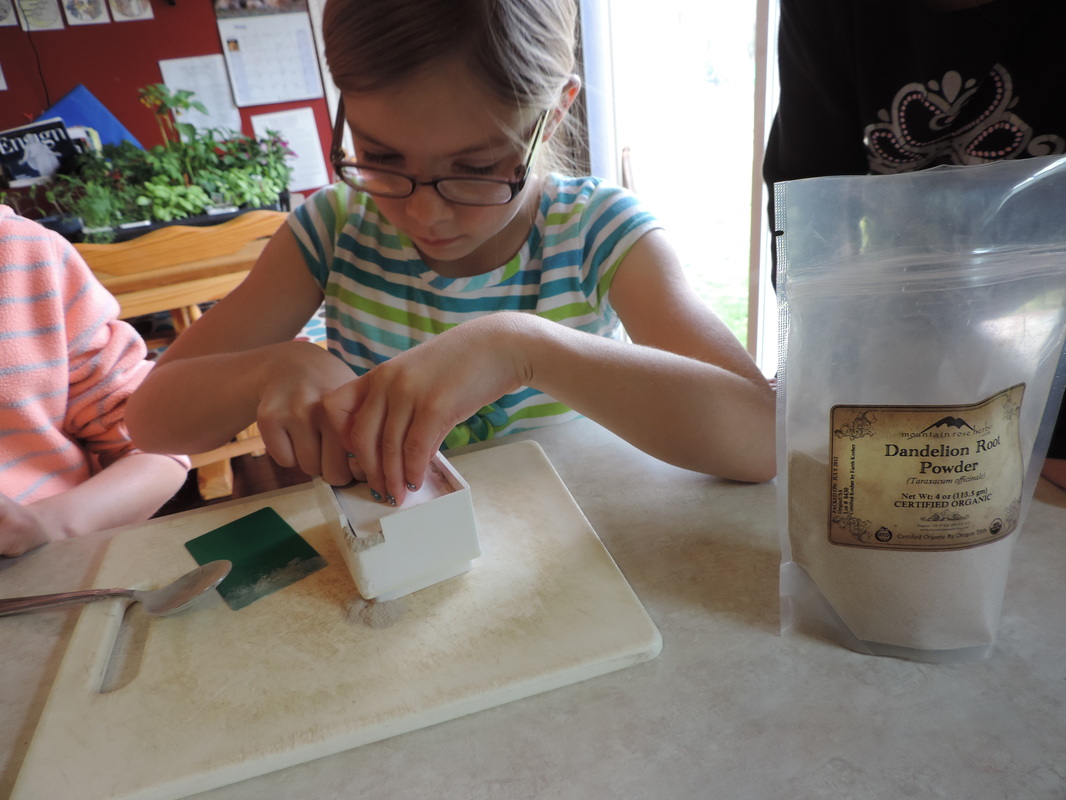
Resources Big Woman loves to make any kind of herbal capsules and I lovingly refer to her as my "en-capsulator". I like to make capsules for any herbs I don't particularly like the taste of (such as dandelion root) and for ease of use. Taking dandelion root before any meal will help aid digestion, prevent kidney and gallstones, and keep the urinary tract running smooth. You can also take these capsules if you want to utilize any of the healing properties of dandelion that we talked about here. What You'll Need Dandelion Root Powder The Capsule Machine (I use the large 00 size) Gelatin Capsules (again I use the 00 size) The "en-capsulator" and a few friends today Big woman doesn't like anything to get in the way of her making herbal concoctions with Mom so when some friends came over to play she just put them to work. They decided to make an assembly line where Little Woman separated the gel capsules and handed them to Big Woman, she placed the long side in her part of the capsule machine and handed the small side to her friend who placed it in her part of the capsule machine and then her little sister pressed the capsule the rest of the way in. She then took a spoonful or two of the dandelion powder then sprinkled and pressed it into the bottom part of the capsules. Once full, she pressed the top part on and popped those babies out into a bowl. In my opinion this is the simplest, quickest and most convenient way to take your herbs and I can even get hubby to take his herbs when in this form! Here are more detailed instructions on how to make herbal capsules if you'd like to give it a try yourself. Where To Get the Supplies to Make This Project I purchased my capsule machine with a 1000 pack of gelatin capsules on Amazon. I have seen it at my local health food store so you can check there also. You can harvest, dry and try to powder your own dandelion root but for ease of convenience and a very fine powder (you can never achieve that in your kitchen) I just purchase mine from Mountain Rose Herbs.
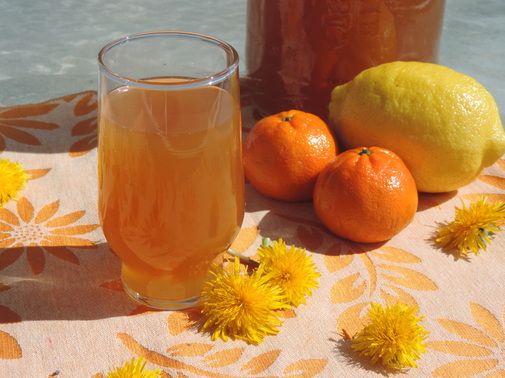
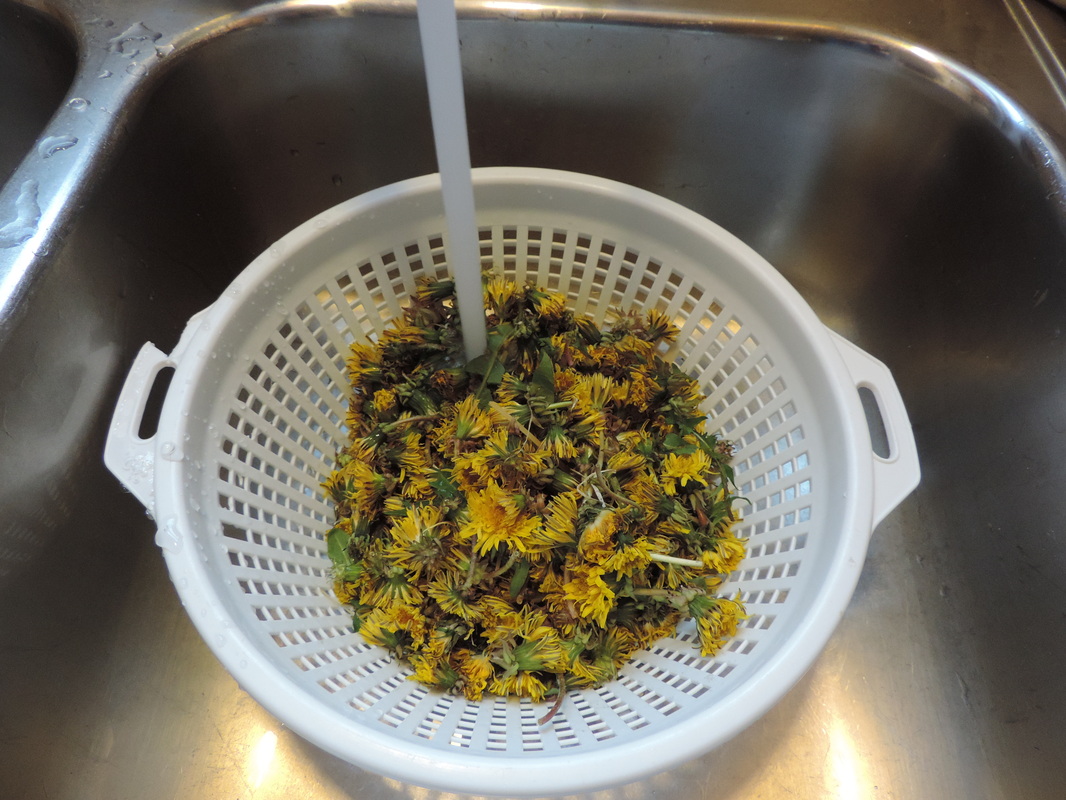
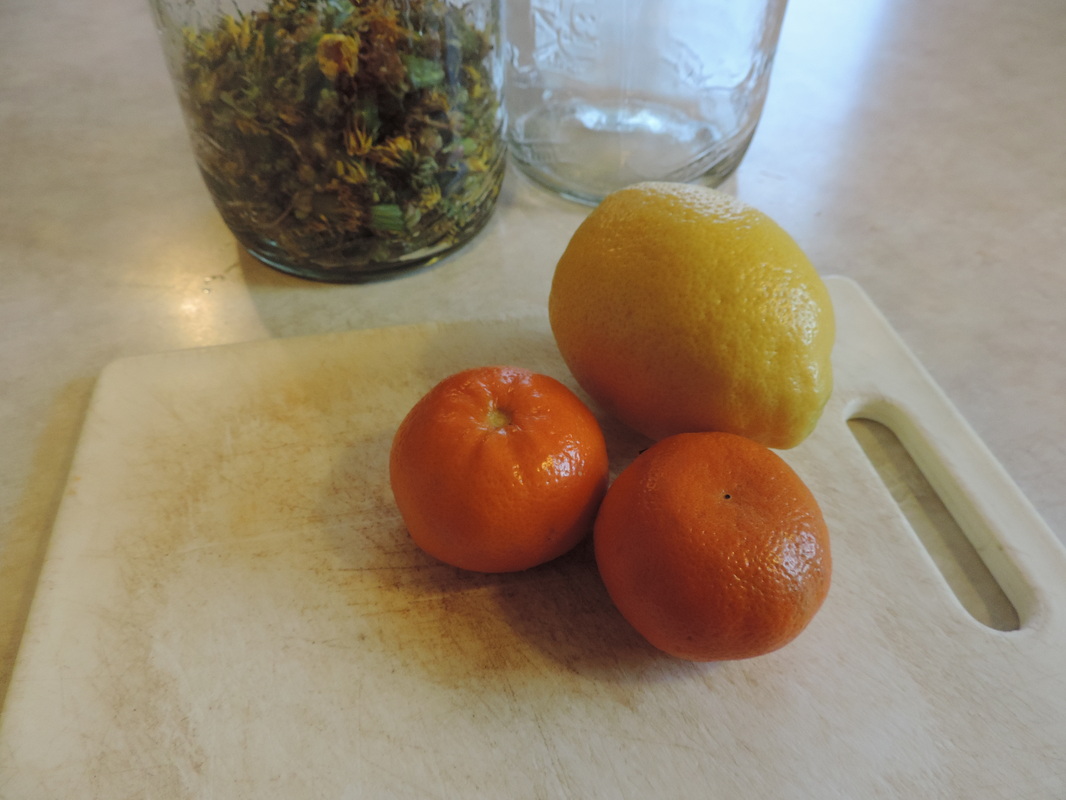
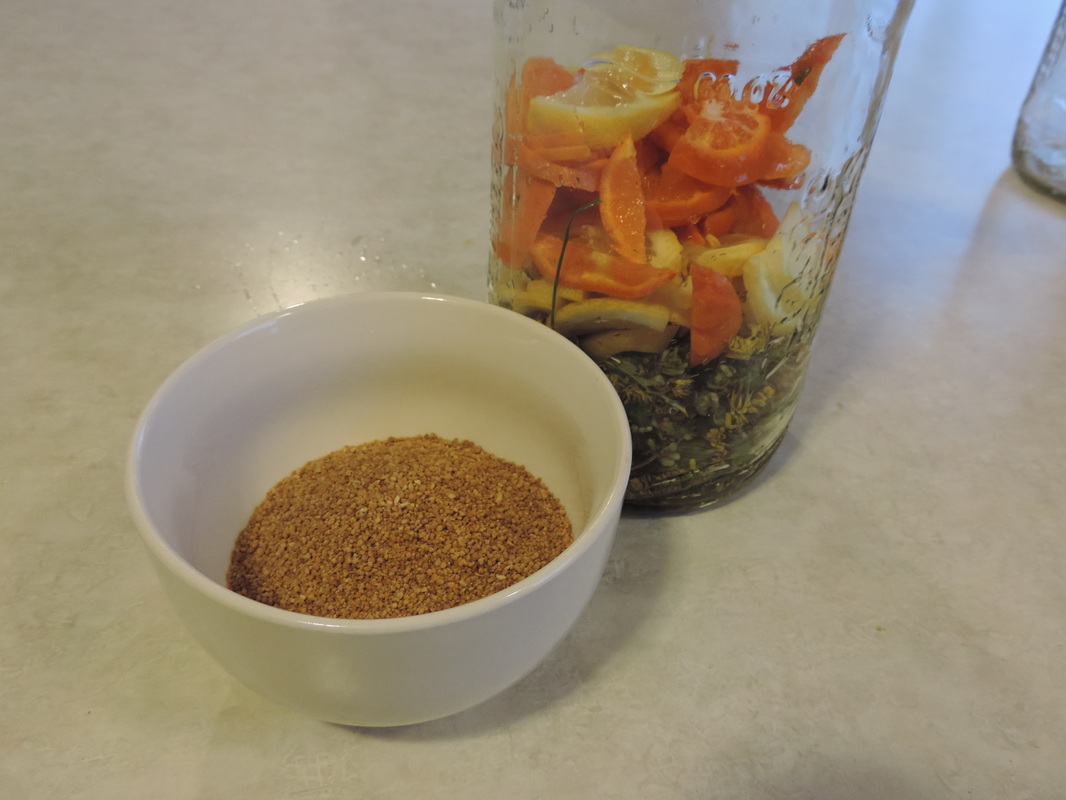
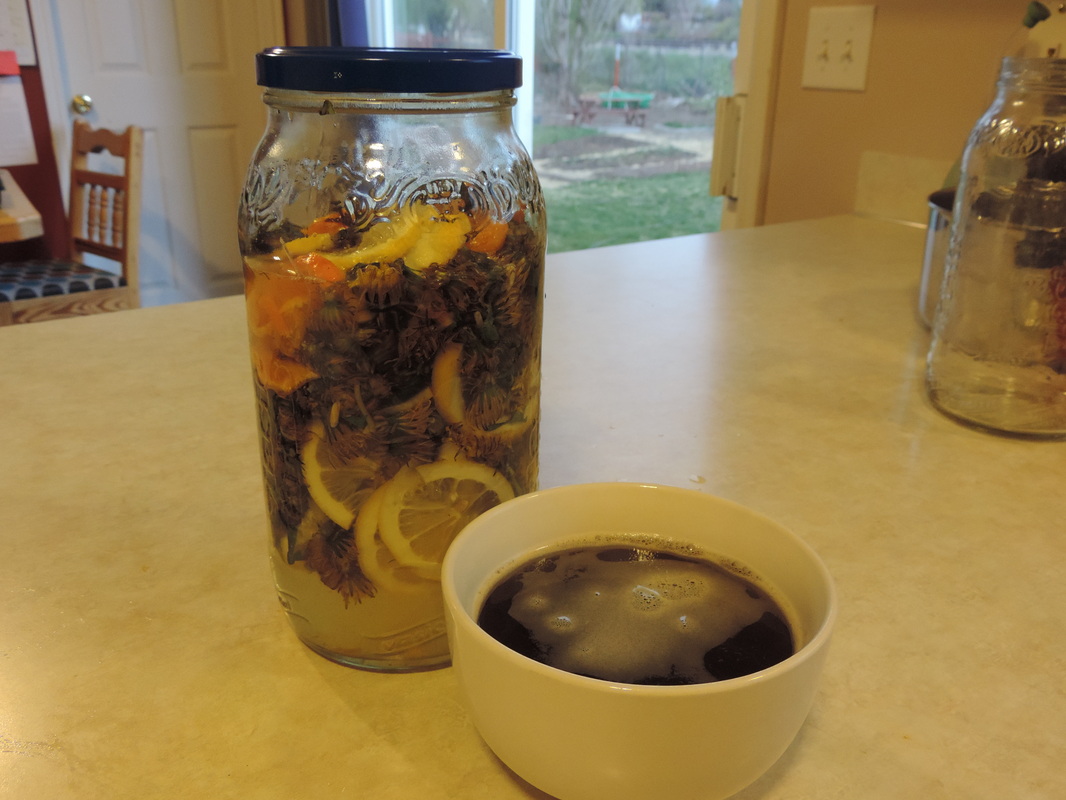
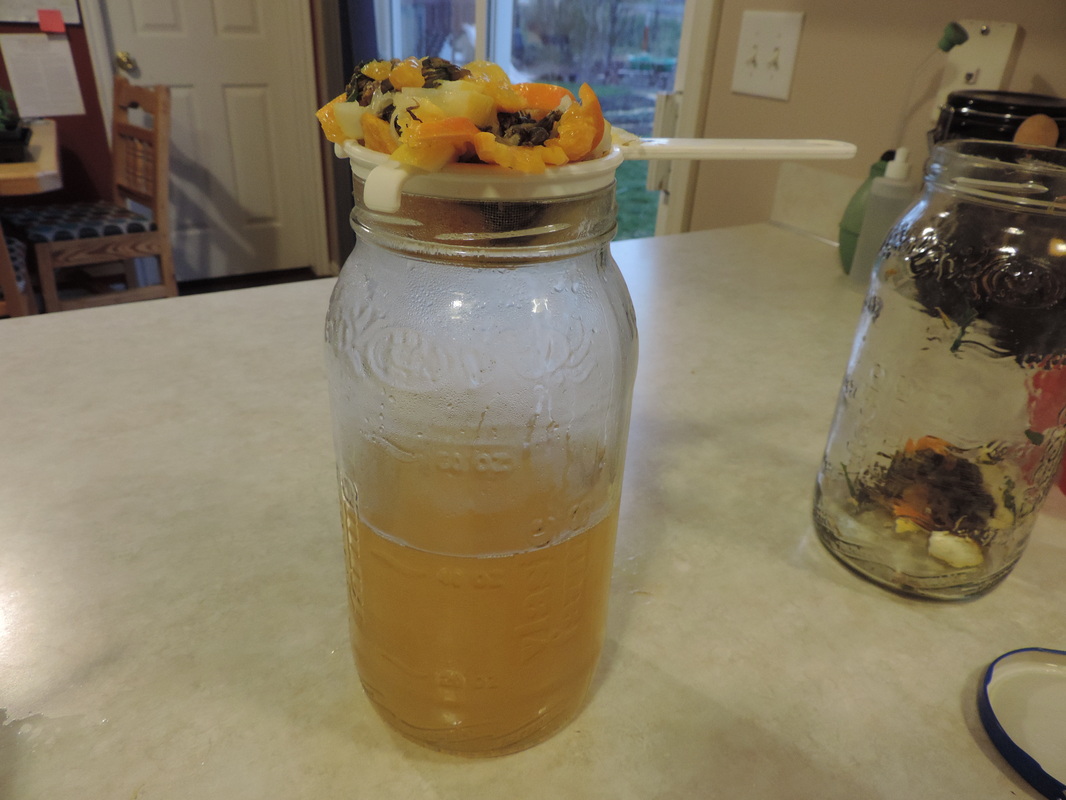
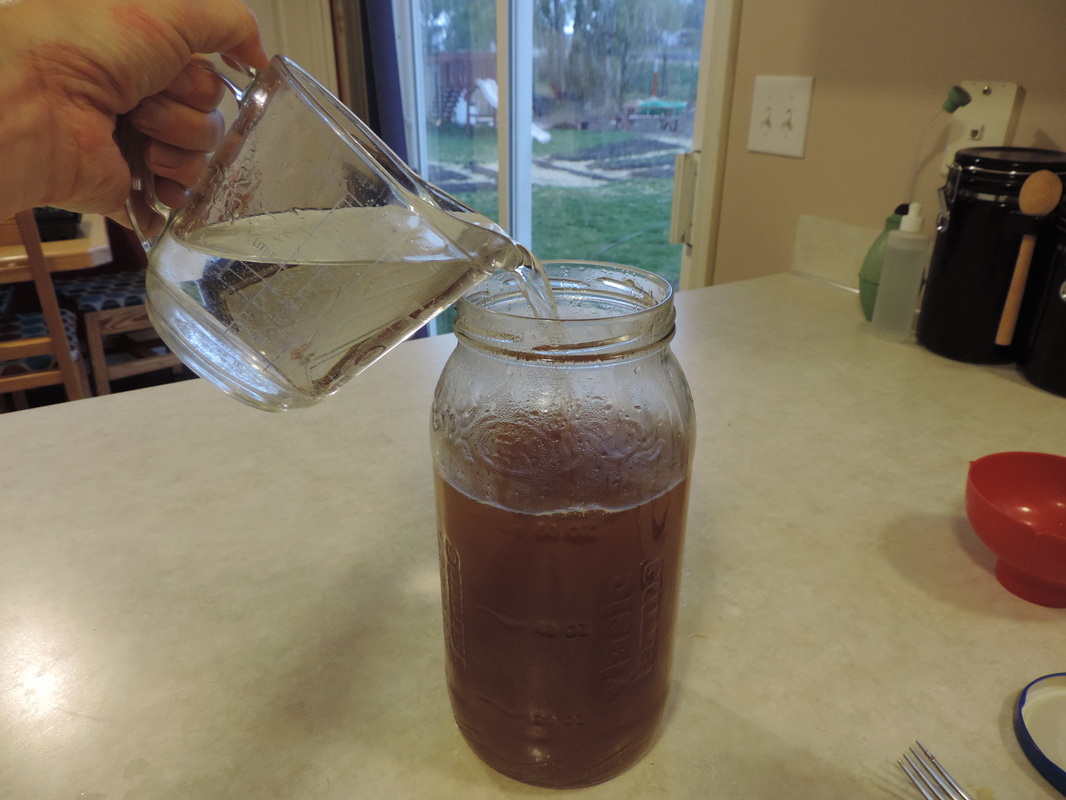
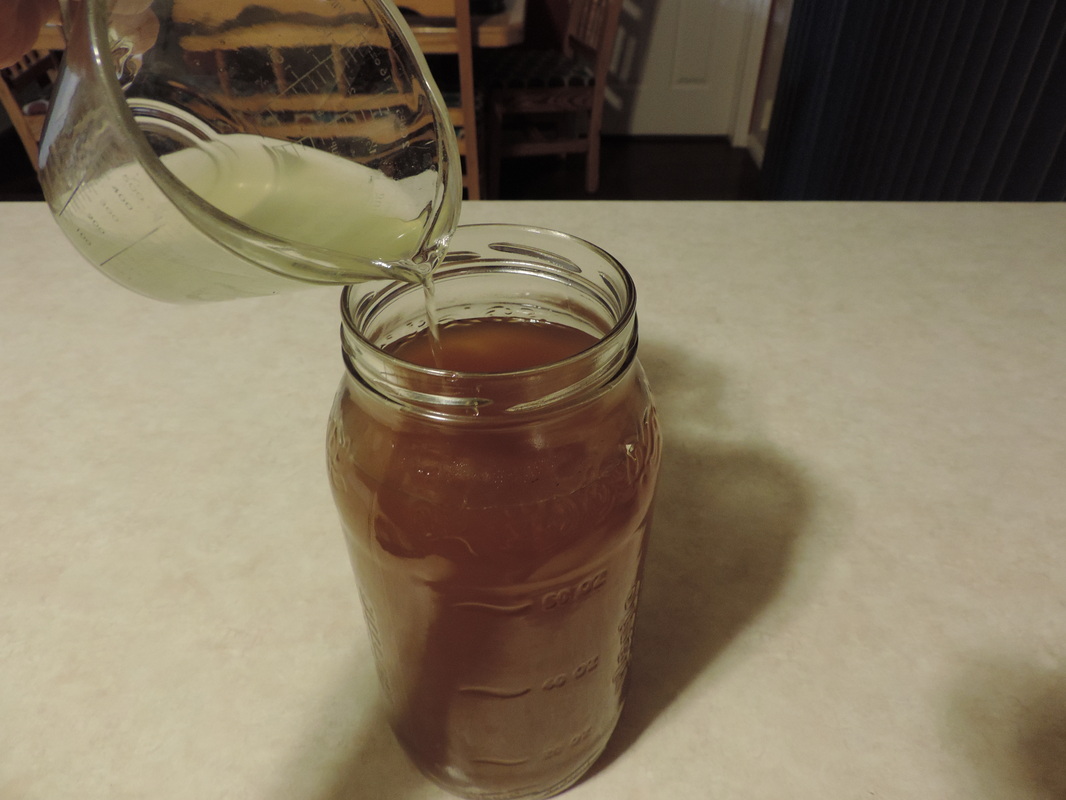
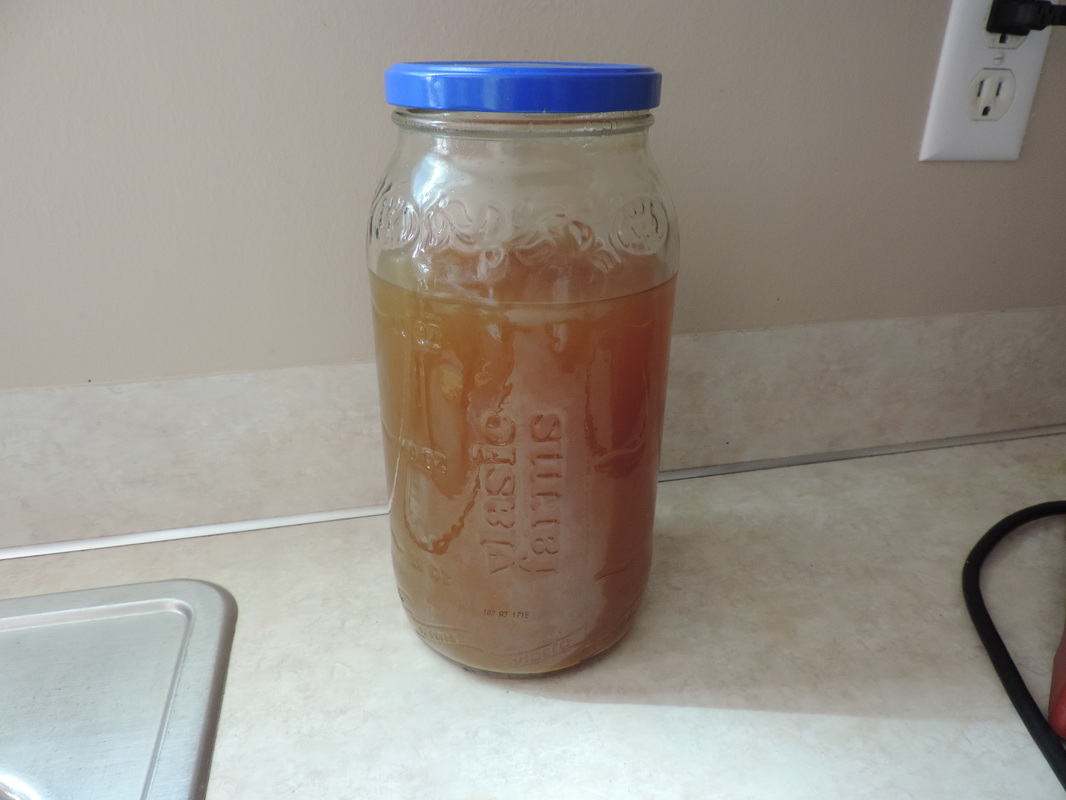
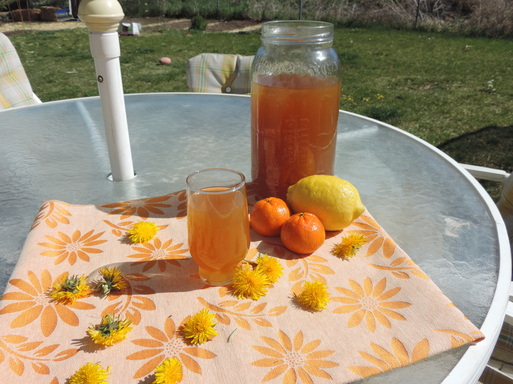
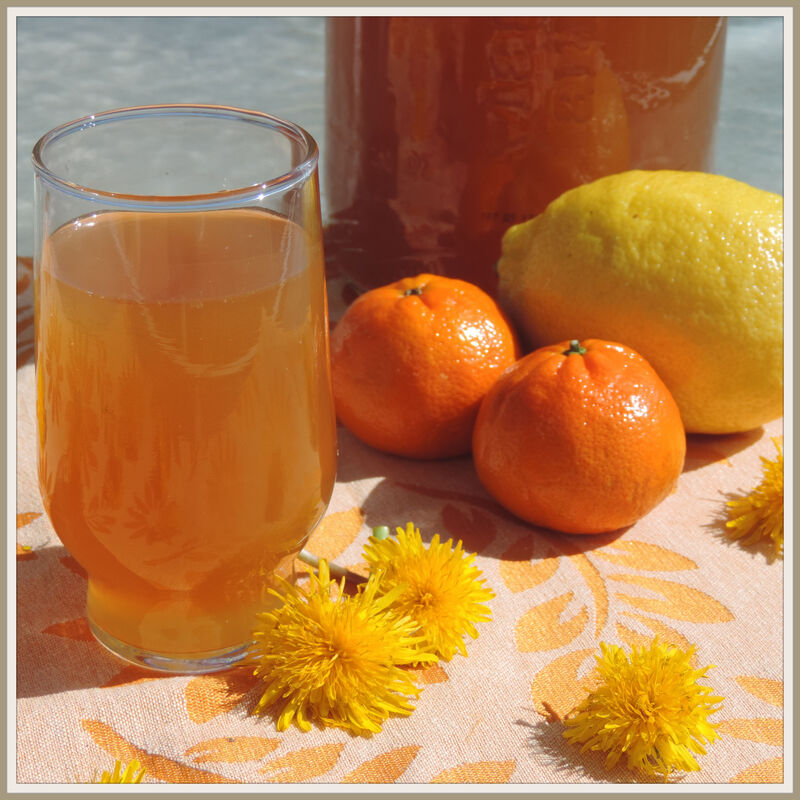
If you are into culturing your beverages and food, and even if you are not, this is a great way to utilize those healing powers of dandelion with a refreshing beverage. If you are not familiar with culturing or fermenting, here is a great post from Nourishing Joy on why you should. The Recipe 2 quarts boiling water 2 quarts dandelion flowers 1 thinly sliced lemon 1 thinly sliced orange (I used two mandarins since I didn't have an orange) 3/4 cup sucanat or sugar of choice 1 cup whey I had the kiddos go outside and gather all the dandelion blossoms from the yard, rinse in a colander and then dump in a large jar or bowl. My friend's family goes through Costco pickles like crazy so she brings me all her used jars and they work perfect. Slice up the lemon and orange (or in my case the mandarins) and add to the jar with the dandelion flowers. Measure the sucanat or sugar in a separate bowl and pour enough of the boiling water over the sucanat to stir and dissolve it and the rest pour over the citrus and dandelion mix. We are making an infusion with the dandelion mixture so you want to cover it and let it steep for about 15 minutes or so. Strain the infusion and pour in two cups of cold water and sucanat water, stir to combine and let sit until room temperature. Add 1 cup of whey and pour into a gallon glass jar or in two quart jars leaving an inch of head space. Screw on lid loosely or cover with a coffee filter and elastic band and let sit for 2-3 days. You know it is done when the color is a bit lighter and bubbles form around the top of the liquid, you can also just taste test. You don't want to go over three days because you don't want to end up with an alcohol instead of a soda. You are now ready to enjoy the healing benefits of dandelion along with the digestive enzymes and immune boosting properties of a cultured beverage. I like to drink this either before or after meals and have also noticed the thirst quenching properties it contains after working out in the garden. This will keep in the fridge for a couple weeks but may start to taste bitter after a week.
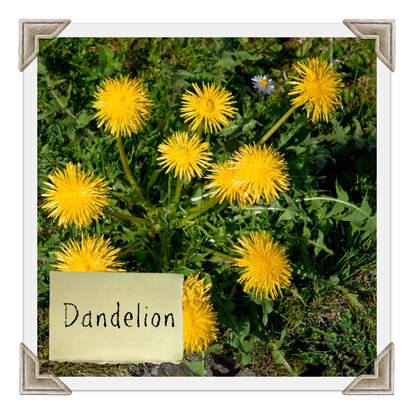
Taraxacum officinale Family: Asteraceae (was Compositae - daisy, echinacea, marigold) Subfamily: Cichorioideae (Chicory/Dandelion) Parts Used: Whole plant *roots have the strongest medicinal properties For most people dandelions are simply a noxious weed that they work hard to eradicate each spring. For me it is another healing herb the Lord has blessed us with. Last year we focused an entire month on the dandelion for our nature study and have come to love and adore this despised little plant (although we still don't want it taking over lawn:)) One of my favorite uses for dandelion is to dissolve warts. I tried many natural remedies for getting rid of warts, including very strong essential oils. What finally worked was applying the milk from snapping off a dandelion head, directly on the wart every day for several weeks. It gradually disappeared! Properties
Uses
Methods of Use
In the KitchenMix with other greens in salad, steam with olive oil and lemon, mix in pesto and smoothies, make an herbal sprinkle or infuse vinegar with the leaf, flower and root. The root can be chopped, roasted and used as a brewed beverage or thrown into soups and stir fries. Use the root as you would a root vegetable. *Adding olive to to fresh steamed dandelion greens helps the body absorb the minerals more fully. Lemon juice makes the iron more available to the body. Wildcrafting/HarvestingDon’t spray the lawn with weed killer and there is your fresh supply, ready to go.
CautionSome people are allergic to dandelion so patch test before using. Recipes and Other ResourcesEdible Wild Food: Dandelion Herbal Legacy: Dandelion Dandelion recipe roundup from Little Owl Crunchy Mama Things to Do with Dandelions from The Nerdy Farm Wife Dandelions from Learning and Yearning Dandelion Greens by Dr. Axe Dandelion Root by Dr. Axe Dandelion Tea by Dr. Axe Purchase pre-cut and dried leaves and rootsIf you would prefer to purchase this herb instead of harvesting yourself Dr. Christopher's Herb Shop, Mountain Rose Herb or Bulk Herb Store have good quality herbs. Nature StudyThis is a precious poem from one of our most beloved books called Flower Fairies by Cecily Mary Barker. She has the sweetest artwork of children like fairies that are dressed to match their special plant. We use this book all the time for nature study and love including the poems and artwork in our nature journals as we study different plants and flowers. The Handbook of Nature Study by Anna Botsford Comstock has some great information about dandelions told in a "living" context and not a textbook context. We really enjoyed learning about the dandelion from this book. You can find it in various formats for free online here, or you can purchase the book from Amazon, here. I highly recommend this book for any nature loving family.
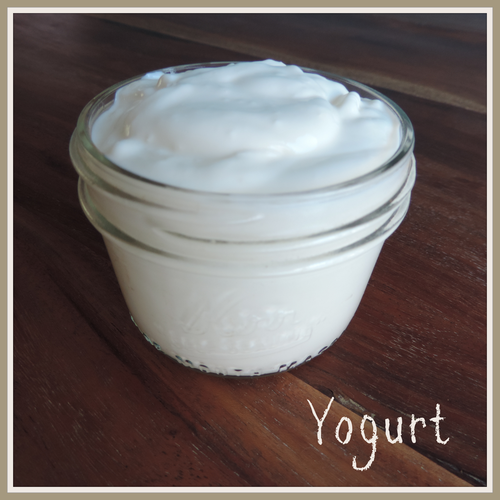
I went through a stage a couple years ago where I tried time and again to make my own yogurt but it would never turn out right so I gave up. Then my friend showed me this simple, no fuss way to make greek yogurt, I went home and tried it on my own and it turned out perfect! I have been making this every week since and have been enjoying the delicious yogurt as well as the whey. This yogurt is so mild that you don't even need to add a sweetener to it, we just add berries and my nutty granola when eating it for breakfast or as a snack. I also use this as the base for all my dips and dressings instead of sour cream and mayo.
The Recipe
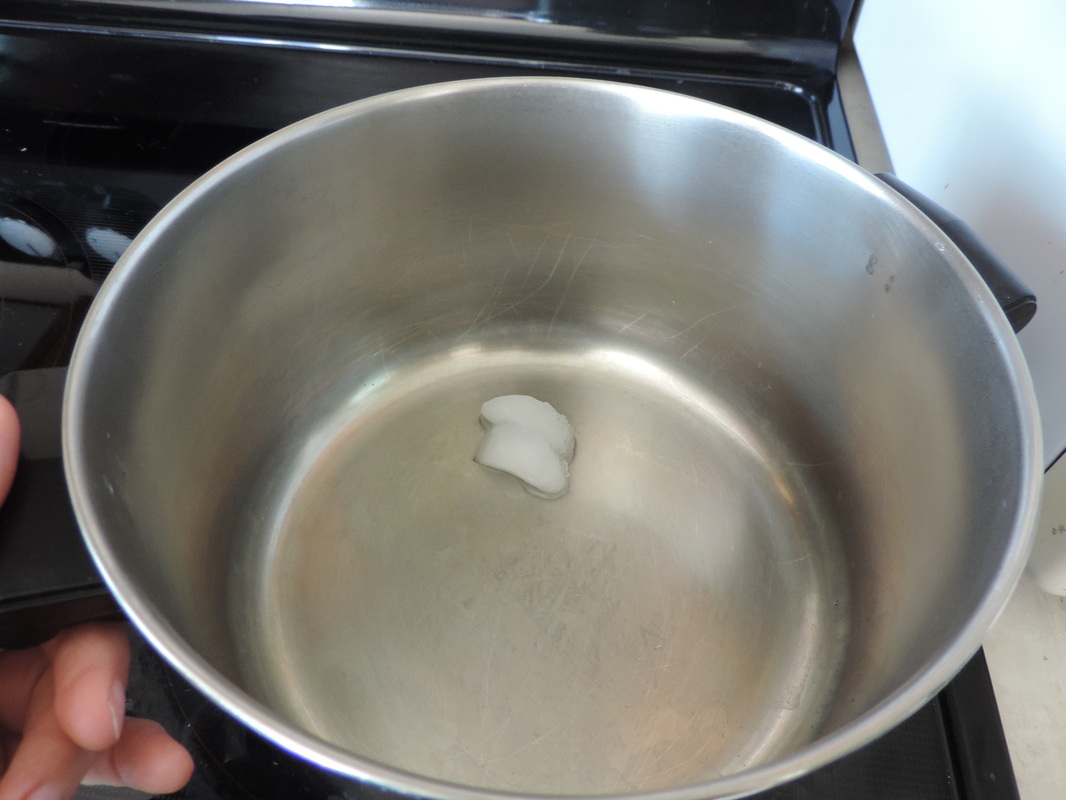
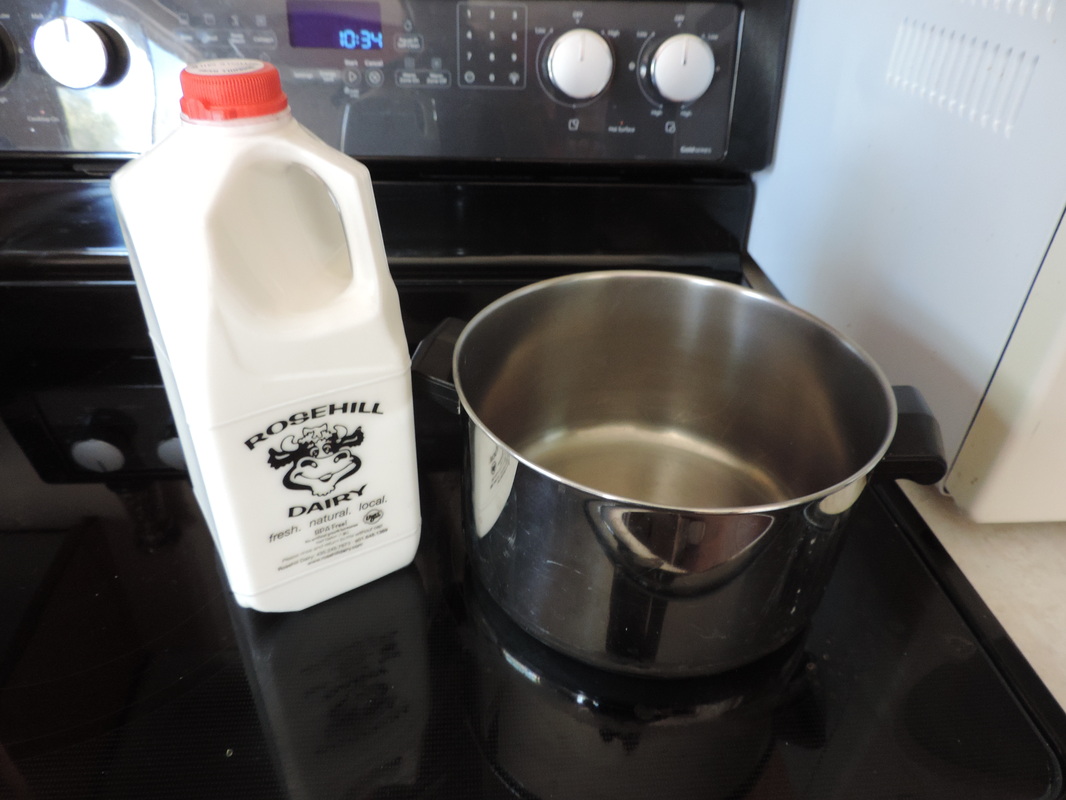
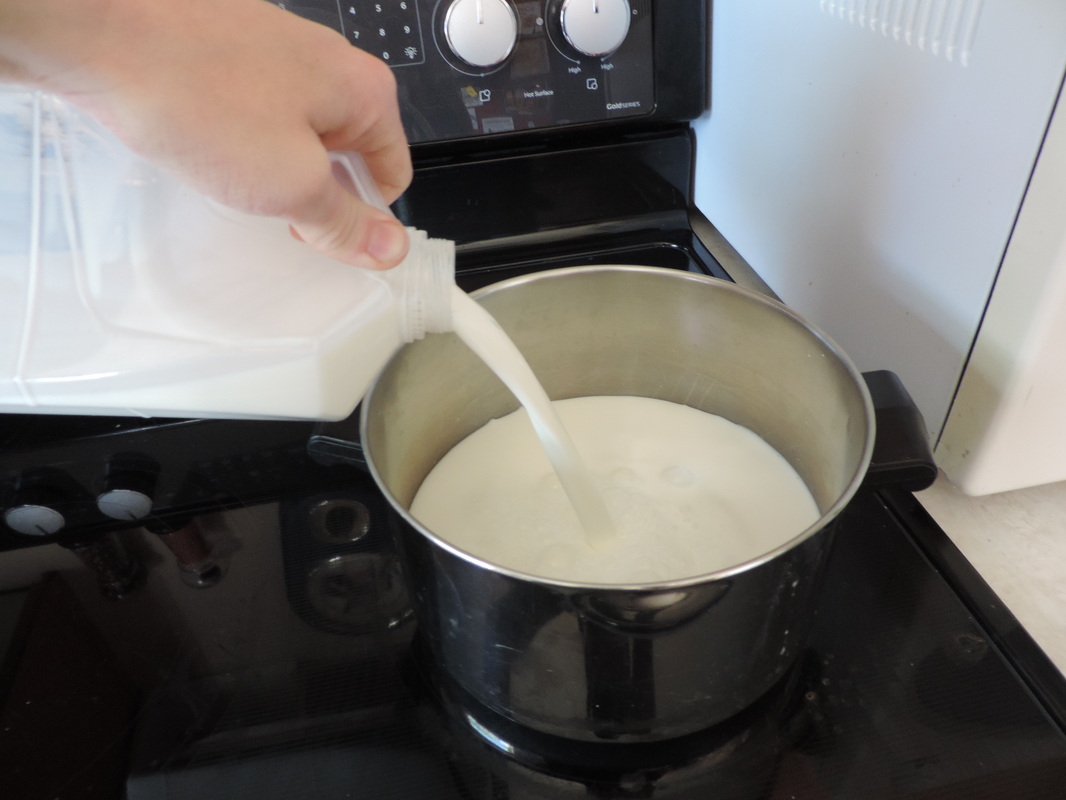
Let an icecube melt at room temperature in a large pan, this will prevent the milk from scalding on the bottom of the pan. I use whole milk from a local dairy that is lightly pasteurized but you can use what milk you prefer, just make sure it is at least 2% for the best results.
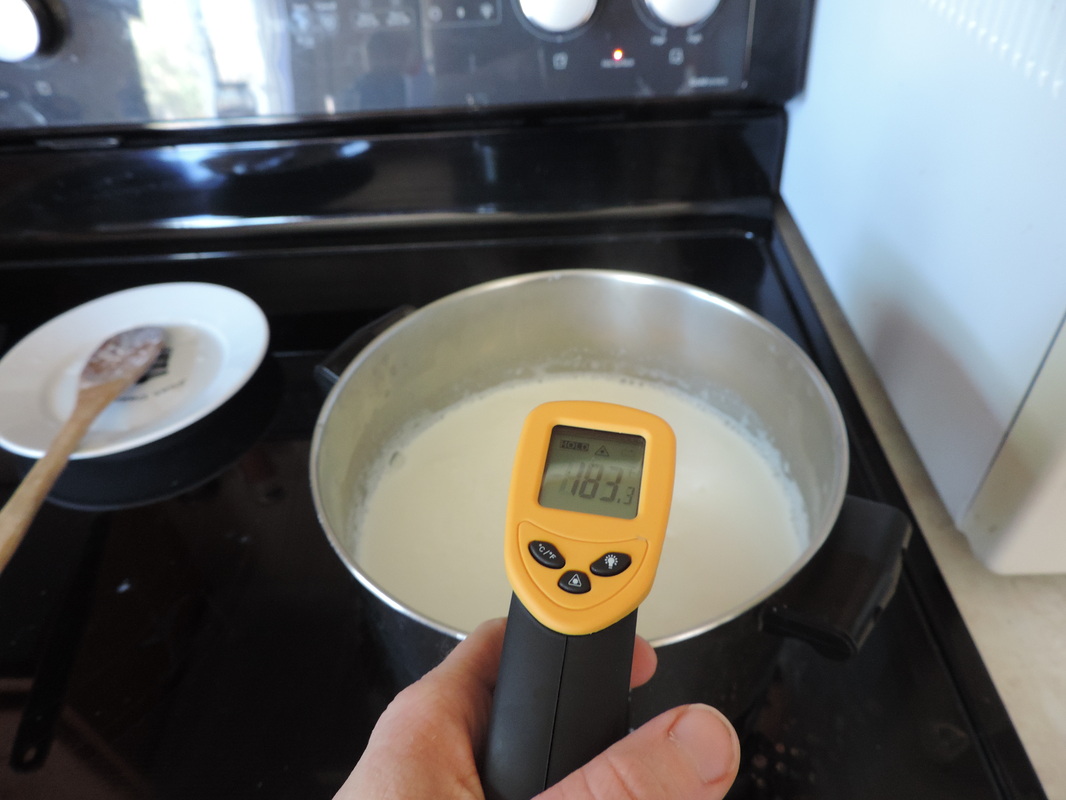
Heat a half gallon of milk (or double this recipe if using a full gallon) over medium low heat until the temperature reaches between 180 and 185 degrees. I love this point and shoot laser thermometer I got for my soap making or you can use a candy thermometer.
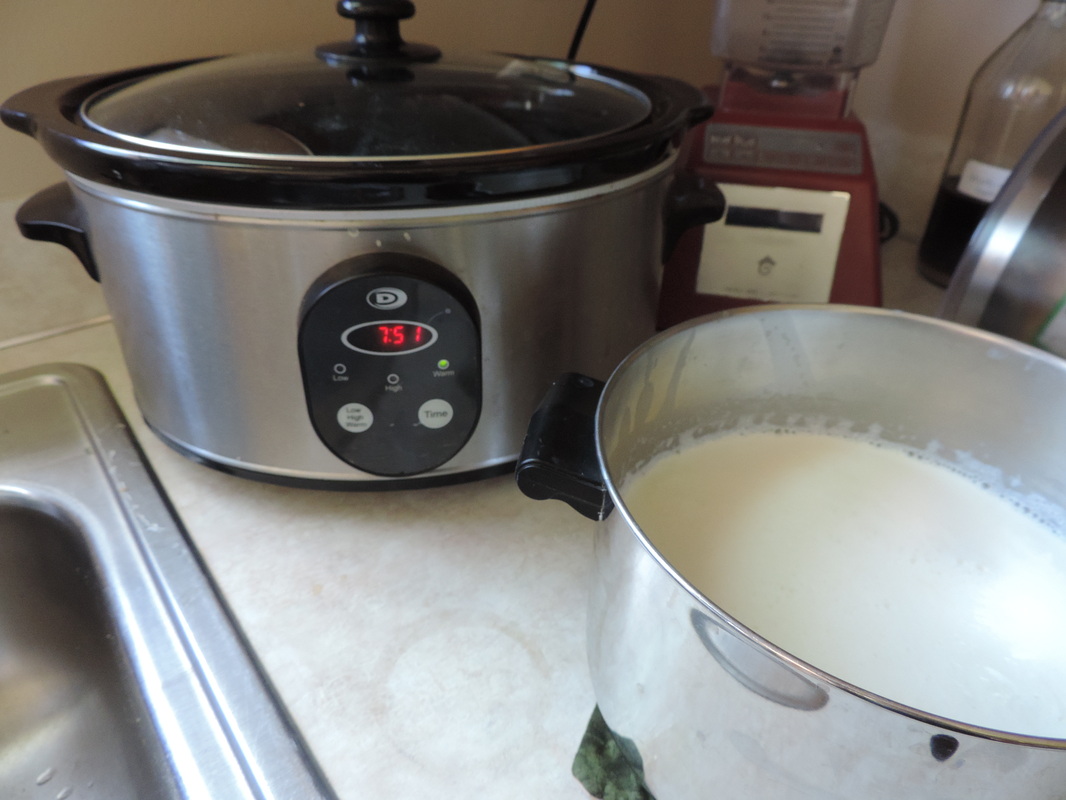
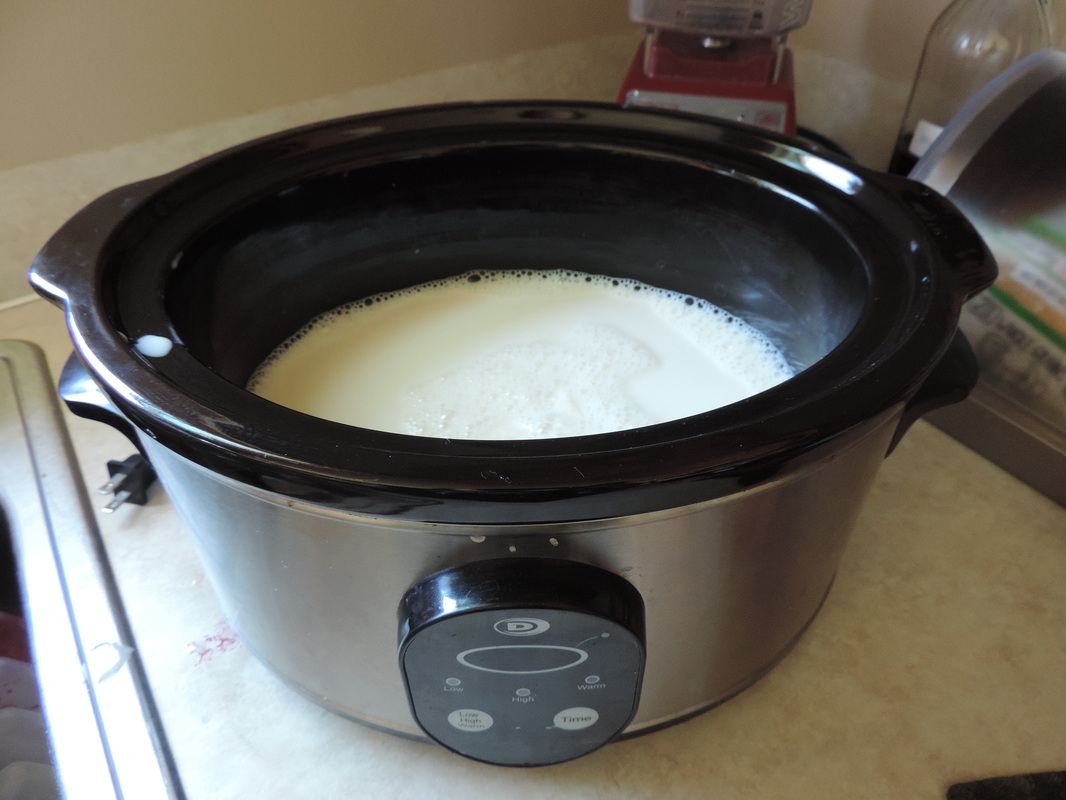
While your milk is heating plug in your crockpot and heat on the warm setting, if you don't have a warm setting use the low setting. Once your milk is at the correct temperature remove from the heat and let cool on your counter until it is 110 degrees. To speed up this process you can place the pan in a sink of ice water.
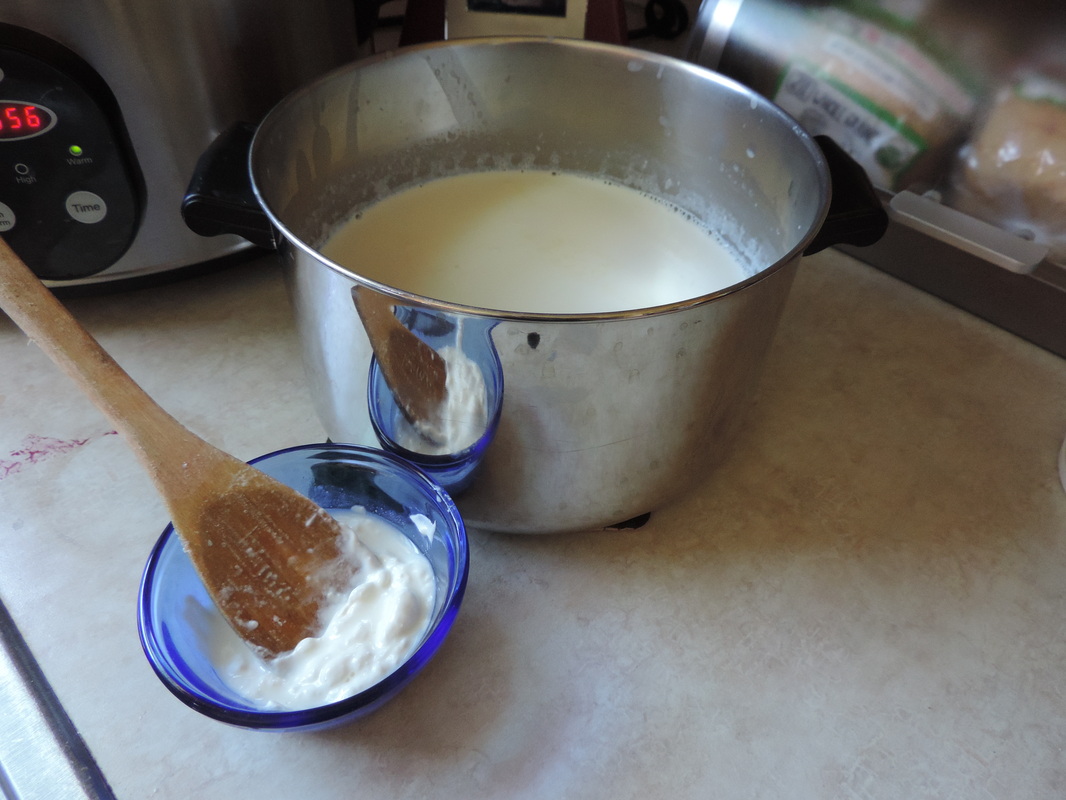
Place 1/4 cup of plain yogurt in a small bowl and spoon in some of the warmed milk then stir together. Pour this mixture into your warmed milk and whisk until well combined.
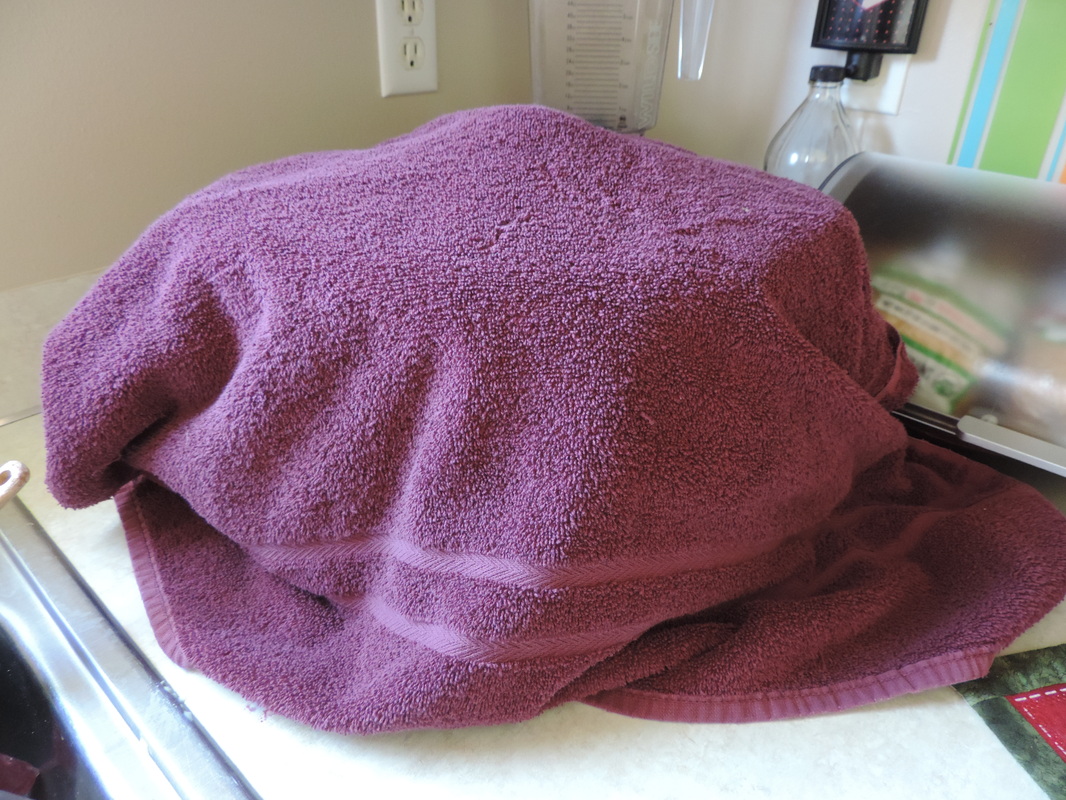
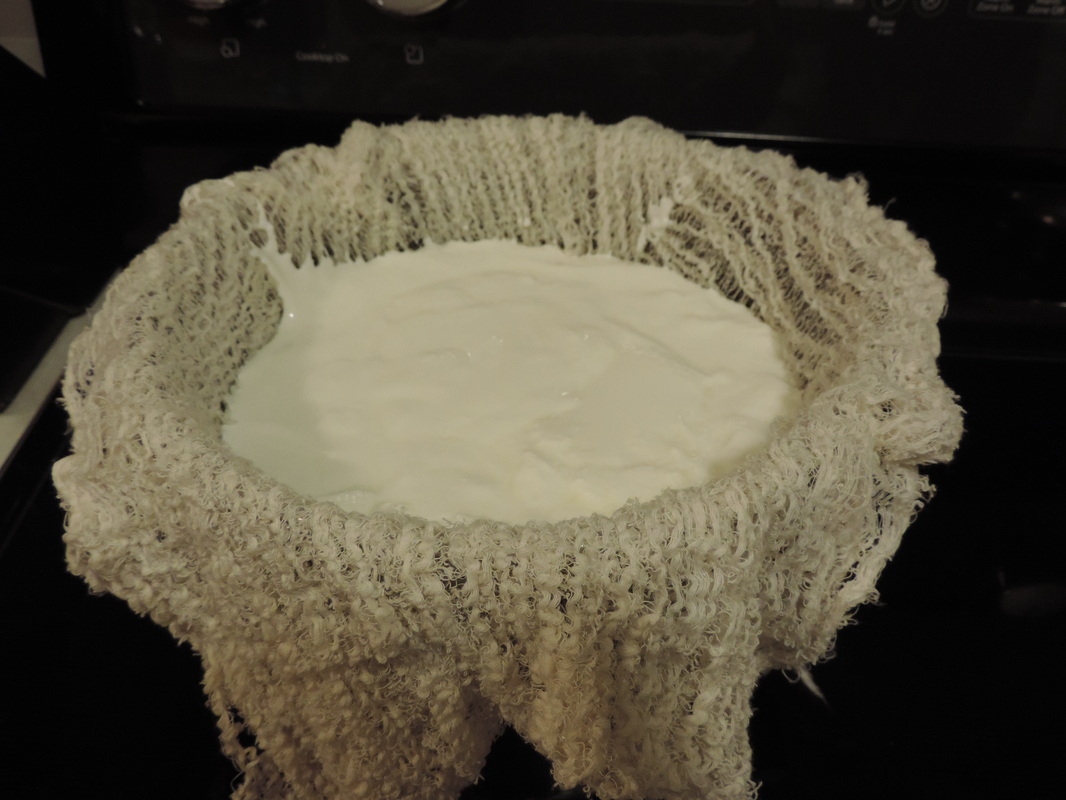
Unplug your crockpot and pour in the warmed milk. Cover with a towel and let sit for 8 hours. Place in the refrigerator overnight to let it continue to set up and develop the flavor. Pull out of the fridge and there you have some delicious plain yogurt, if you want to take it a step further and make it into greek yogurt, line a strainer with cheesecloth and pour the yogurt in it to strain all the whey (liquid) out of it.
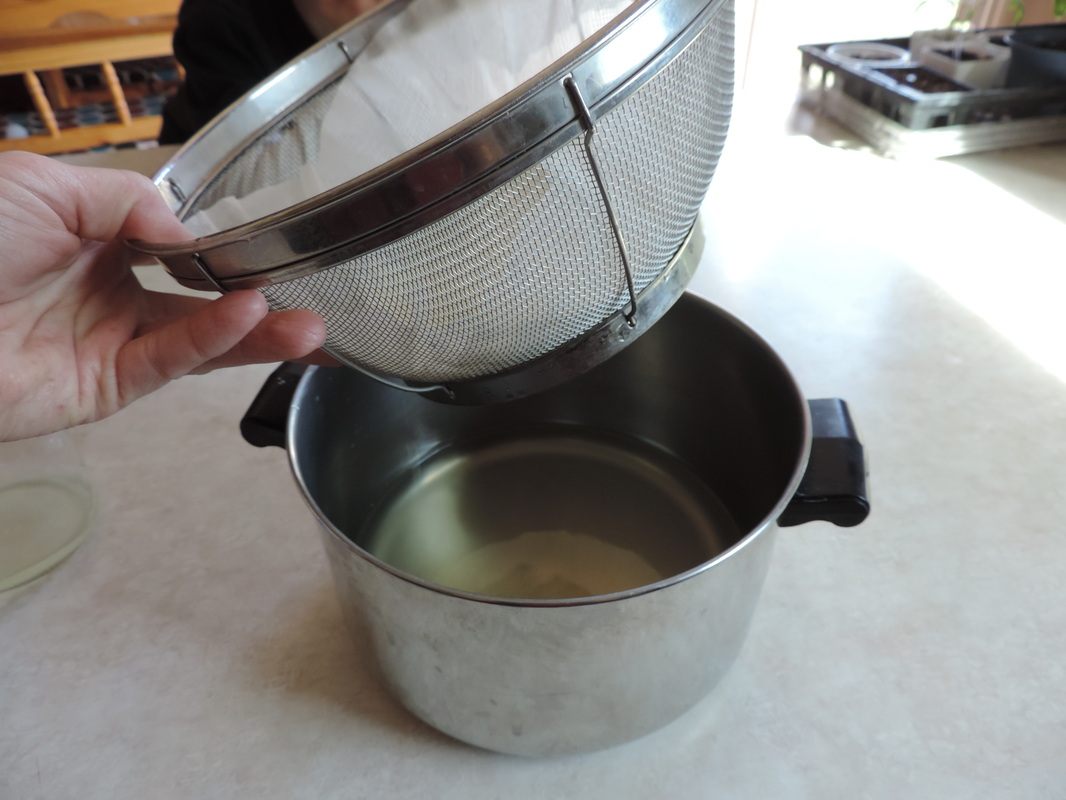
This picture shows what happens to cheesecloth after you wash it in the washing machine - don't do that. You can wash it by hand in your sink with liquid dish soap, wring out and hang to dry. I only learned this after my mishap, as you can see I substituted coffee filters when my washed cheesecloth didn't quite do the job - living and learning here! Once strained you will have a couple cups of wonderful whey, which looks like a yellow liquid and is packed with live cultures and used in most fermenting recipes. Here is a great blog post from The Prairie Homestead on all the things you can do with your whey. Now you can enjoy some delicious, creamy and rich greek yogurt!
Instant Pot Version
The Instant Pot is one of the best things to happen to my kitchen so here is the very simple way to whip up some yogurt.
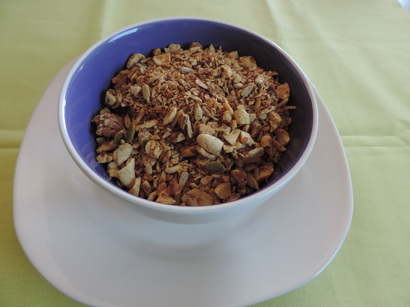
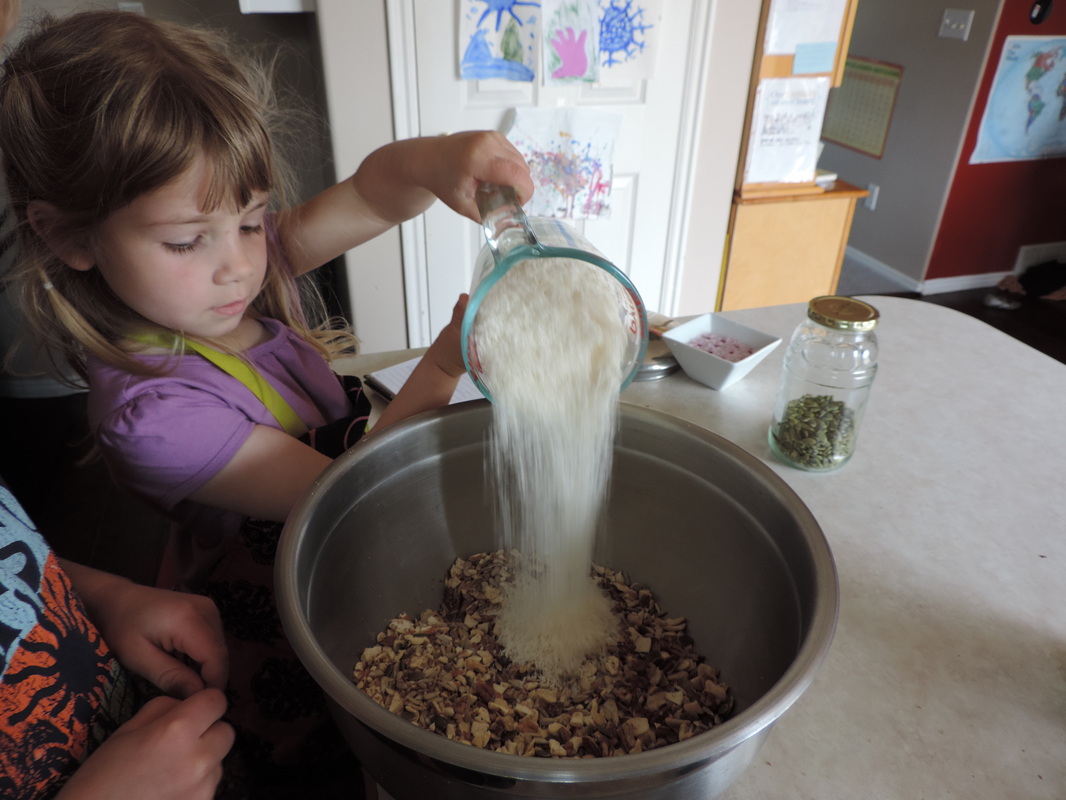
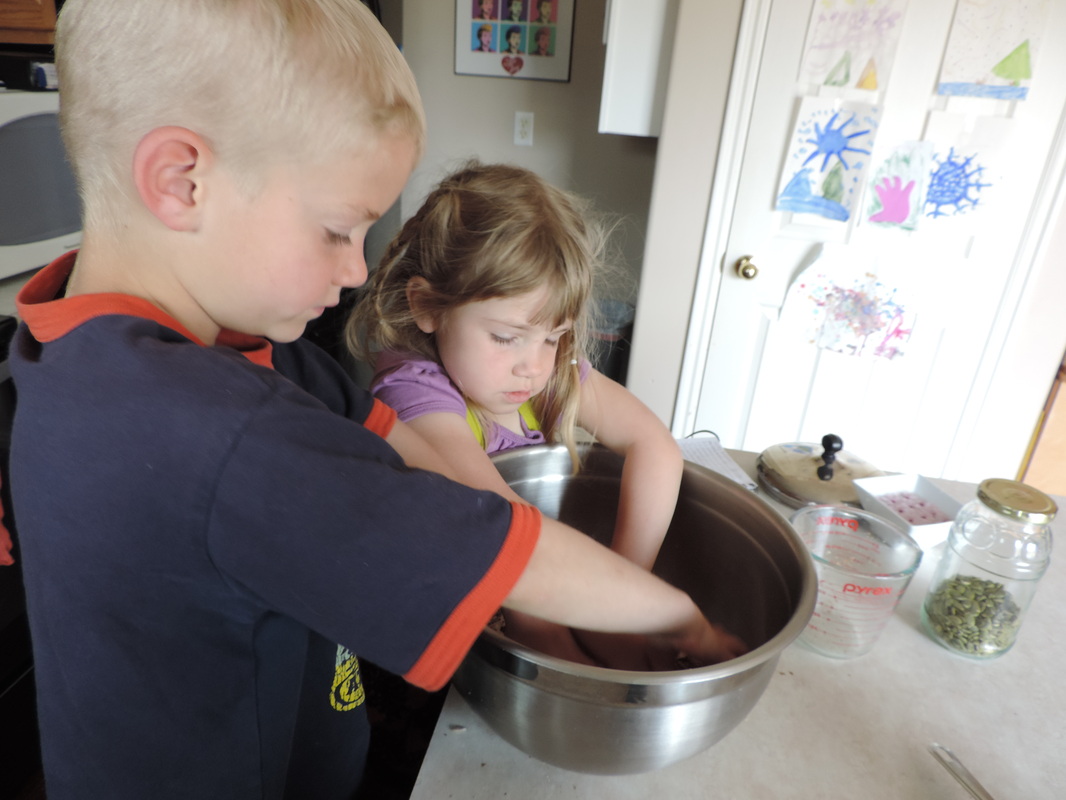
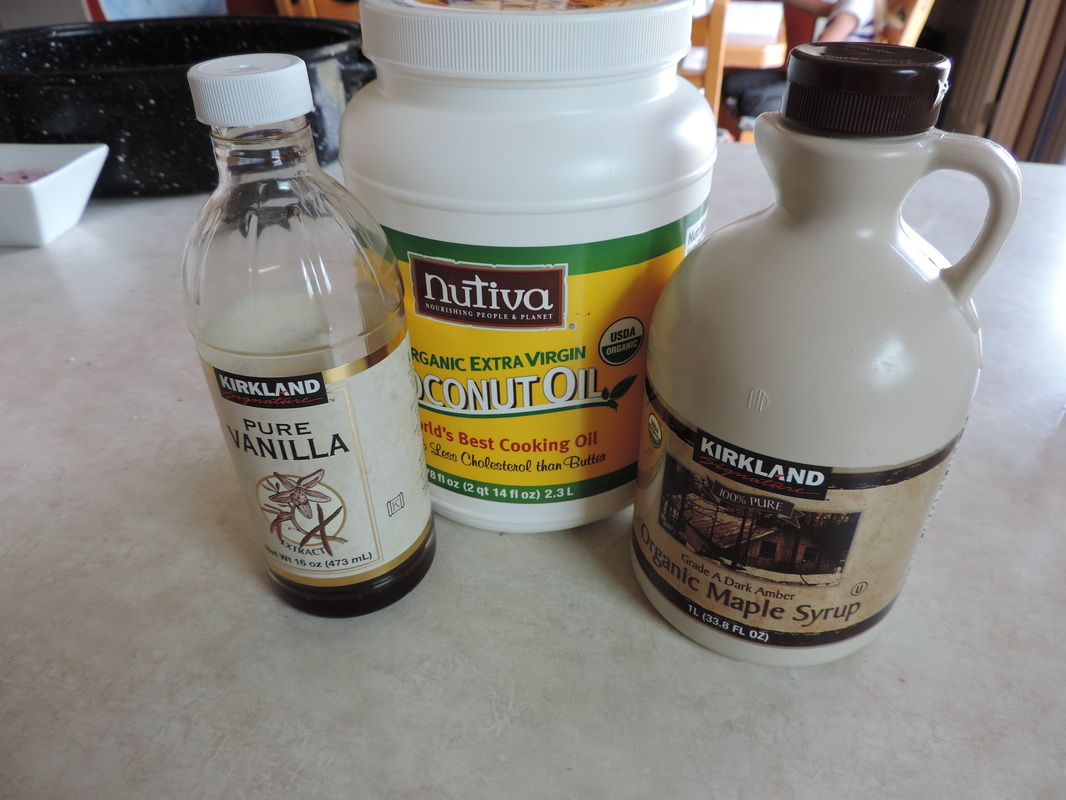
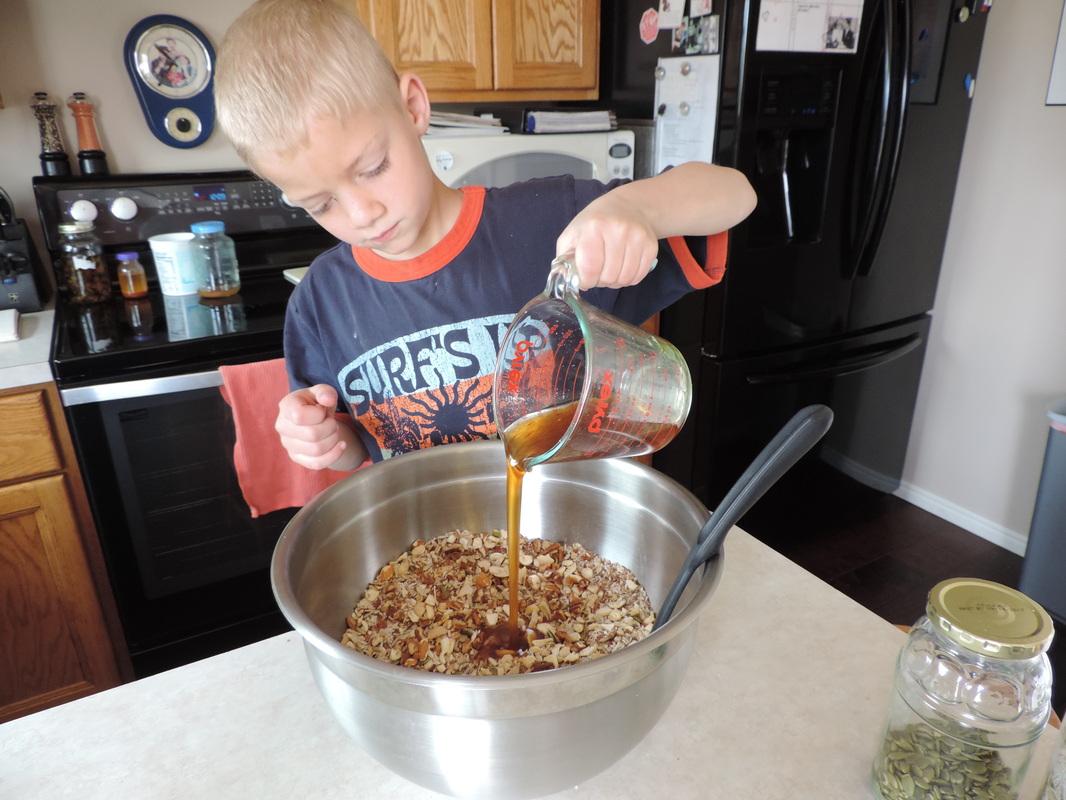
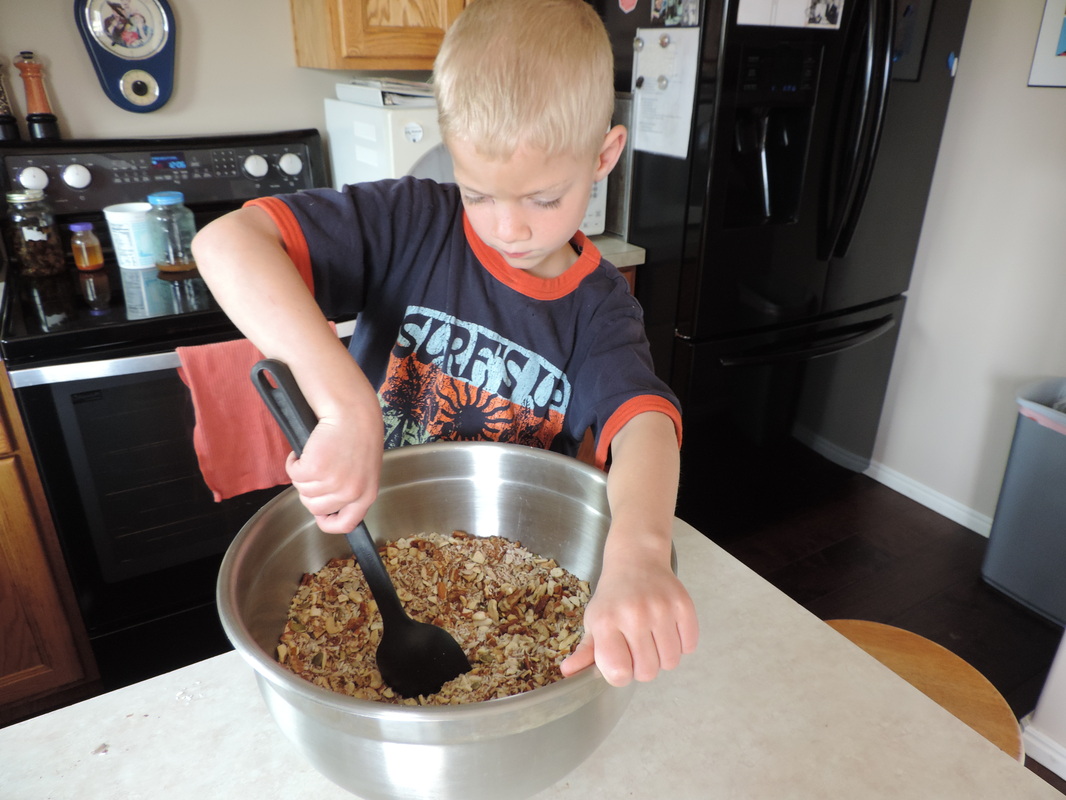
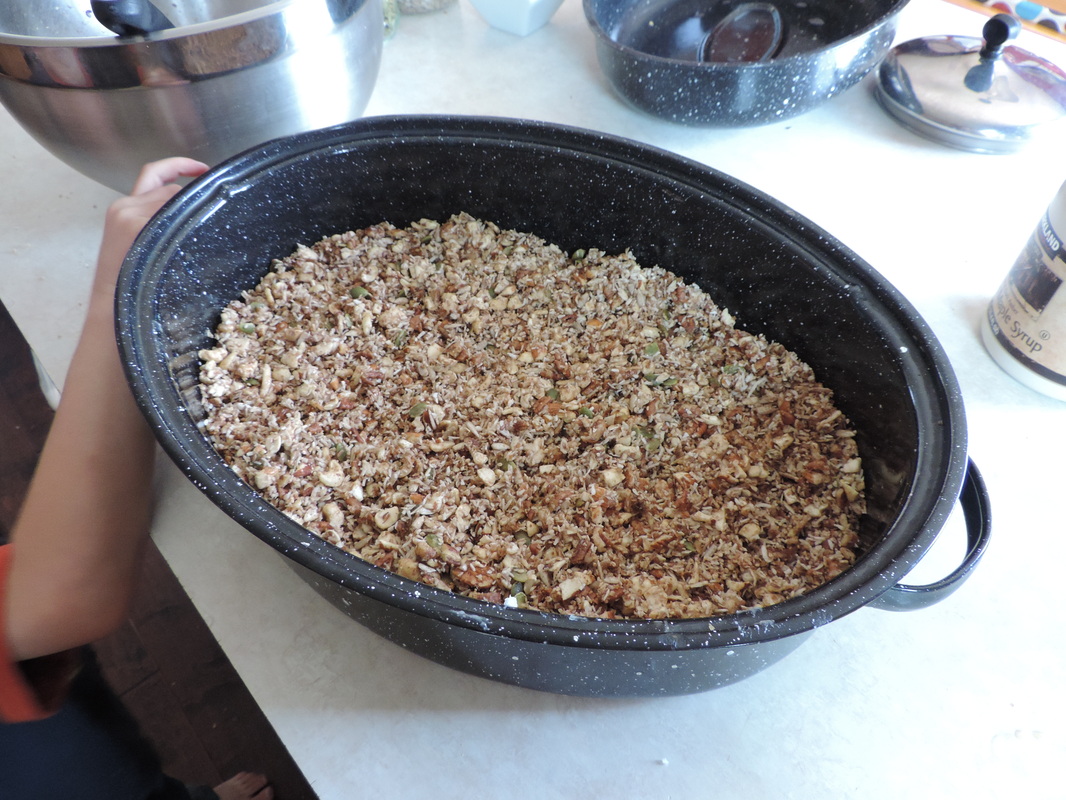
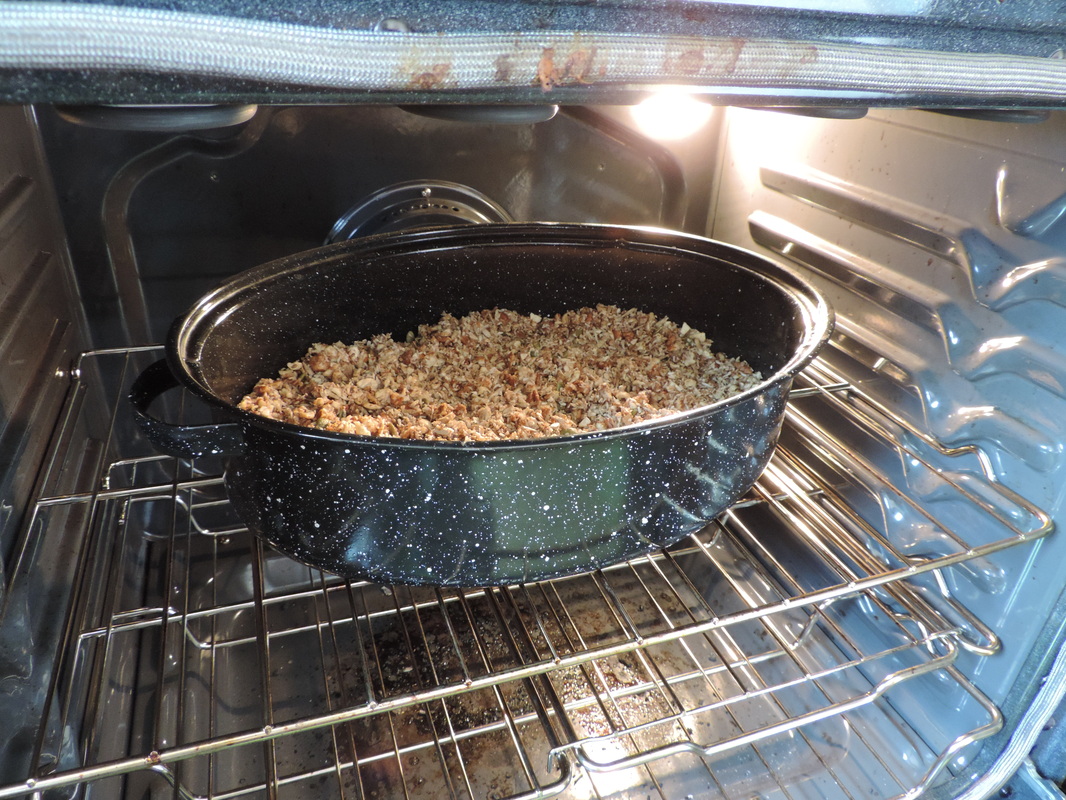
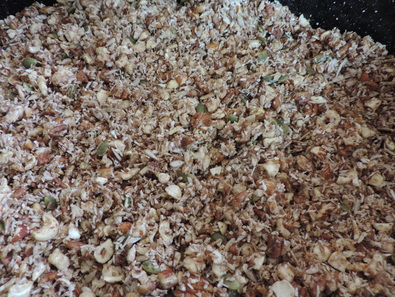
1/2 gallon milk 1/4 plain yogurt Pour milk into Instant Pot and press yogurt button, adjust to read boil and run until it beeps. Let the milk cool to 110 degrees, then stir in yogurt. Cover and press yogurt button for 12 hours. Refrigerate overnight. If making Greek yogurt, strain in the cheesecloth. Before we jump into another series next week (hint: medicinal weeds) I wanted to share a delicious, protein packed, healthy granola recipe that has become a family favorite around here. This granola is the perfect substitute for boxed cereals that can be taxing on your wallet as well as your body. We love to sprinkle this over our homemade greek yogurt (recipe to come for that soon) with fresh or frozen berries and chia seeds. I also use this to sprinkle over my spring mix salads with a vinaigrette or my yummy lemonade dressing. Mix in a large bowl: 2 cups chopped pecans 1 cup chopped cashews 2 cups chopped almonds 1/4 cup flax seed 1/2 cup raw sunflower seeds 1/4 cup pumpkin seeds 2 cups coconut flakes (make sure these are "real" coconut without additives and sugar) 3/4 cup sucanat, coconut palm sugar or dark brown sugar 1 Tbsp. Real salt 1 Tbsp. cinnamon or breakfast sprinkle 1/4 tsp. cardamom I have two little helpers that love to use their hands to mix all the ingredients up. In a separate glass measuring cup add: 1/2 cup pure maple syrup 1/4 cup melted coconut oil 2 tsp. vanilla Pour maple syrup mixture over the granola mixture and stir until completely coated. Pour into a coconut oil greased baking pan. Bake at 275 for 2 hours, stirring every 30 minutes. Let cool and then store in an airtight container.
|

Hi, I’m Annie, a child of God, Mother of Influence and Herbalist. Welcome to my place where I share what I have learned of natural and frugal living, healthy eating and living, gardening, homeschooling, herbal crafting, preparing temporally and spiritually, and love for God and Country.
LearningLivingArchives
January 2023
|
