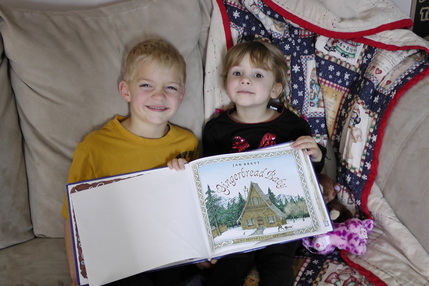
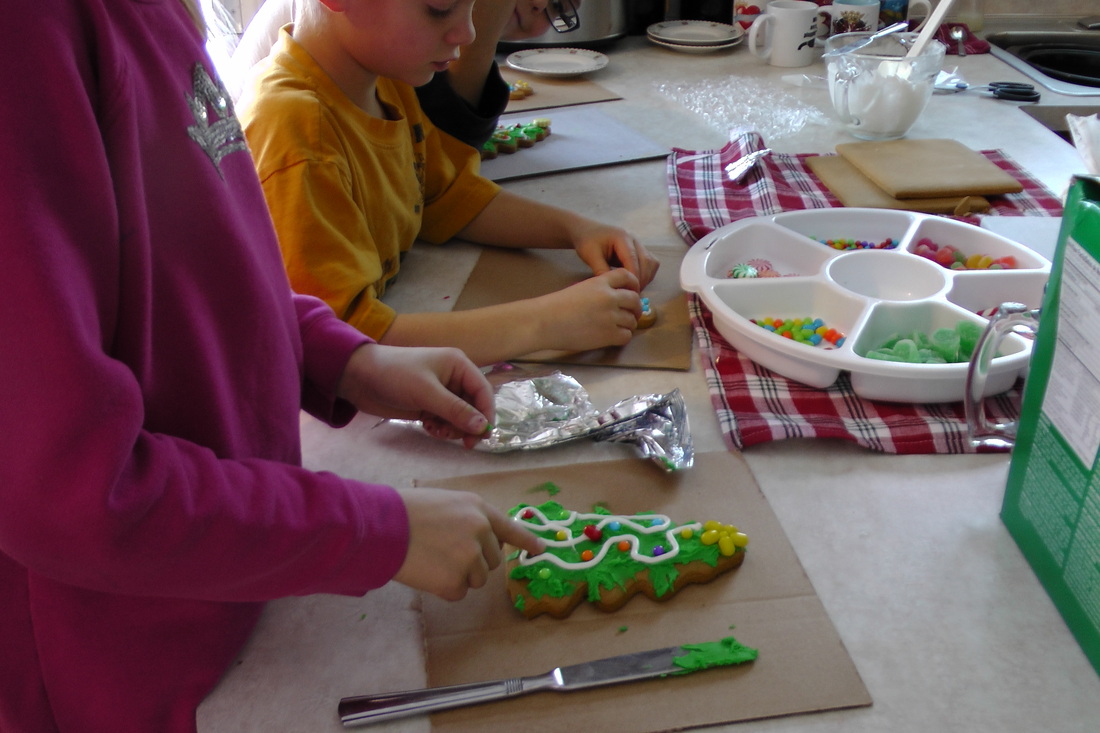
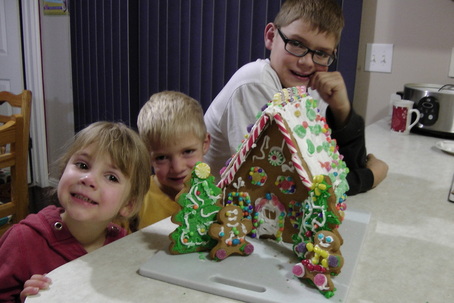
We love story time around here and as I've mentioned before, Jan Brett is one of our favorites. Around Christmas time we always bring out Gingerbread Baby and borrow Gingerbread Friends from the library (we really need to add that one to our collection). We have a tradition each year that after reading Gingerbread Baby for the first time of the year, we make our own gingerbread house. 
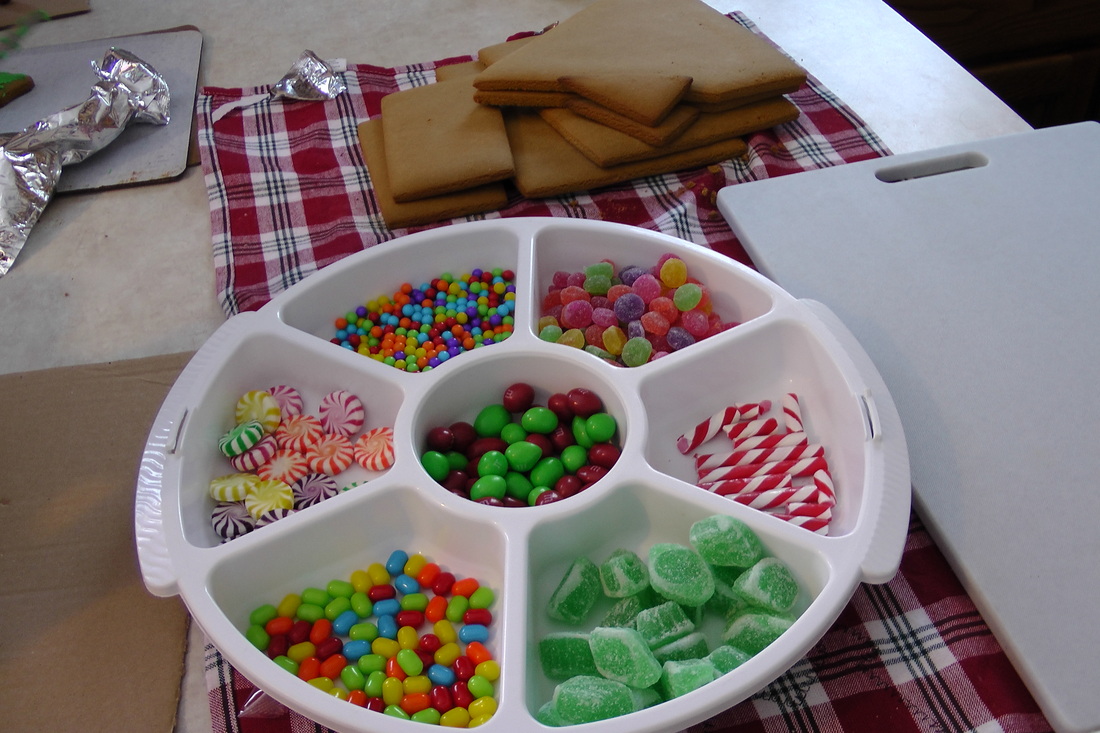
I always purchase a gingerbread house kit at the after Christmas sales to use for the next year. This serves two purposes; I only have to pay $5 for a kit and I can tell my children they can't eat any of the candy because it is old and yucky. I'm not as heartless as you think though, I do purchase a bag of holiday M&M's and keep in the middle of the candy tray just for sneaking while decorating our house. If you would like to make your own gingerbread houses with a whole foods recipe, you can go to My Humble Kitchen, where she has a great photo tutorial and recipe. I just might try this next year and actually let the children eat their houses.
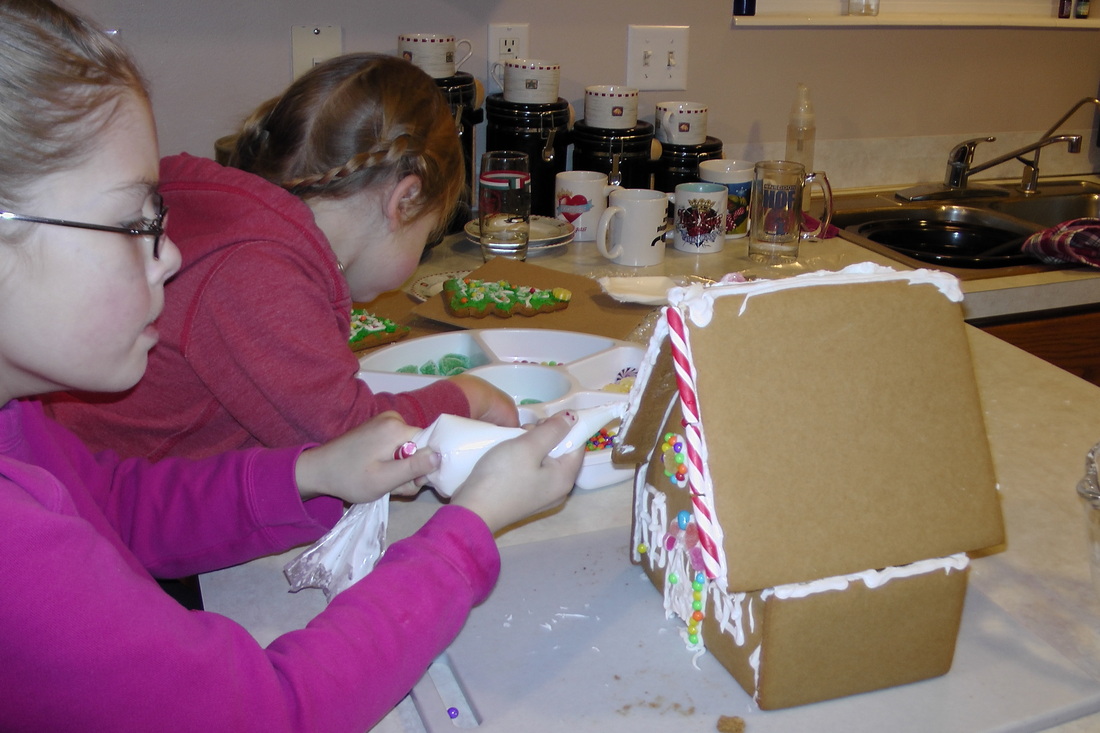
 
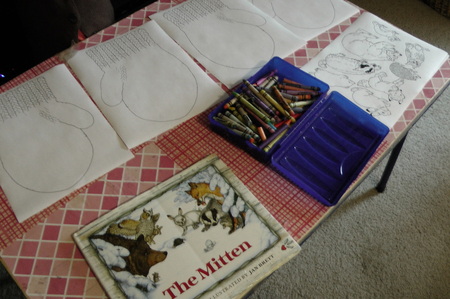
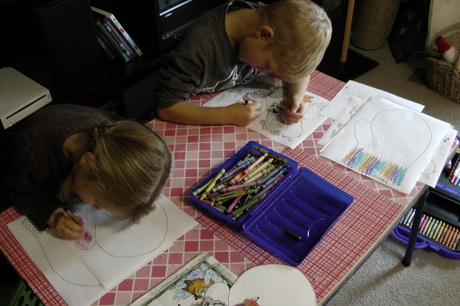
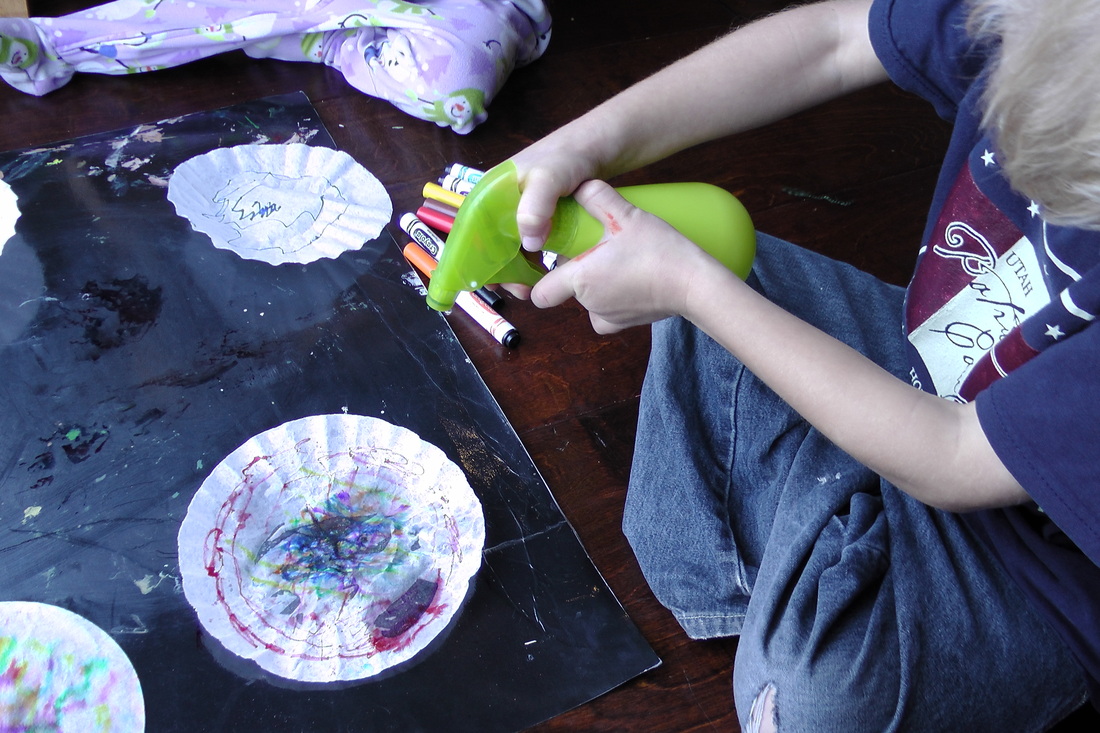
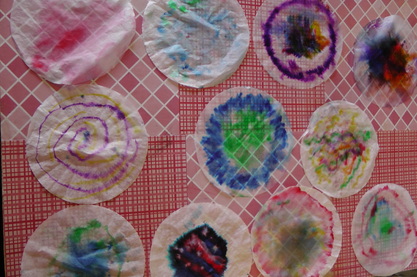
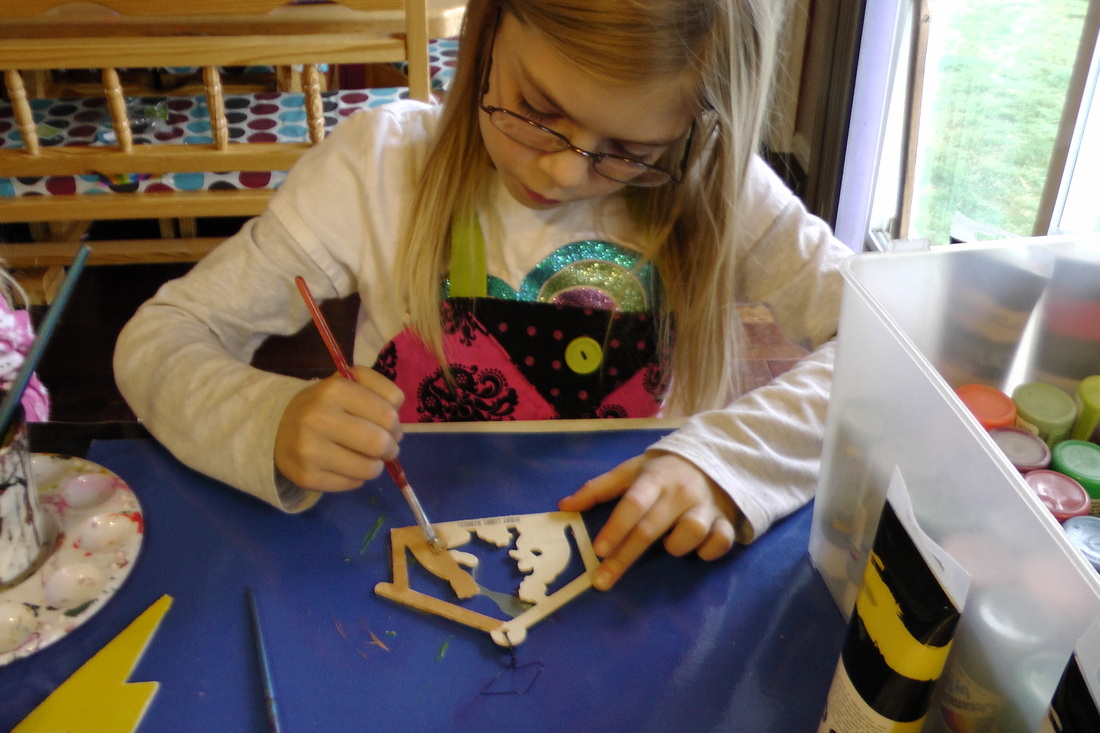
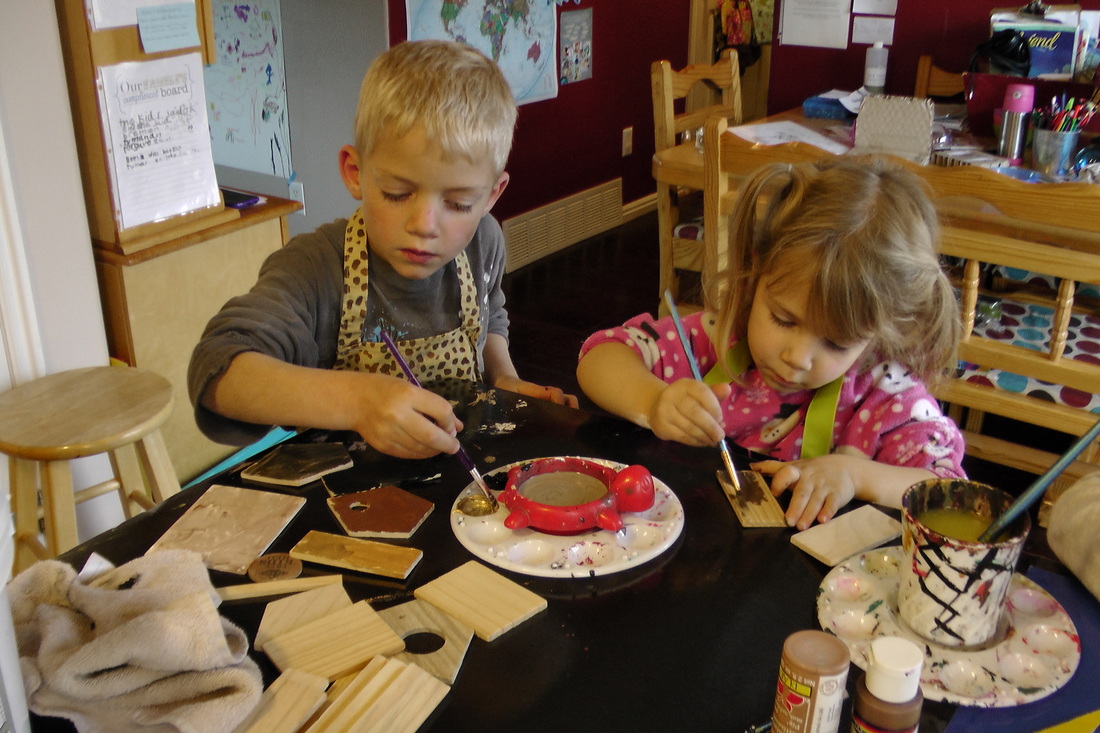
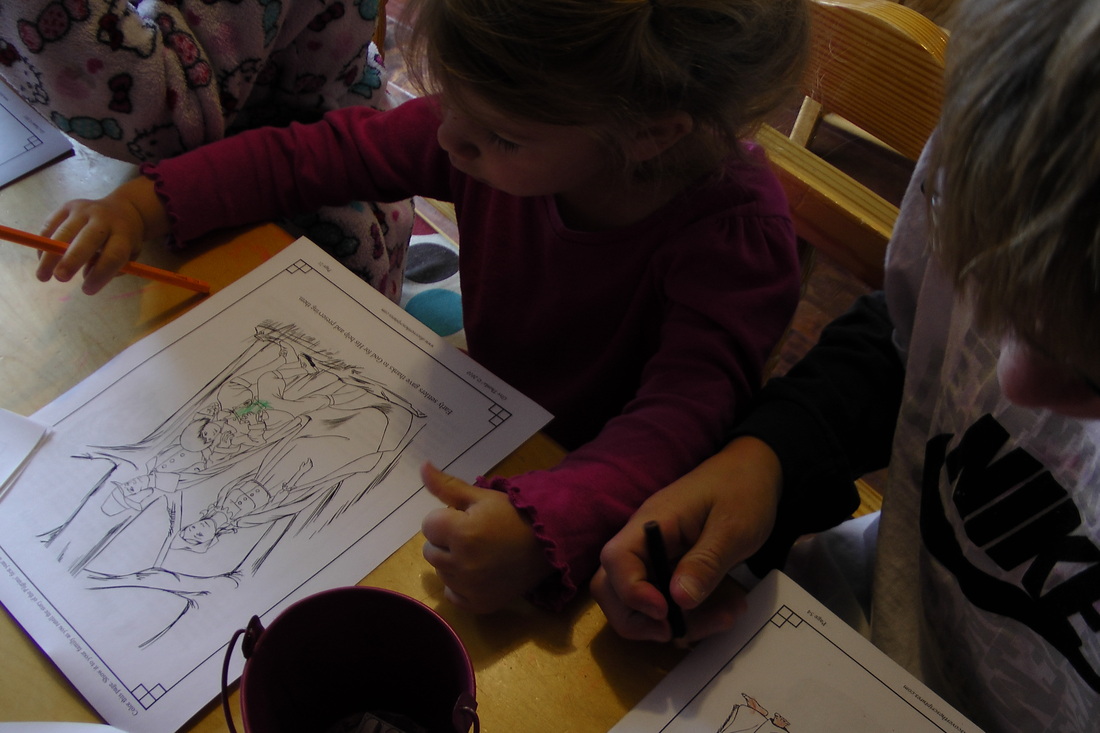
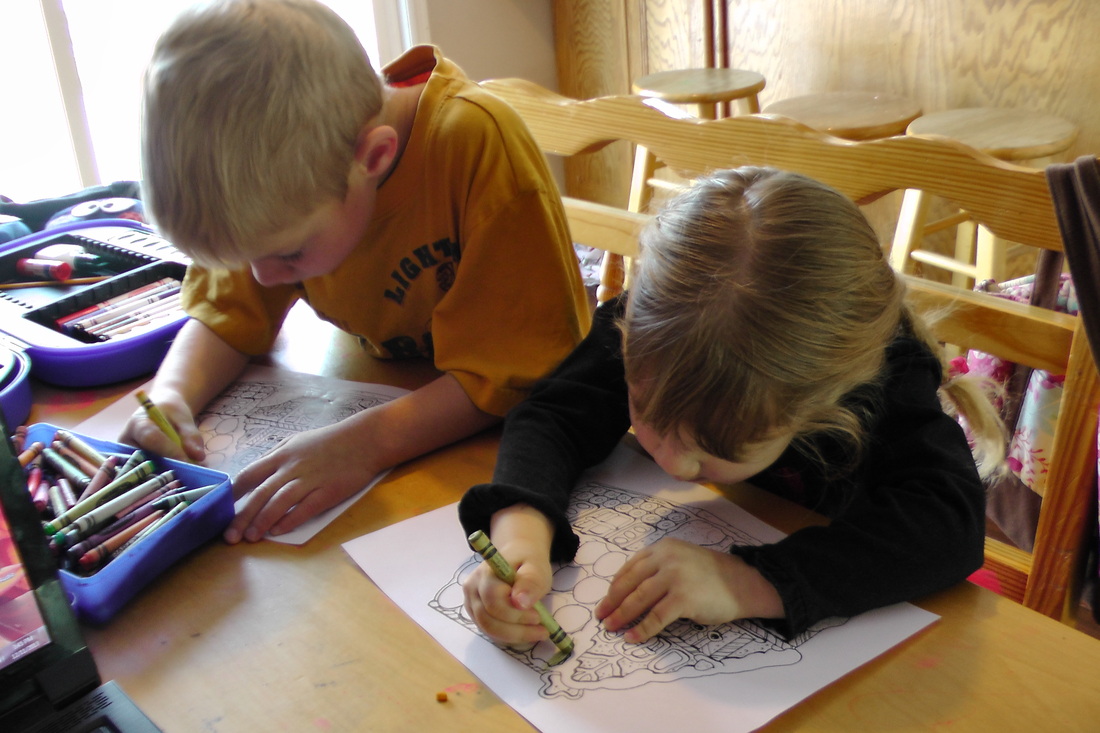
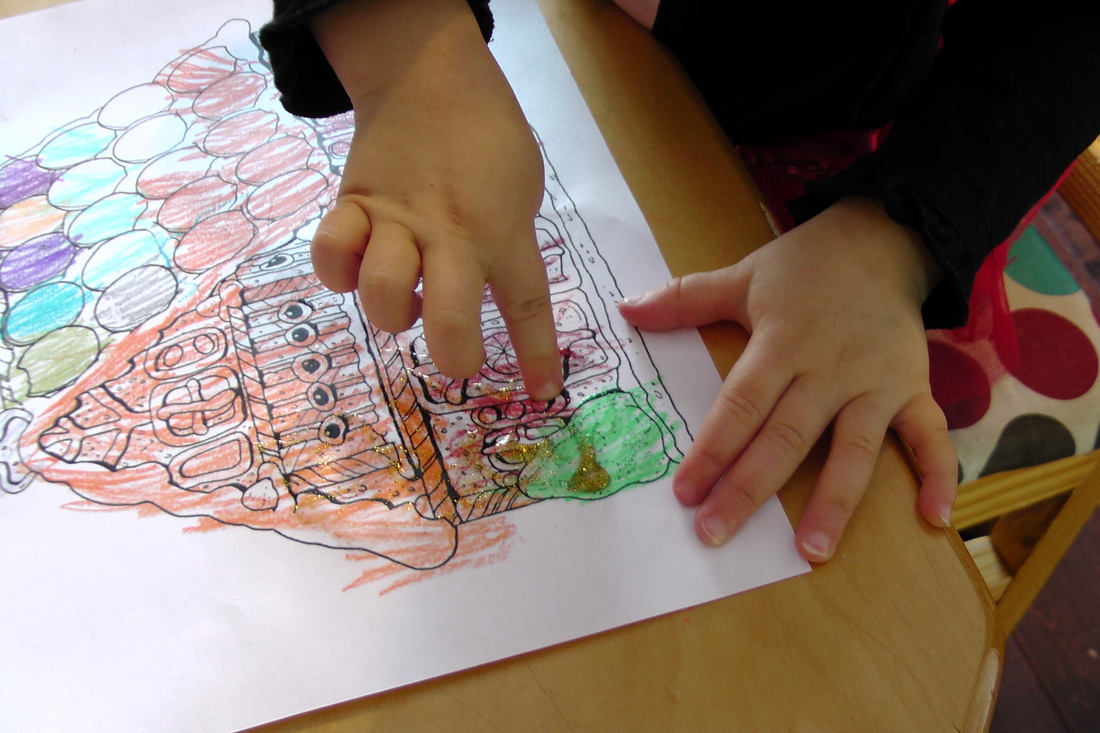
The Littles also love to make their own gingerbread houses with crayons, markers and even some glitter glue to add a sparkly sugar effect, just like the gingerbread house in the book. Jan Brett's website has a really cute gingerbread house print out here, along with different ways you can design and decorate it. You can find a fun gingerbread baby game board here and an interactive drag and drop gingerbread house here. 
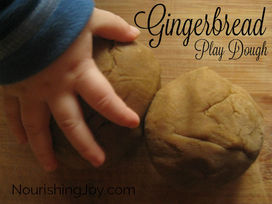
I found this fun recipe for making gingerbread playdough here, haven't had a chance to try it out but it looks like lots of fun.
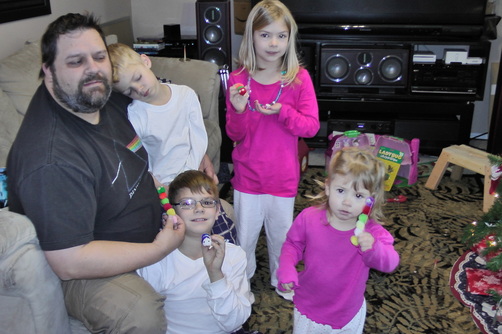
 
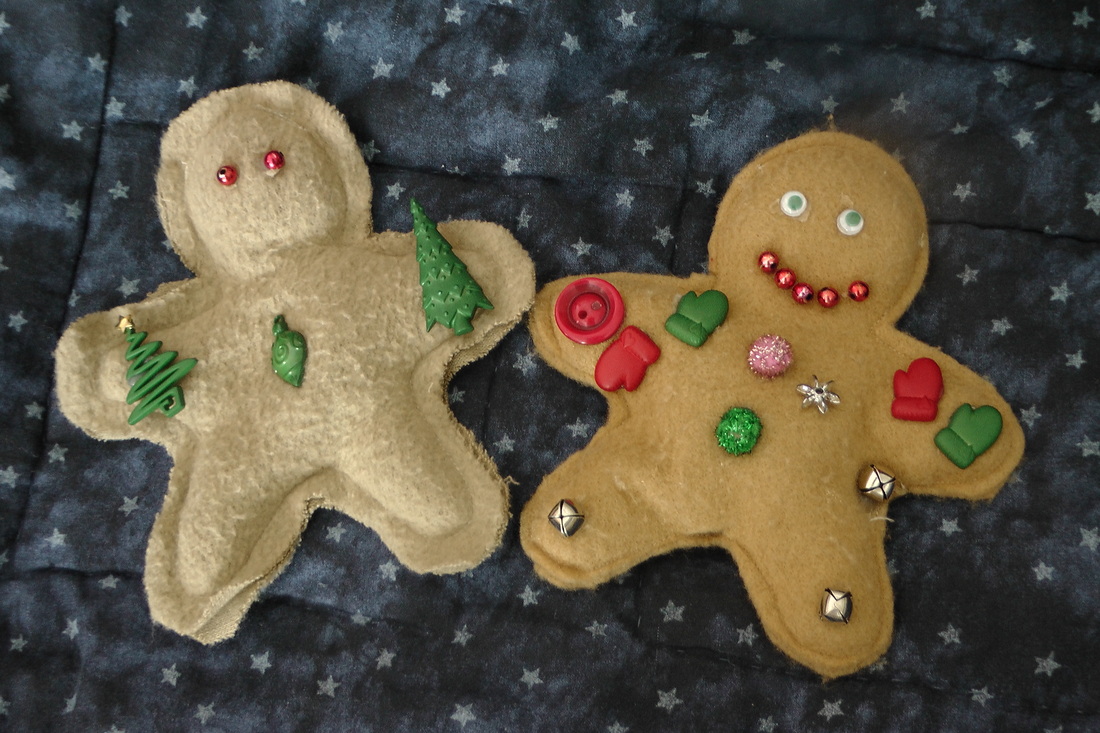
Just make a cut out of a gingerbread man for a template, I got mine years ago from the Family Fun Magazine. Pin the template to some brown or tan felt and cut out two pieces per man. Sew around all the edges, leaving and inch or two opening to fill with wheat, rice, beans, etc. Hand stitch the side after filling and then let the children "decorate" the men with buttons, google eyes, bells, puff balls, etc. Shared on: Wildcrafting Wednesday Christmas Edition.
1 Comment
I have my list of favorite winter books that come out each season to be poured over time and time again until the spring time rolls around and they go back to their cozy spot in the basement. The Mitten always seems to be the book everyone wants to read first. I love Jan Brett books, her illustration style is nostalgic for me and fun for the children. I also love that her website has a huge activity section full of free printables to accompany her books.
After reading the story to the children, I tell it again using my own mitten and animals. I let the children put the animals in the mitten as we talk about them squeezing into it, at the end I make a big sneezing sound and shake them out all over. The children love it and I then let them make their own mitten and animals.
Mitten Story Activity
Print out the two mittens (a front and a back) along with the animals, get the PDF file here. Color and cut them out.
I like to glue the top half of the mitten together so when the children insert the animals, they don't get stuck at the end of the mitten. This also keeps the mitten together while they are trying to "knit" them.
Next, take a hole punch and make holes all around the mitten to string yarn through.
It is now time for the children to "knit" their own mittens just like Baba did for Nikki. I tied a stretch of yarn at one end and put a piece of tape at the other to make it easier to insert in each hole.
I showed them how they can string the yarn through, but Little Man came up with his own "stitch" half way through that looked pretty impressive to Mama.
Now, I let the Little Ones have fun telling me the story with their own mitten and animals. They will use these all season and they love to show them off to everyone!
Shared on: Home Acre Hop.
As I mentioned in Keeping Christ in Christmas, every person in our family makes homemade gifts from the heart for one another. This week I will be showing you what they have come up with so far. Little Man is always the first person to decide what his gifts will be and because he is our nature boy, they always have to do with critters of some sort. Last year he made everyone caterpillars and this year he wanted to "turn the caterpillars into butterflies." We love theRanger Rick Jr. magazine and he is always looking through those for craft and snack ideas. He found this butterfly craft in one of the issues and knew that was what he wanted to make for everyone. Butterfly How To Supplies Needed: Coffee Filters Clothespins Spray Bottle with water Washable Markers (although I used regular crayola markers and they worked fine) Colored Pom Pom Balls Google Eyes Colored Pipe Cleaners (All of these items can be found at the dollar store) Lay out your coffee filters so they are flat, then let the child color away on them with the markers. I made an art mat for each child by purchasing poster board and laminating it. Whenever we have craft projects I pull them out so they have a work surface I don't need to worry about paint getting on or markers leaking through. They also wipe up easily for that sprayed or "spilled" water. Once the filters are colored, spray with some water and set aside to dry. While the filters are drying cut the pipe cleaners in half, roll each end so they are no longer pokey and fold into a v shape. Once the filters are dry pinch and pull the middle part starting from the bottom and moving to the top, Little Man needed a little help with this step. Secure with the clothespin. Using a hot glue gun, place a dab of glue where the clothespin opens and put the pipe cleaner "antennae" inside, close and hold until the glue dries. Next glue the pom pom balls along the edge of the clothespin for the body. Finish the butterfly off by gluing the google eyes on the top pom pom ball. Little Man customized each butterfly to reflect each person he made them for. And of course while he was at it, had to make one for himself!
As we celebrate Thanksgiving this week I am always so grateful for all the blessings the Lord has given me. I always feel Thanksgiving welcomes in the coming Christmas season by preparing our hearts with gratitude and the desire to help and serve others. I love the peace, joy and happiness that is very prevalent during this time of year. In order for us to keep the peace the season brings we focus our traditions and celebrations on Christ, after all He is the reason for the season! The following are just a few ways we incorporate Christ into our Christmas traditions and celebrations.
Serving
Every year we start the season with the Christmas service star, this star represents the light of Christ and His service to His fellow men. Everyone is encouraged to serve someone in the family and leave the star where they served. The person that was served now needs to serve someone and the star is passed around throughout the Christmas season. We also have different service projects we work on each year to serve our fellow man. This year Big Woman is heading the project of making stuffed owls to take to a local shelter. Ideas for serving can be as simple as bringing in a neighbors garbage can, taking a plate of goodies to someone, visiting the elderly, sick, lonely, putting a dollar in the Salvation Army buckets, etc. One year we made a service chain by adding a link every time we served someone with a goal to have our chain reach around the Christmas tree by Christmas Eve, the kids really loved that one and we offered that as our gift to Christ.
Giving Homemade Gifts from the Heart
Rather than asking our children what they want for Christmas, we ask them what they will be giving for Christmas. By doing this we put the focus on others rather than themselves. We have a tradition in our family that all gifts given to each other must be homemade. Right after Halloween they start to plot and plan what they will be making for each other. These gifts are always the favorites and much love and thought goes into them, the kids especially look forward to Daddy gifts, since he always has "interesting" ones.
Discover Christmas
I "discovered" this wonderful resource several years ago and it has become a favorite for my children. This resource is full of memory verses, activities, recipes, crafts, stories and service ideas. You will learn the stories behind the symbols of Christmas and how they relate to Christ, as well as customs from other parts of the world. I love that this is a pdf file so I can print and reprint each year. We also use this resource for our memory verses, copy work and writing during the month of December in our homeschool. For my little ones there are coloring pages and stick figures for acting out the nativity. For more information and free downloadable sample pages you can visit the Discover the Scriptures website here.
25 Days of Christ
This is a new tradition we will be starting this year and I am so thankful to the Oliver family for their ideas and inspiration for this project and then for sharing it with all of us. The idea is to read a story from Christ's life for the 25 days leading up to Christmas. Each day has a story, a picture to go with the story, a quote and for some, an online video clip. After reading, listening and watching the story, an ornament representing that story is placed on the Christmas tree. My hope is that as we see these ornaments on the tree, the stories they represent will come to mind and remind us of not only Christ's birth but his life, atonement, death and resurrection. I am so excited to make this a tradition each year. Here is the website to learn more about the 25 Days of Christ.
Big Woman took on the ornament project herself, with very little help from me. We had a great time going to Hobby Lobby where we came up with different ideas for the ornaments and as a bonus all Christmas items were 50% off! You can check out the 25 Days of Christ website for photos of the ornaments (she is out of stock for the 2013 season) or browse below on the ones we came up with.
Advent Candles and Count Down
I love this description of advent, from Familyman Ministries, so I'll send you there to be enlightened if you are not familiar with advent. He also gives a good idea of what they do as a family for advent, which is more involved than mine. For our family we have a candelabra as a centerpiece on our table for the holiday season, it has four candles on the outside and one in the middle. We start the first Sunday in December (or four Sundays before Christmas) and light one candle, all other lights are turned off. We sing a Christmas song about Christ and have a story, devotional, scripture, or thought. We do this every Sunday, lighting one more candle until Christmas Eve when we light the middle candle, representing Christ. We notice how much lighter it is with all five candles lit and we always sing Silent Night on this evening (Christmas Eve).
Christmas Eve
We always have our big family get together on Christmas Eve, we have some sort of activity, listen to Christmas music, eat (or course), re-enact the Nativity and open presents from the Grandparents. When we get home we put our focus to Christ before going to bed. We turn off all the lights and do our last night of advent (above), afterwards we sit in the dark with only the tree lights on and listen to Manheim Steamroller's Silent Night, we then watch a short video of The Nativity, that you can view here and then give our gift to Christ, which we all write (or draw) on cards and place in a pretty gift box under the tree. We then read the Christmas story from the Bible and have family prayer.
What Traditions Help You Focus on Christ During The Christmas Season? We have been focusing on weather this month for our Outdoor Hour each day. Barb, over at The Handbook of Nature Study has a monthly newsletter giving challenges, free printables and lots of encouragement. We love to use her printables and challenges to help us along with our nature study each day. The first week of the month we cut out the grid challenge and observation ruler (included in the newsletter) and glued them into our natural journals. Big Woman had the grand idea to tape the grid to the top of her journal page and use it as a flap. Even the Littles had to cut and glue a grid into their books. November brings fun and crazy weather, we had sunshine days with temps in the 70's, lots of falling leaves, rain, wind, frost and a fun snow storm to top it off. On snow days the journals are tossed and its all about the hands on, there was even enough snow to build a snow fort! Look at these really cool leaf imprints we found on the driveway! This was fun for the children to speculate how the weather made leaf stamps. A few years ago I purchased this Weather Lapbook PDF from Hearts and Trees. As you can see from the photo above, it has hands on weather activities including; kinds of clouds, the Beaufort wind scale, precipitation weather words, weather tracking calender, moon phases, a weather tracking nature journal, a weather poem and weather forcasts (which I don't use in the Littles folders). We have used and loved these lapbook printouts over and over. I even had my cub scouts put them together for the weather belt loop and pin. This year Little Man was so excited to make his own weather folder and we have been using the nature journal for recording our weather and Outdoor Hour time. When we come in from Outdoor Hour we adjust our Weather Station chart accordingly. I found this printable last year but for some reason the link won't work anymore, here is the link to the post on my pinterest board, maybe the link will become active again. This has been a fun tool to use (if we remember:)).
I love the Thanksgiving season as we focus on our blessings and all the Lord has done for us. These are some ways we focus on the giving season in our home and homeschool. Give Thanks My favorite resource for this season is Gives Thanks: A Study of Gratitude and Thanksgiving from Discover the Scriptures. I use this every year during the entire month of November, some years I do it all and some years I only use bits and pieces. We always use this for our poetry, copywork, and memory verses during the month as well as coloring pages and activities for the Littles. You can check out this wonderful resource, as well as download some sample pages here. Gratitude Poster One of the children's favorite traditions is our thankful poster. Every year I write I Am Thankful For... at the top of a posterboard and we tape it to the wall in our living room (I use painters tape so it can be removed easily). Every day (and sometimes several times a day:)) family members draw a picture or write something they are grateful for. On Thanksgiving we read the poster, admire all the artwork and give thanks for all we have been blessed with. Gratitude Journal After reading an article in our monthly church magazine called,Recognize, Remember and Give Thanks, we decided to start a family gratitude journal. Every evening before we read scriptures together, we pull out our family gratitude journal and every person names something they are grateful for that day. This is an ongoing journal we keep all year long and really helps us to focus on all that we have, rather than what we don't have. Our Favorite Thanksgiving Books I keep a basket on top of our children's bookshelf that houses seasonal books. These are just of few of our favorites, along with books we read for school time. Other Ideas
Pray Most importantly we must thank our Father in Heaven for the blessings we have and express our gratitude through daily and family prayer. Have a great Thanksgiving Season! Shared On: Encourage One Another,
A couple of years ago we found a great pumpkin book at the library called, How Many Seeds in a Pumpkin? We fell in love with this book and it has become tradition that after we have our Pumpkin Day at Black Island Farms, we read this book and then do what Mr. Tiffin's class does. This not only allows us to have a really fun homeschool day, it also allows me to cook up those pumpkins rather than have them wasted on pumpkin painting or carving. First we gather with our pumpkins around the kitchen counter and take turns guessing how many seeds each pumpkin has. Next comes the gooey, smelly part. Instead of cutting the top off the pumpkin and reaching inside to get all the goop out, I just slice it down the middle. Little Man grew a Casper Pumpkin this year and boy did that sucker have a hard hide. This made our experimenting more exciting though, as we got to compare the differences between his white pumpkin and the traditional orange ones from Black Island Farms. Now comes the math part of the day. Each child chose how they wanted to sort and count their pumpkin seeds. Little Man chose piles of two's (his Casper seeds were fatter and darker than the Orange pumpkin seeds). Big Man and Big Woman chose ten's and Little Woman wanted five's. After sorting seeds into thirty five piles of five, I believe Little Woman can now count to five with no problem. Big Man had the most seeds, although "it is not a contest". Big Woman was the closest to guessing how many she had, only four off! And although Little Woman guessed she had five in her pumpkin she did have two fives in her total amount, yes she likes the number five. Now I can get my grubby paws all over those seeds and pumpkin flesh! Stick around and see how you can preserve and use your entire pumpkin - Pumpkin Puree and Powder, Whole Foods Pumpkin Pike, Whole Grain Pumpkin Cookies.
Every year we go on a field trip with our homeschool group to Black Island Farms and it is something the children look forward to each year. We start our trip by reading Pumpkin Day by Nancy Elizabeth Wallace and then have a pumpkin day of our own. This year we took a hay ride out to the pumpkin patch where each of the children, and Mom, got to pick out a pumpkin. We also learned about other produce the farm harvests, such as, carrots, squash, corn, cabbage, and sunflowers. The farm guide passes around each piece of produce and lets the children touch it and ask questions about the plants and farm life. After the hay ride and pumpkin picking, the fun really begins. There is a farm animal walk, pig racing, mini corn maze, giant hay slides, cow lassoing, tire animal swings, corn box (like a sand box but with corn), bouncing cow house, and a tracker train ride. No wonder they look forward to pumpkin day every fall! Now the battle rages, with a porch full of pumpkins and Mama wanted to cook those babies up while the kiddies want to paint and carve them. I'm pretty sure I'll win though as the kiddos can never pass up a science experiment and I feel a pumpkin dissection project coming right up:). Some of Our Favorite Pumpkin Books We are loving the fall weather around here. Each morning we go out for Outdoor Hour and explore God's creations, it is the best time of the day. Because we are studying Botany this year, using Exploring Creation with Botany, we have been combining our science studies with Outdoor Hour. This week we dissected a flower and we were all amazed, nature is so cool! We used Notebooking Pages Publisher to custom design our own pages for each lesson, along with the Wildflowers, Weeds, & Garden Flowers set that also has a bonus Trees and Plants pages. Today we are using the Parts of a Flower page from the Flowers set. Reading the text from Lesson 3 we learned about each part of the flower, identified it on the flower and labeled it on our notebooking page. The Little's even love to join us for Botany, I used the unlabeled flower page for them and they taped the parts we identified over the parts on the picture. Needless to say we went through a dozen flowers or so, good thing Little Woman's petunia patch was overflowing with specimens and we let a little patch of sunflowers go crazy in the back corner. We used both of these flowers for identification purposes. It is amazing how you can read something from a book and think, "Wow, that is pretty cool." Then you actually look, touch, smell and have a hands on experience with what you read about and it is a whole new learning experience, you connect with that subject and have a desire to learn more. For more information about Notebooking Pages you can visit their website, here. I purchased a Lifetime Membership last year and have never looked back. We use these pages for about every subject and I even use them to design pages for my Modern Day Herbal, more on that another time. This weekend we were back at Bear Lake for a quick overnighter and hike to Bloomington Lake (minus Big Man, he is still a little traumatized after our last visit). Big Woman planned a family hike for us, to pass off a requirement in her Faith in God Program. She had us look for a variety of colors in nature, usingthese color cards. The children had a great time looking for the different colors in nature and Little Man especially loves all things nature, he came back with a pocket full of rocks, a stick, and a handful of sand (which is pretty challenging with only one usable hand). Here is our picture collection of the colors we found. I had to include a few other photos of this beautiful lake hike. We will be joining the Handbook of Nature Study for theAutumn Tree Study Challenge and encourage you to get outdoors with your children (or grandchildren), enjoy this beautiful world the Lord has created us! |
Hi, I’m Annie, a child of God, Mother of Influence and Herbalist. Welcome to my place where I share what I have learned of natural and frugal living, healthy eating and living, gardening, homeschooling, herbal crafting, preparing temporally and spiritually, and love for God and Country.
LearningLivingArchives
January 2023
|